
Back in my early years of high school, I loved doing nail art. It was always just so fun and relaxing, but it also always took a really, really long time to do — like, at least an hour and a half. And so, as the years of high school waned on and on and I became busier and busier, I simply ran out of time to do it. Which obviously means that, for about two years, I didn’t do nail art at all.
Well, when I finally got the time to do fun things like nail art back (a.k.a. began college), because I wan’t constantly practicing all the time, I realized that I lost virtually all of my nail art skills.
Okay, all of my nail art skills. I lost all of my nail art skills.
So, since the beginning of college, because I no longer am talented enough to create intricate designs on my fingertips, I’ve been sticking to plain, one-colored nails.
The other week, though, I saw a different version of the above nail look, that was done with white as the base and shades of blue as the dots, somewhere in the deep, dark hole that is the internet (I think it was on Instagram, but I really can’t be sure), and in seeing it, I decided that it was easy enough to attempt. And so I did just that, attempted it, and it was a huge success. *Finally!*
So I’m going to share with you how I did it, just in case you’re looking for some easy to accomplish (yet also cute and fun) nail art that takes just a little under a half of an hour to complete, too.
Polka Dot Frame Nail Art
Hopefully that name is appropriate enough to describe what this is.
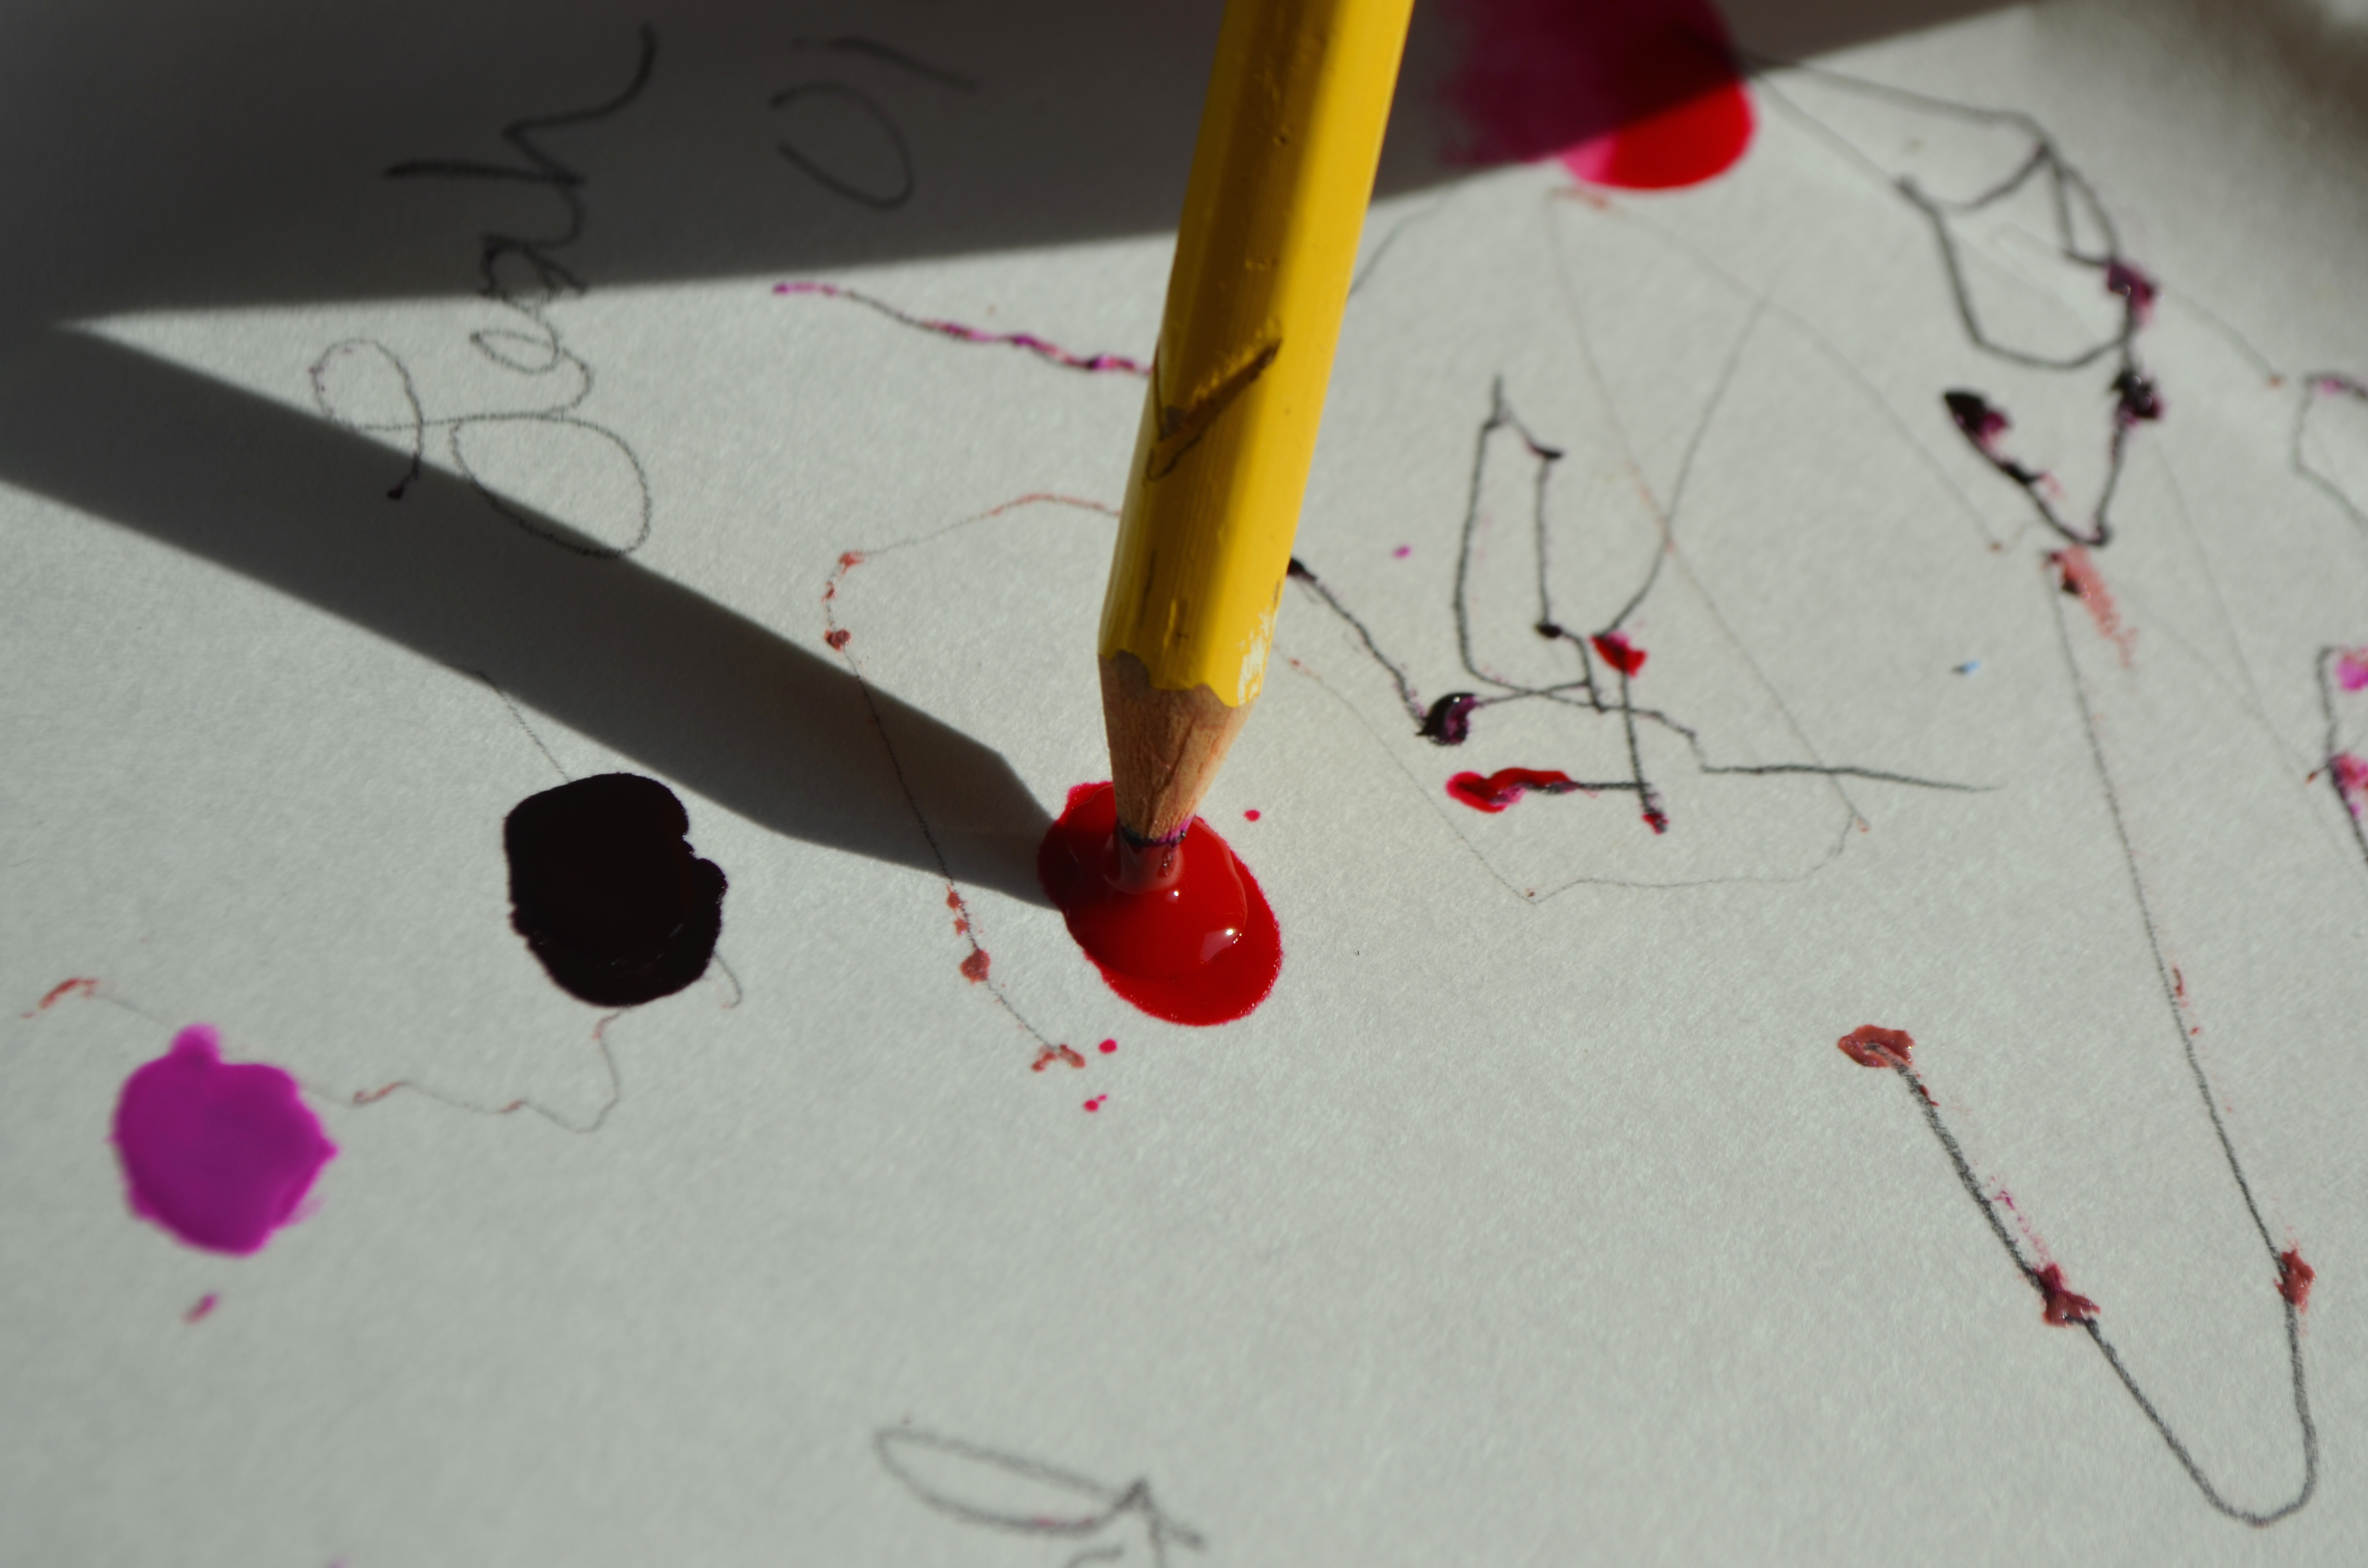
Okay, so what you’ll need in order to do this is very simple: A paper plate in order to put your nail polish on (so that you can apply it to your nails), some nail polish (about five shades), and either a nail dotting tool or a wooden pencil/dried-out pen. I opted for the wooden pencil because I neither own a nail dotting tool nor have any dried-out pens on hand.
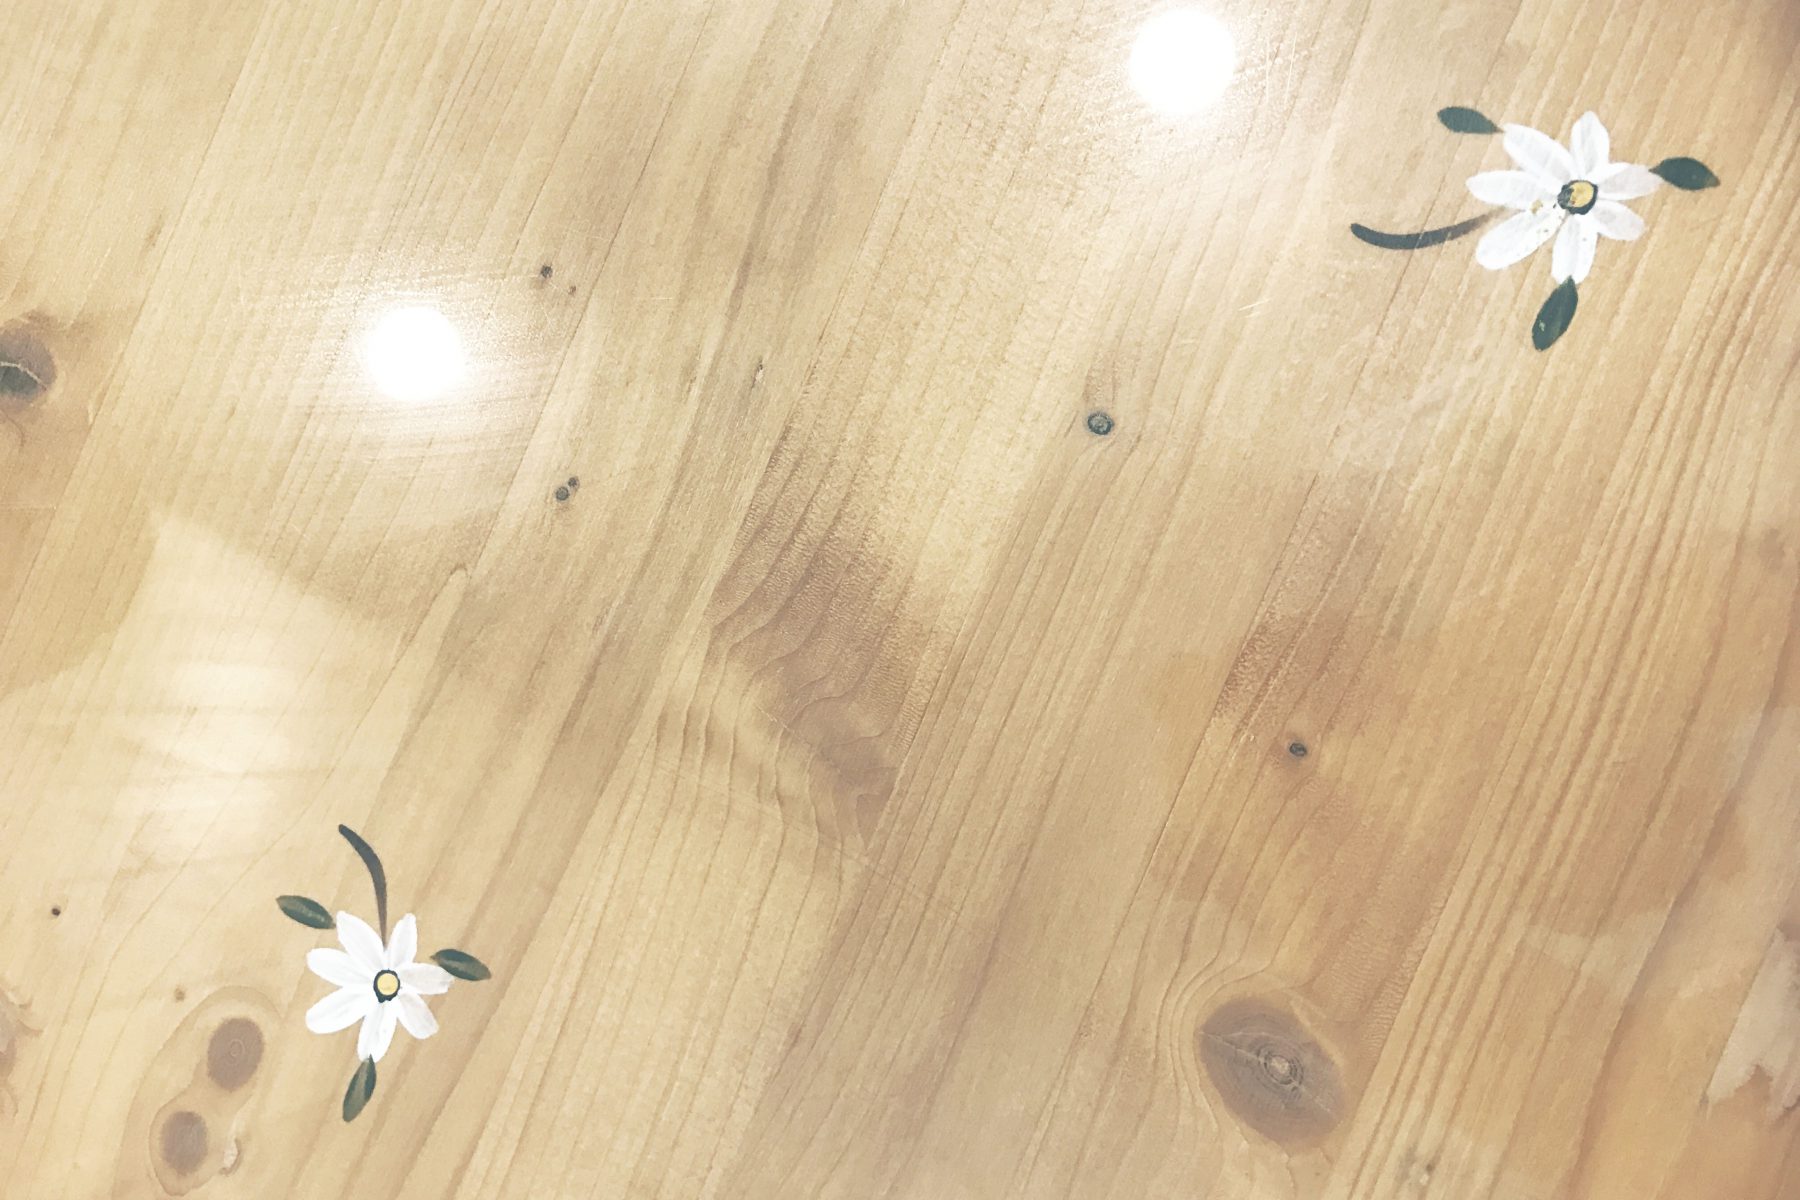
Also, you’ll need some sort of table to work off of. Here is my setup:

PS – Your paper plate doesn’t have to be as decorative as mine; that’s all from me doing my right hand just before this as a test run.

Also, you don’t need to have the same nail polish as me, either.
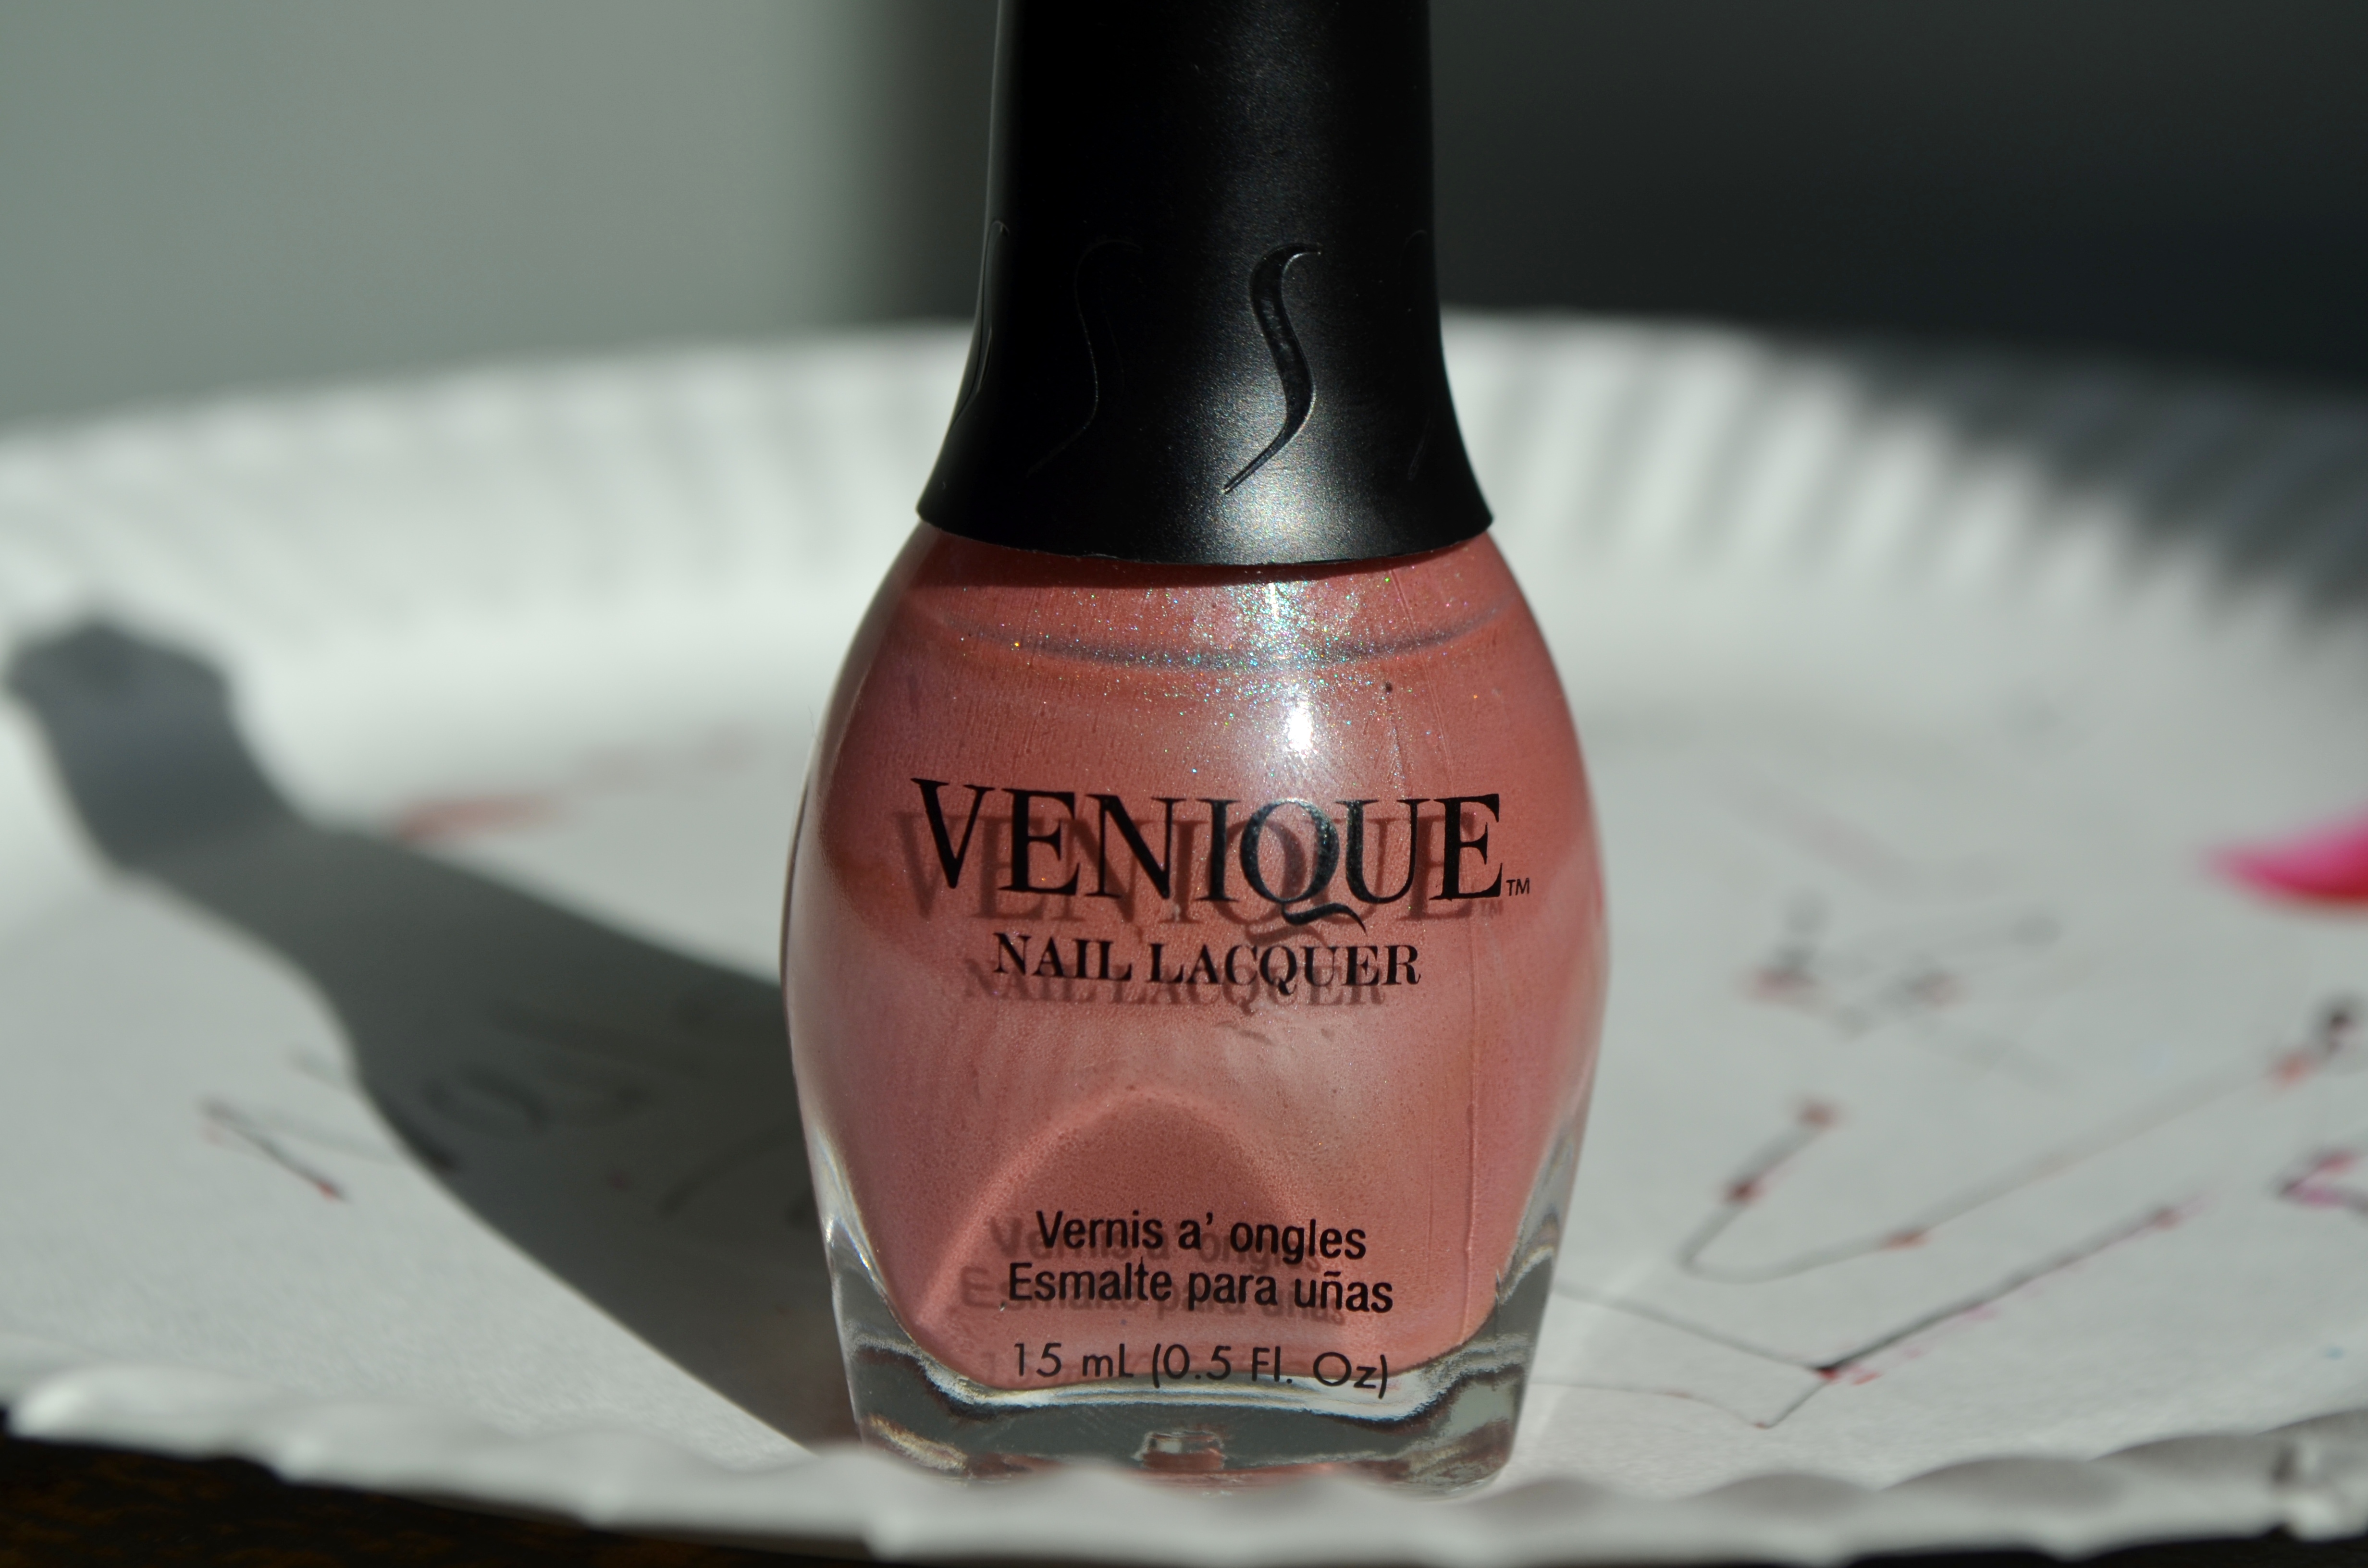
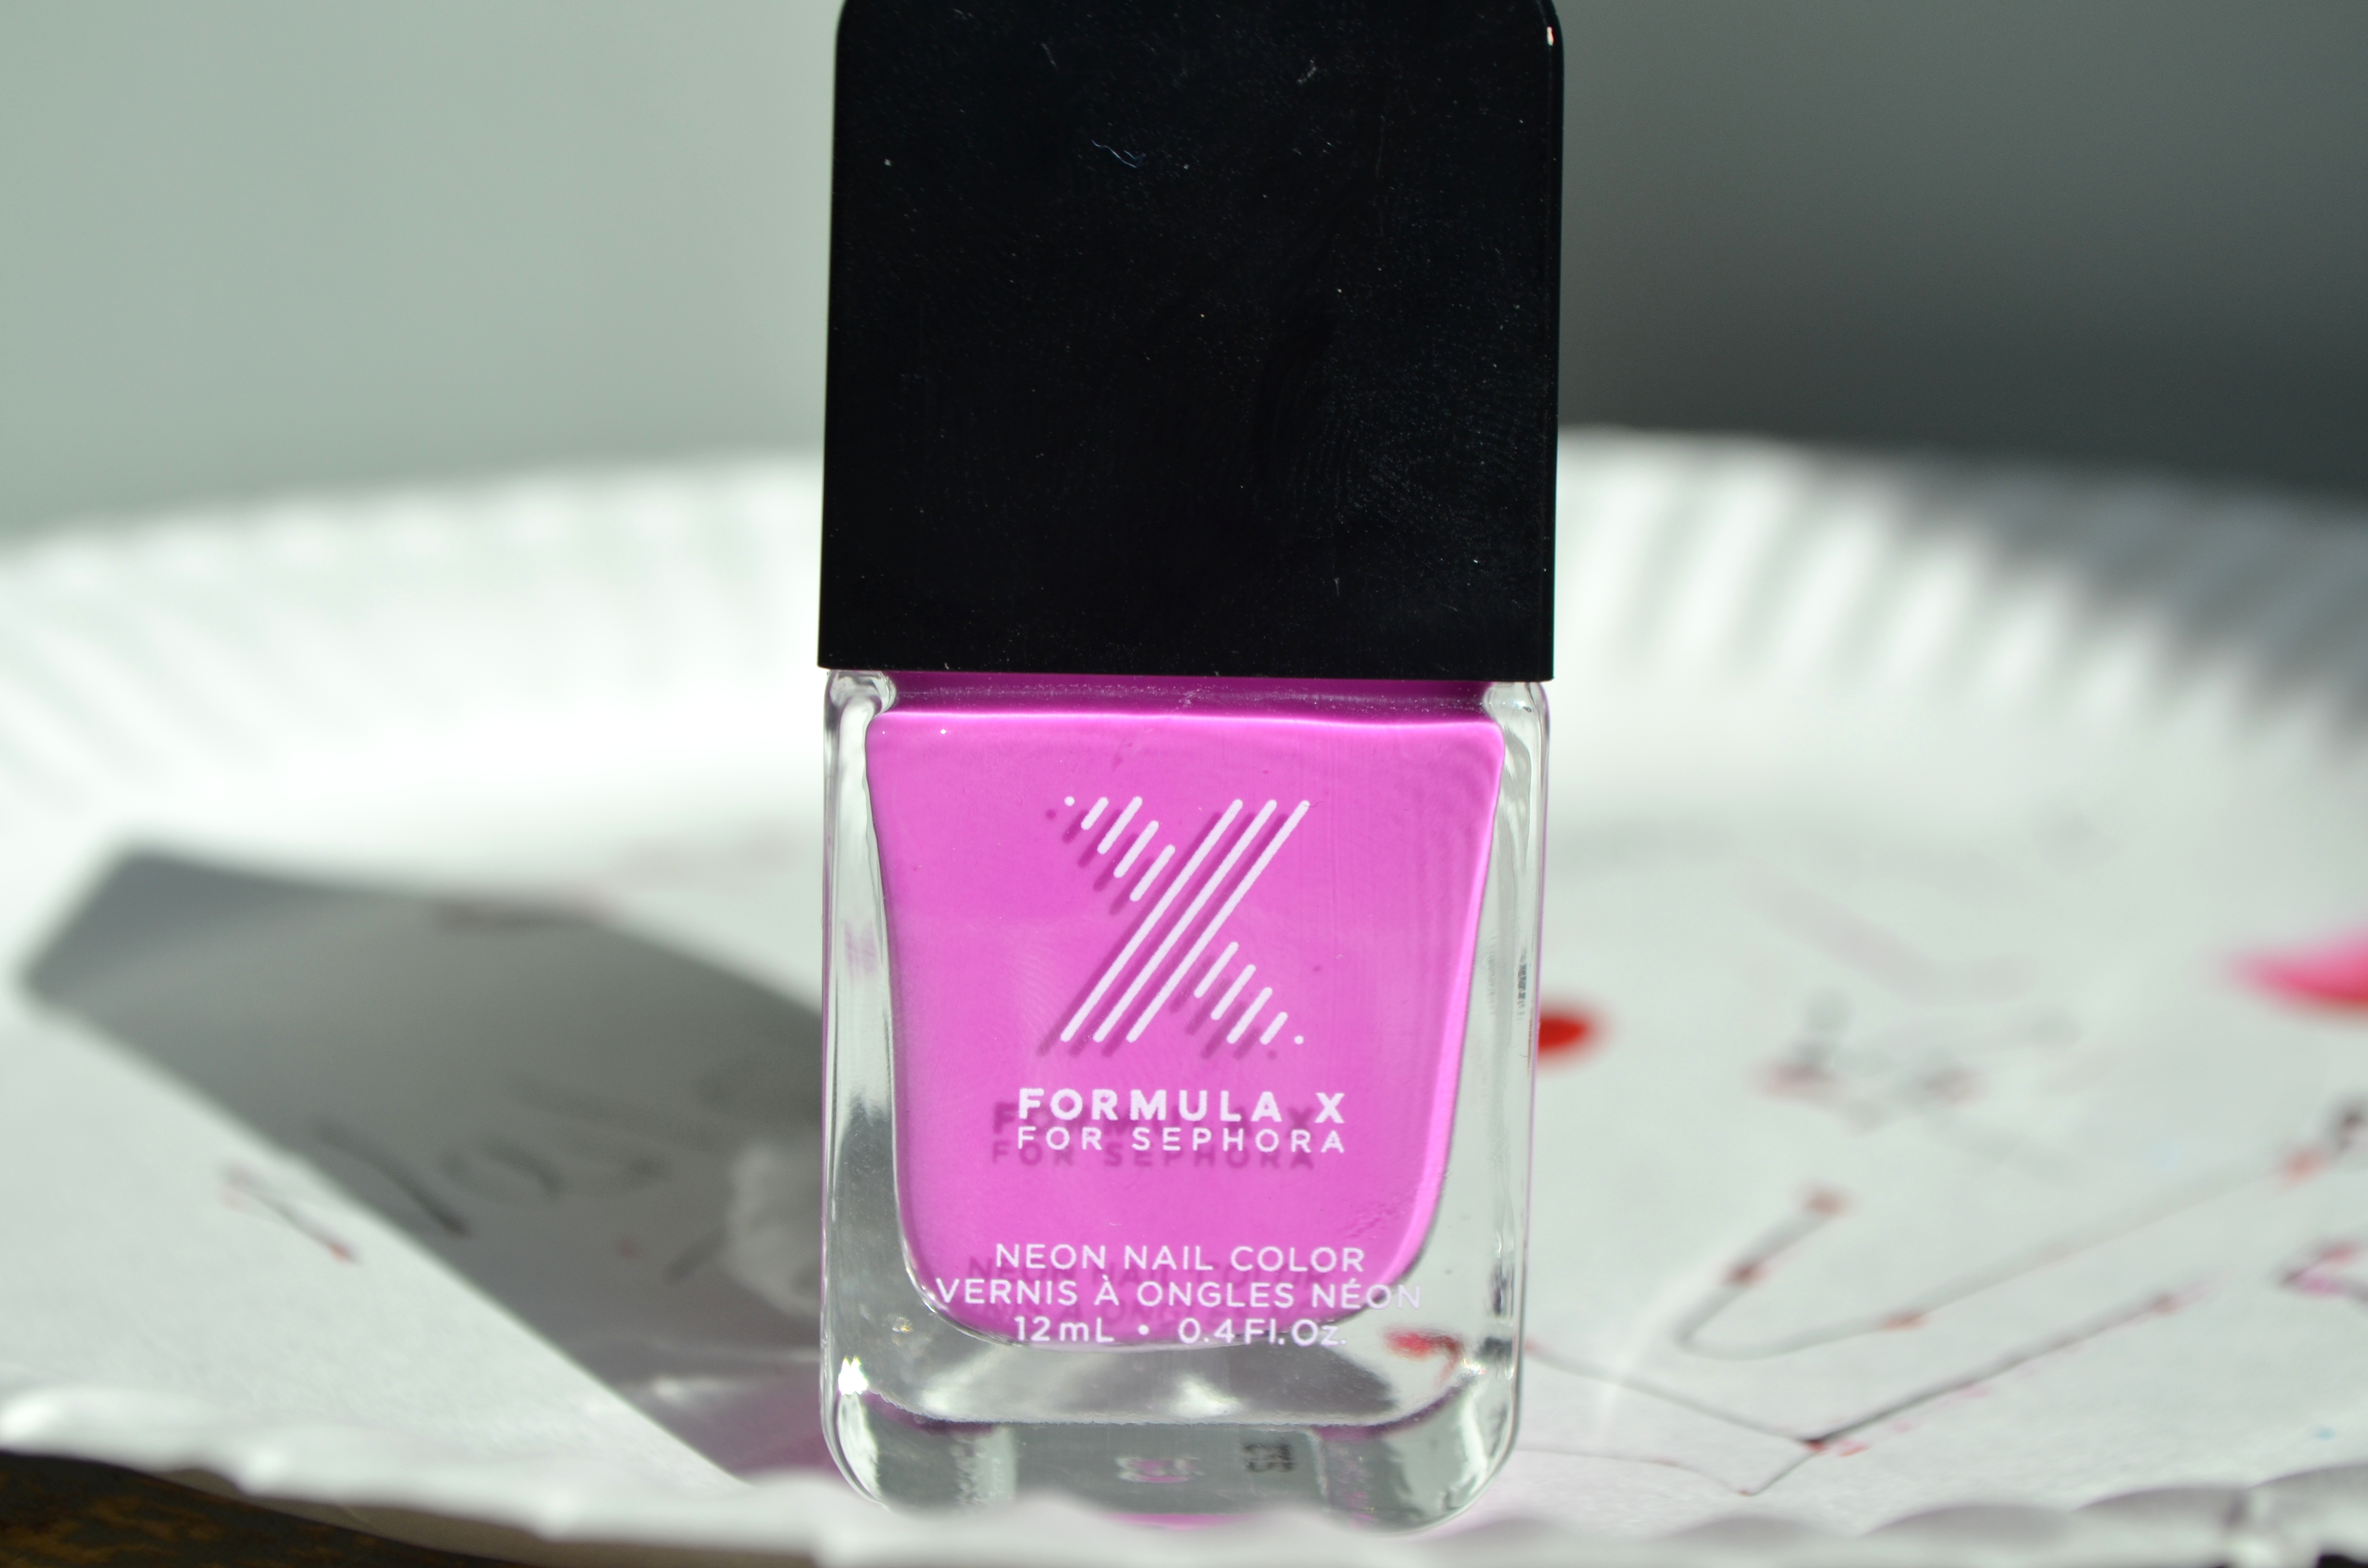
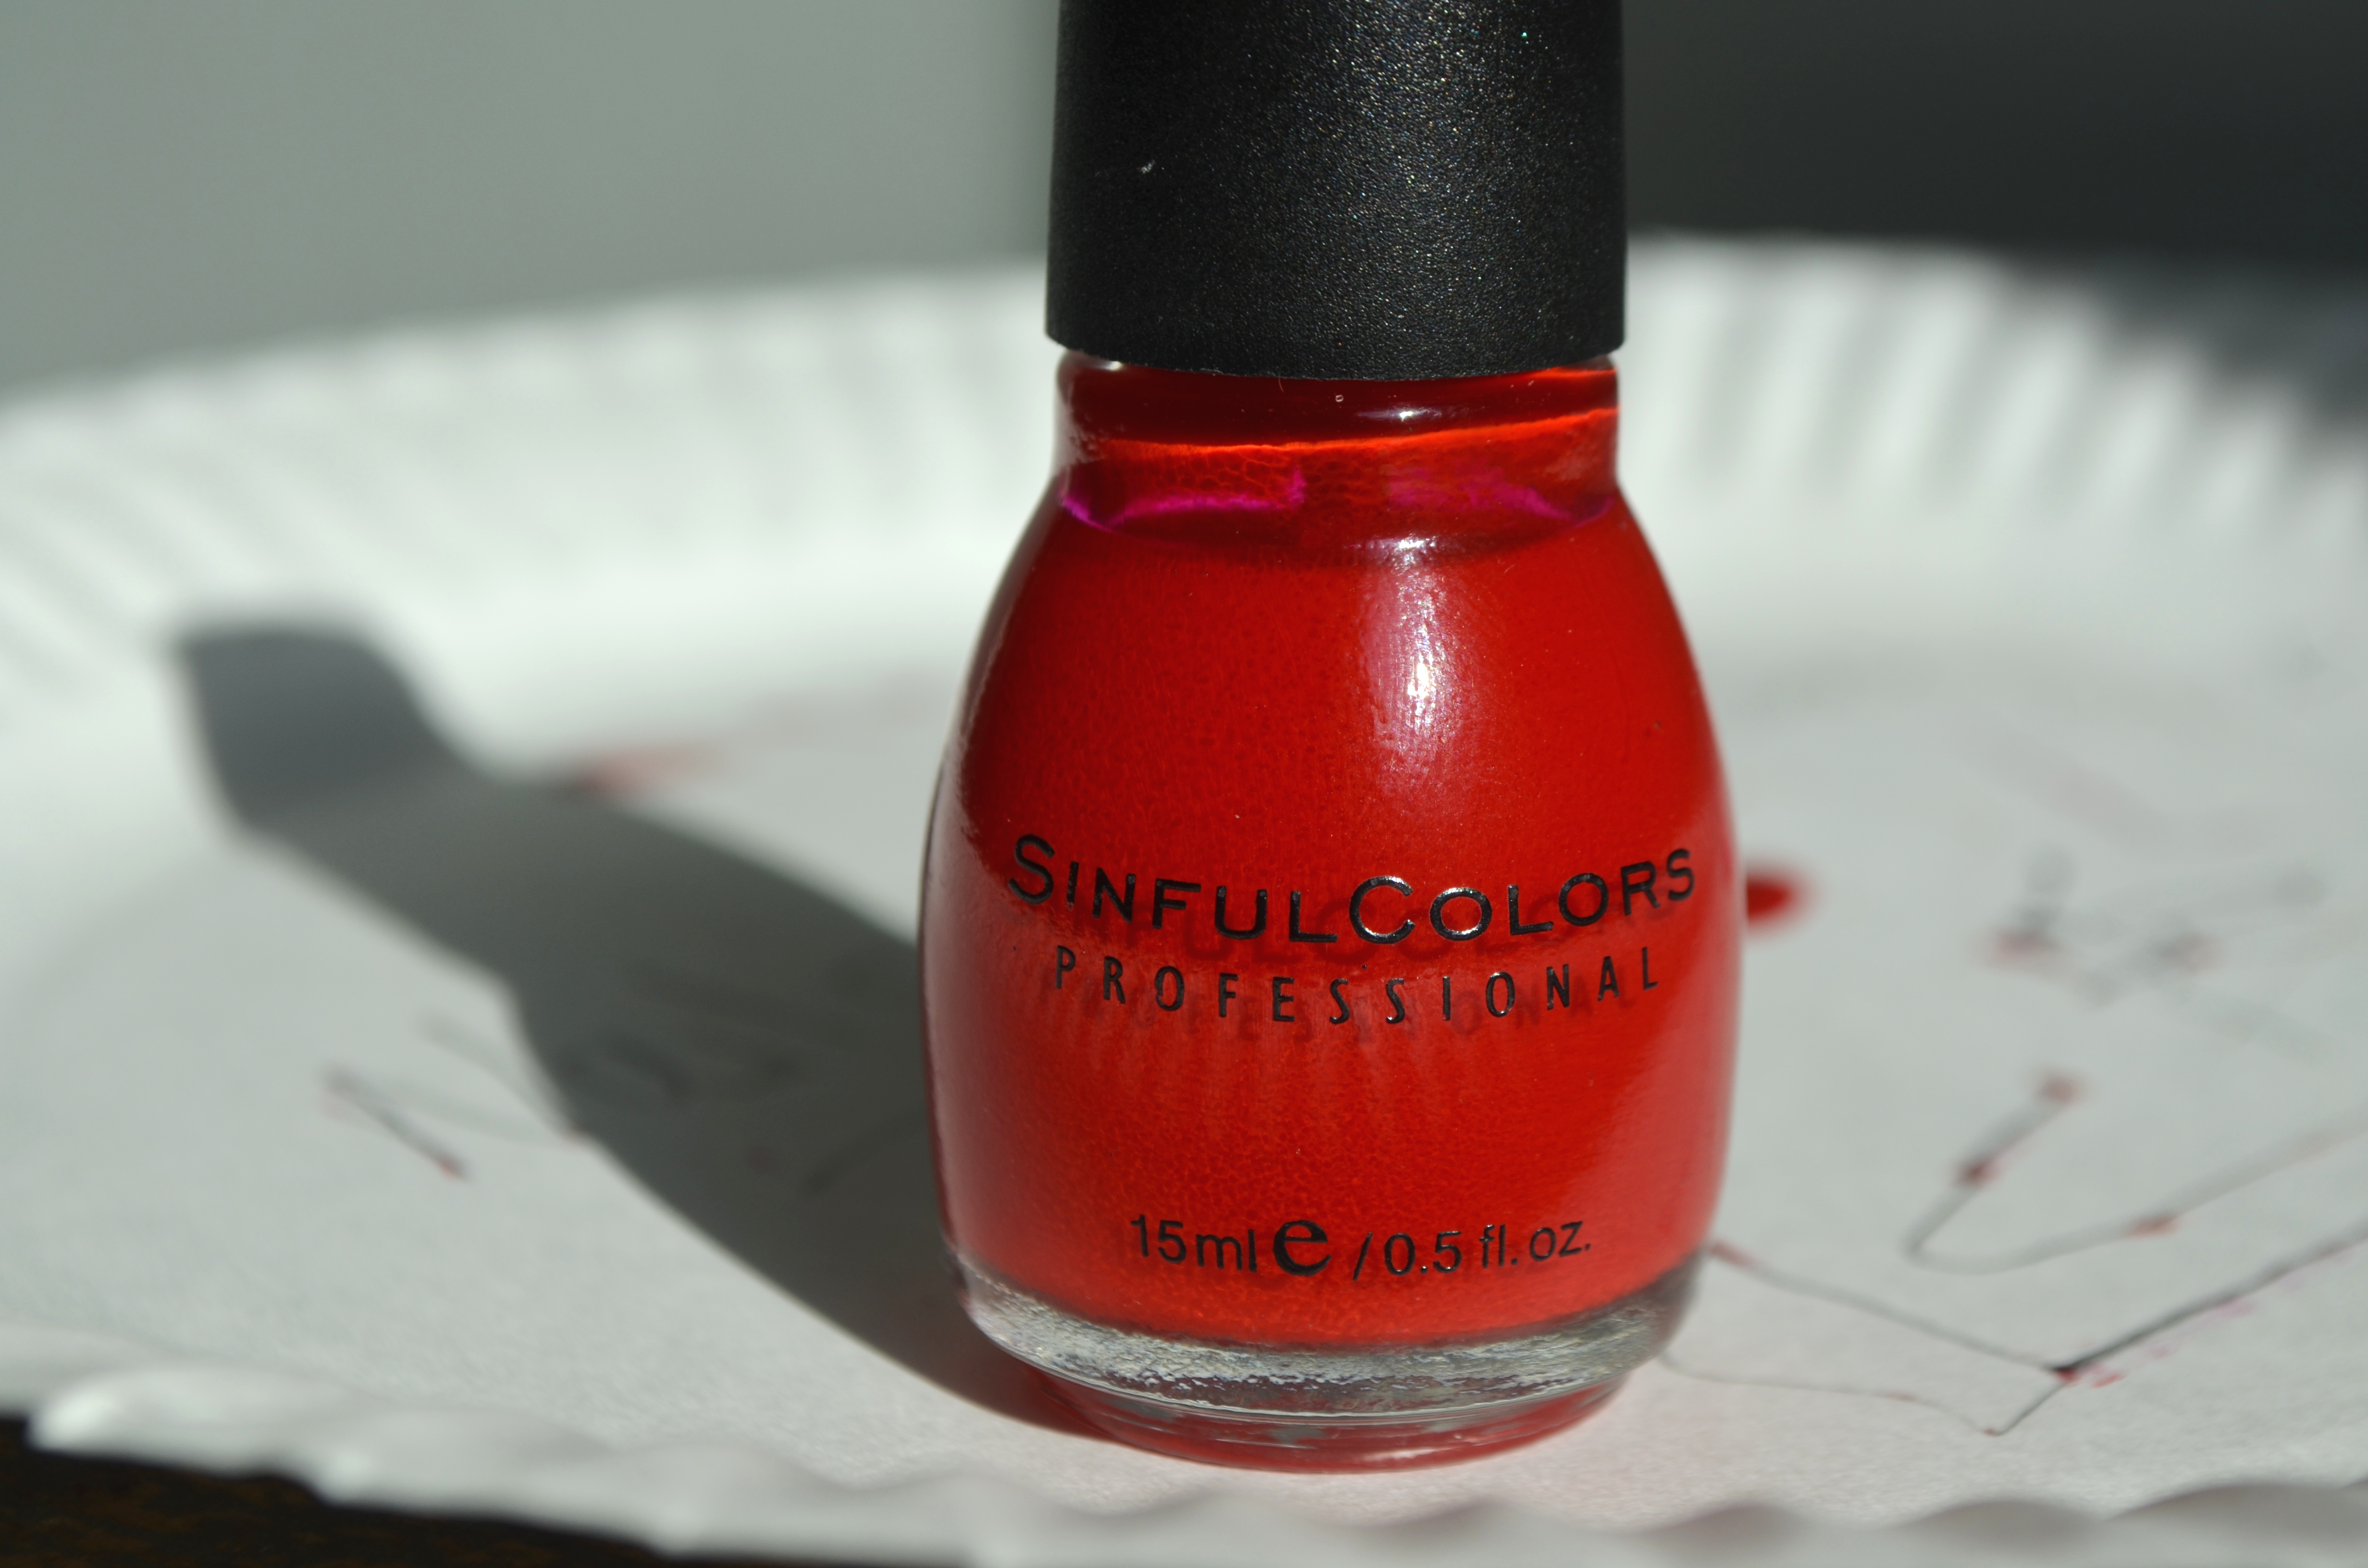
 I chose the above shades: Sinful Colors Professionals “852 GoGo Girl”, Sephora Formula X “At Your Own Risk” (part of a set), Nicole by O.P.I. “Feeling Very Cherry”, Venique “Slouching Slipper”, and CoverGirl Outlast Stay Brilliant “125 Peaches & Cream”. “Peaches & Cream” was my base, and the rest were for the dots. You can choose whatever colors please you most, though. You don’t even have to stick to the same color family, like did. I actually think that this would be even cooler if you took a sort of colorful, confetti-like approach to it.
Anyway, now that you know what you need, let’s get started with the actual tutorial.
First, you’ll need to do a base coat of color. The base needs to be your lightest shade out of the bunch you chose, or else the dots won’t show up. Apply it to all of your nails in two thin coats. Let the first coat dry fully before applying the next, and let the second coat dry fully before starting the dots. If you don’t, things will get very messy.
Tip: Two coats is typically all you need to create a nice opacity, even with your lightest shades, and applying said coats lightly is how you get them to dry (and dry fast!). The thinner the coat, the quicker the dry time! So keep the coats light if you want this to move quickly!
Here’s the base coat I chose, up close. Sorry, but I put the base on ahead of time and totally forgot to get pictures of it before I started the dotting. But you’re smart enough to know what plain nails look like, so you really don’t need to see that, anyway.

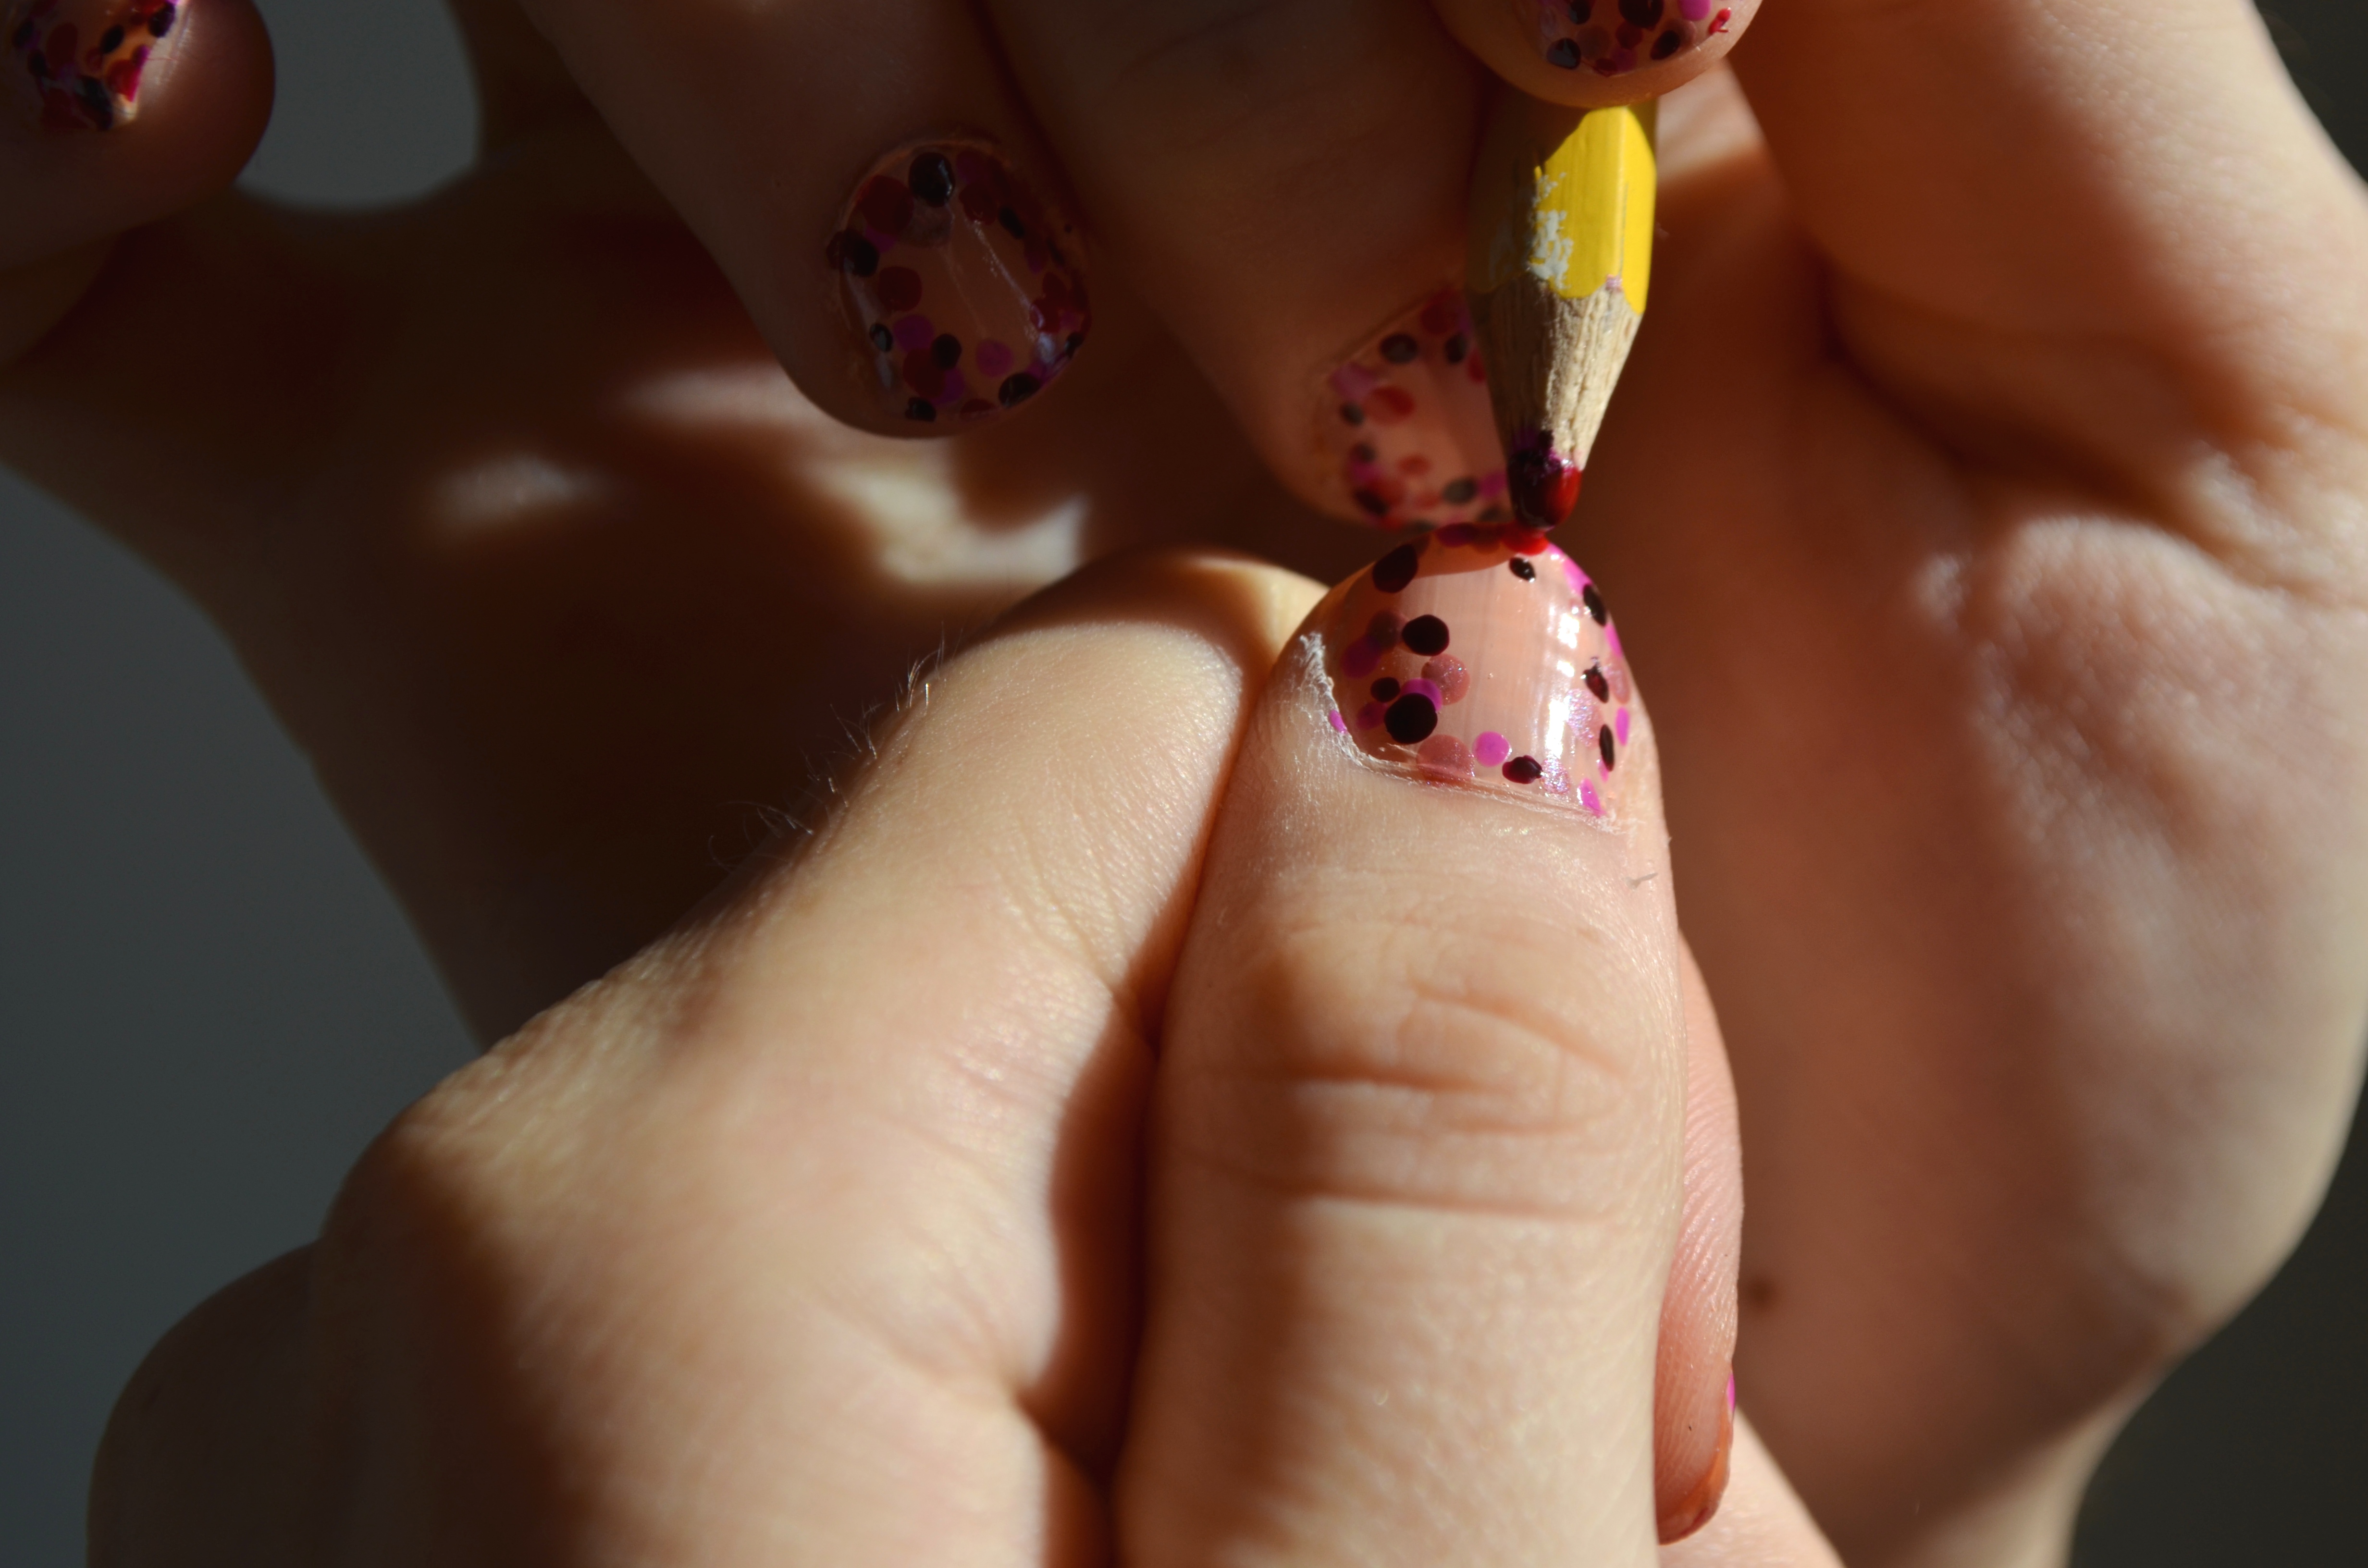
Now to move on to the dotting!
You’re going to need your next lightest shade for the first layer of dots.
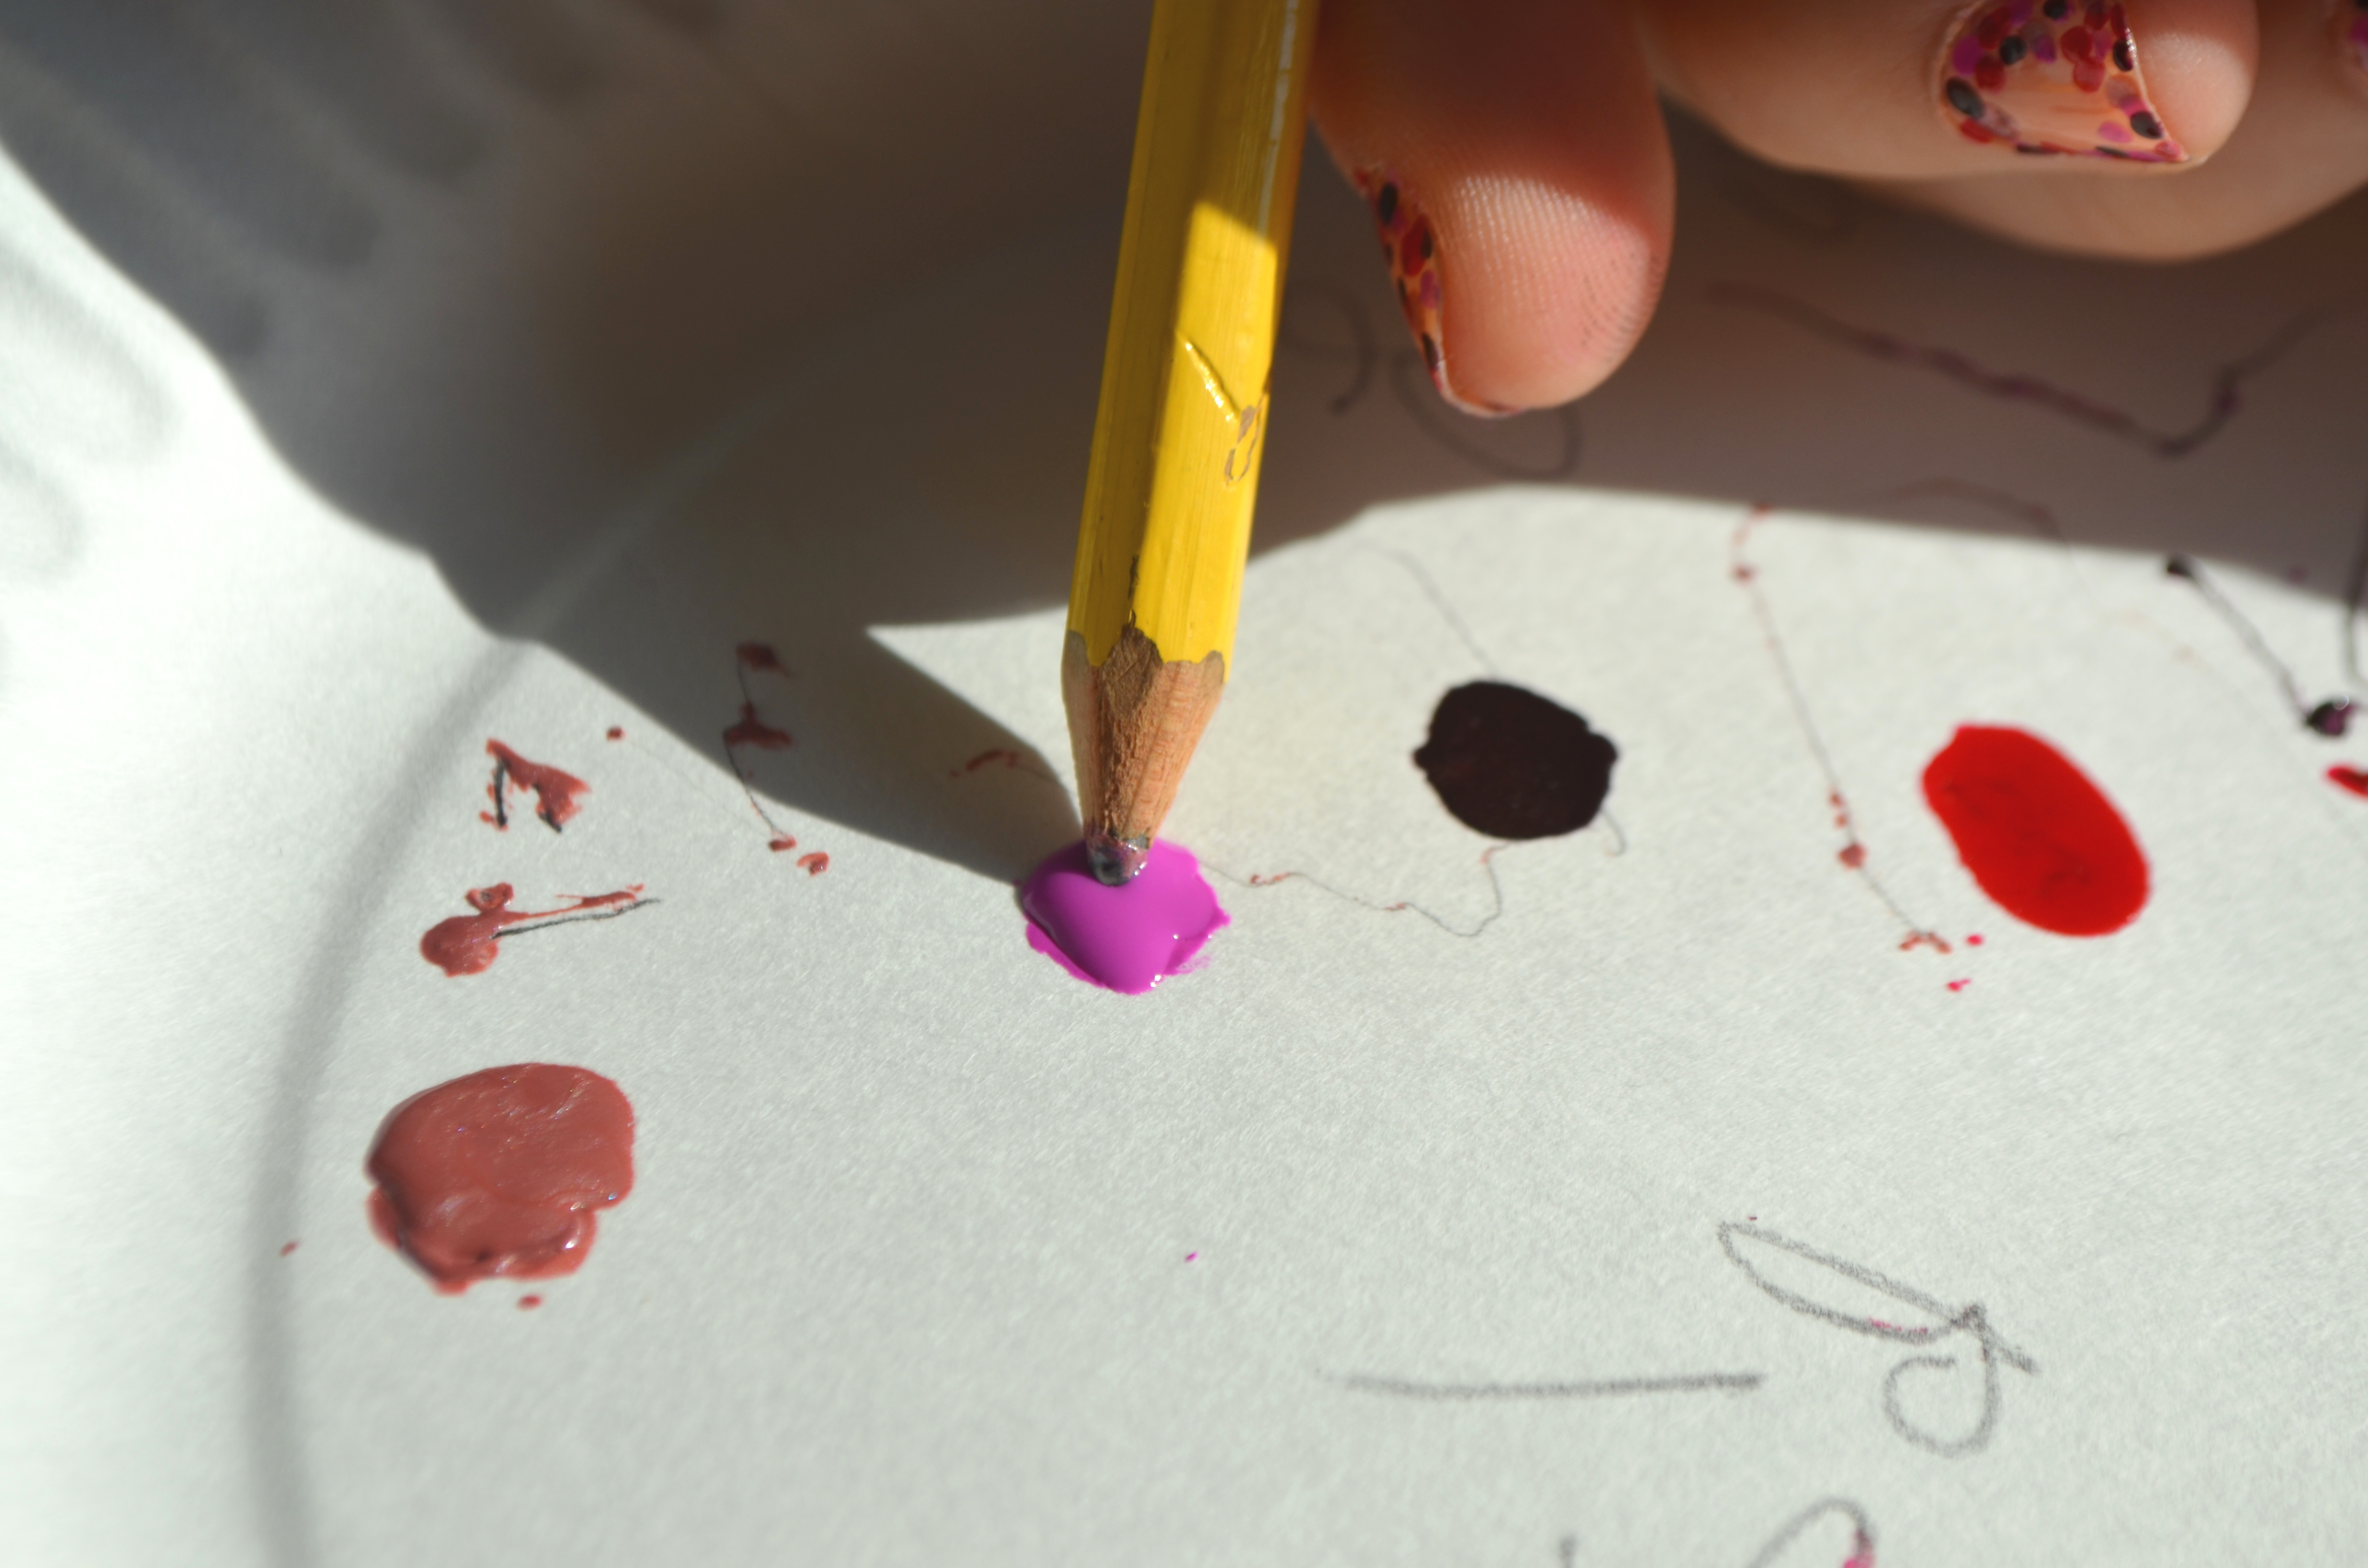
Take the brush out of the bottle and put a nice, big drop or two onto your paper plate. Because we’re only dotting, you won’t need much.
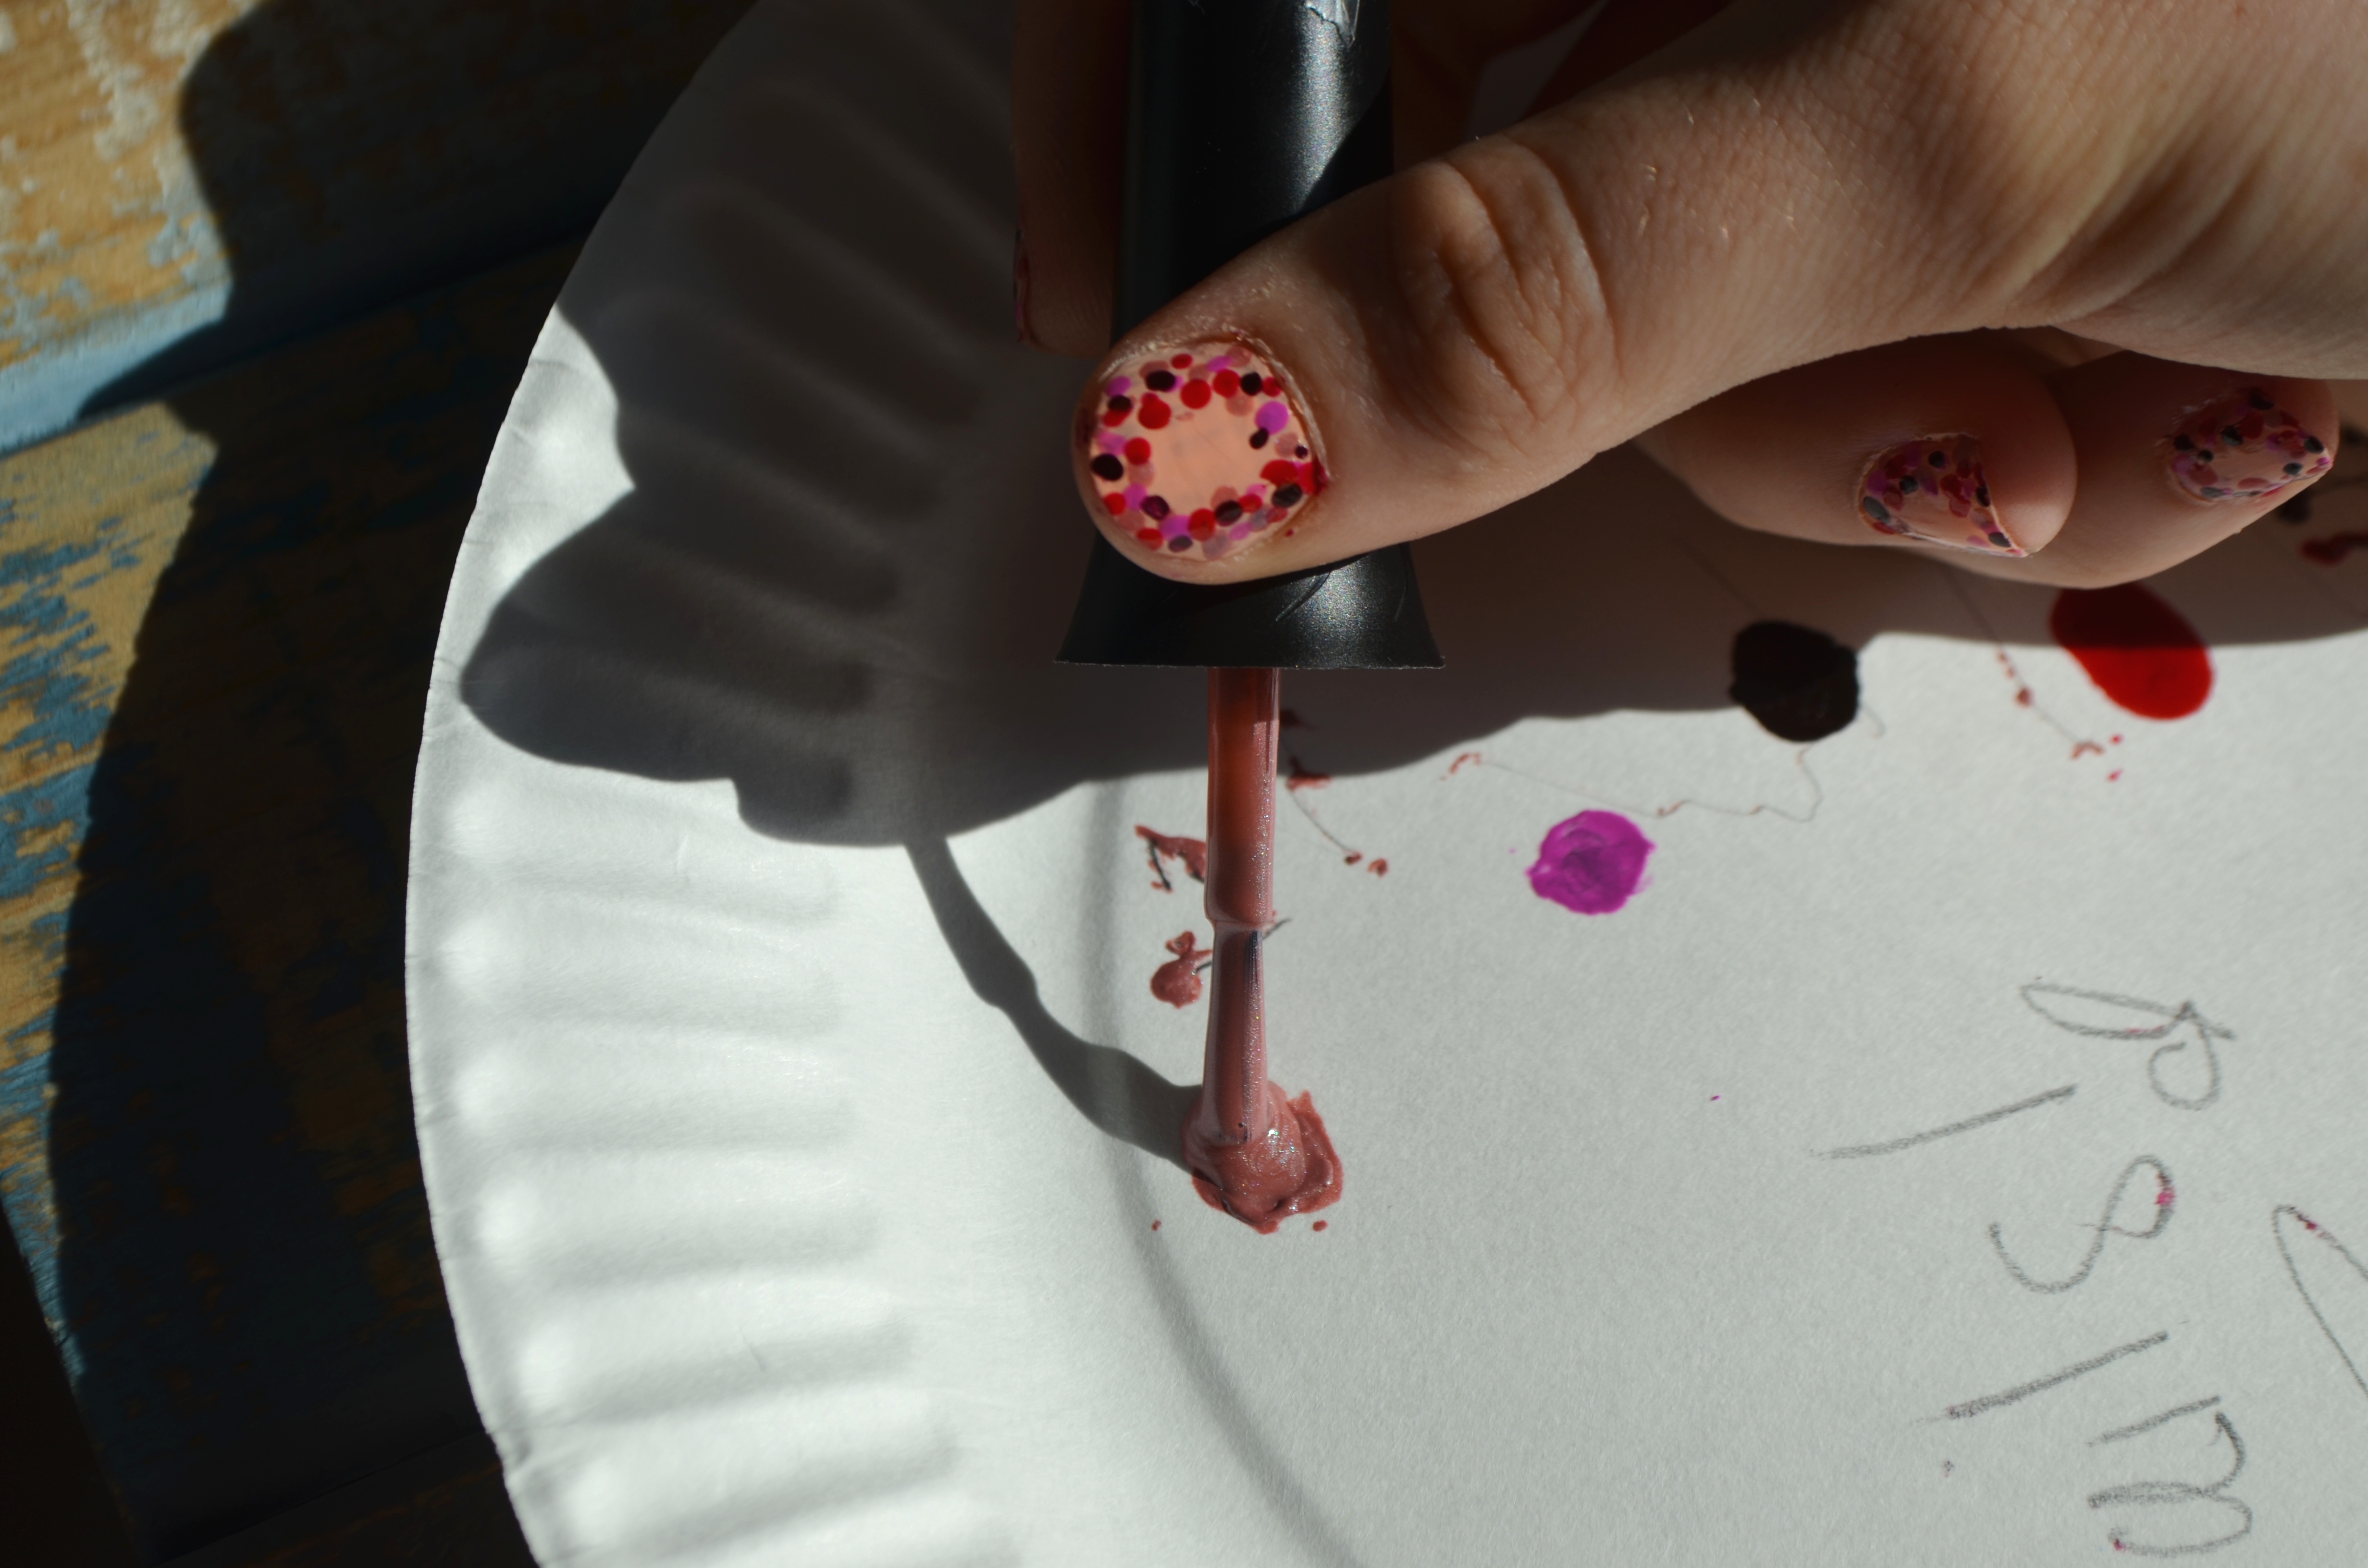
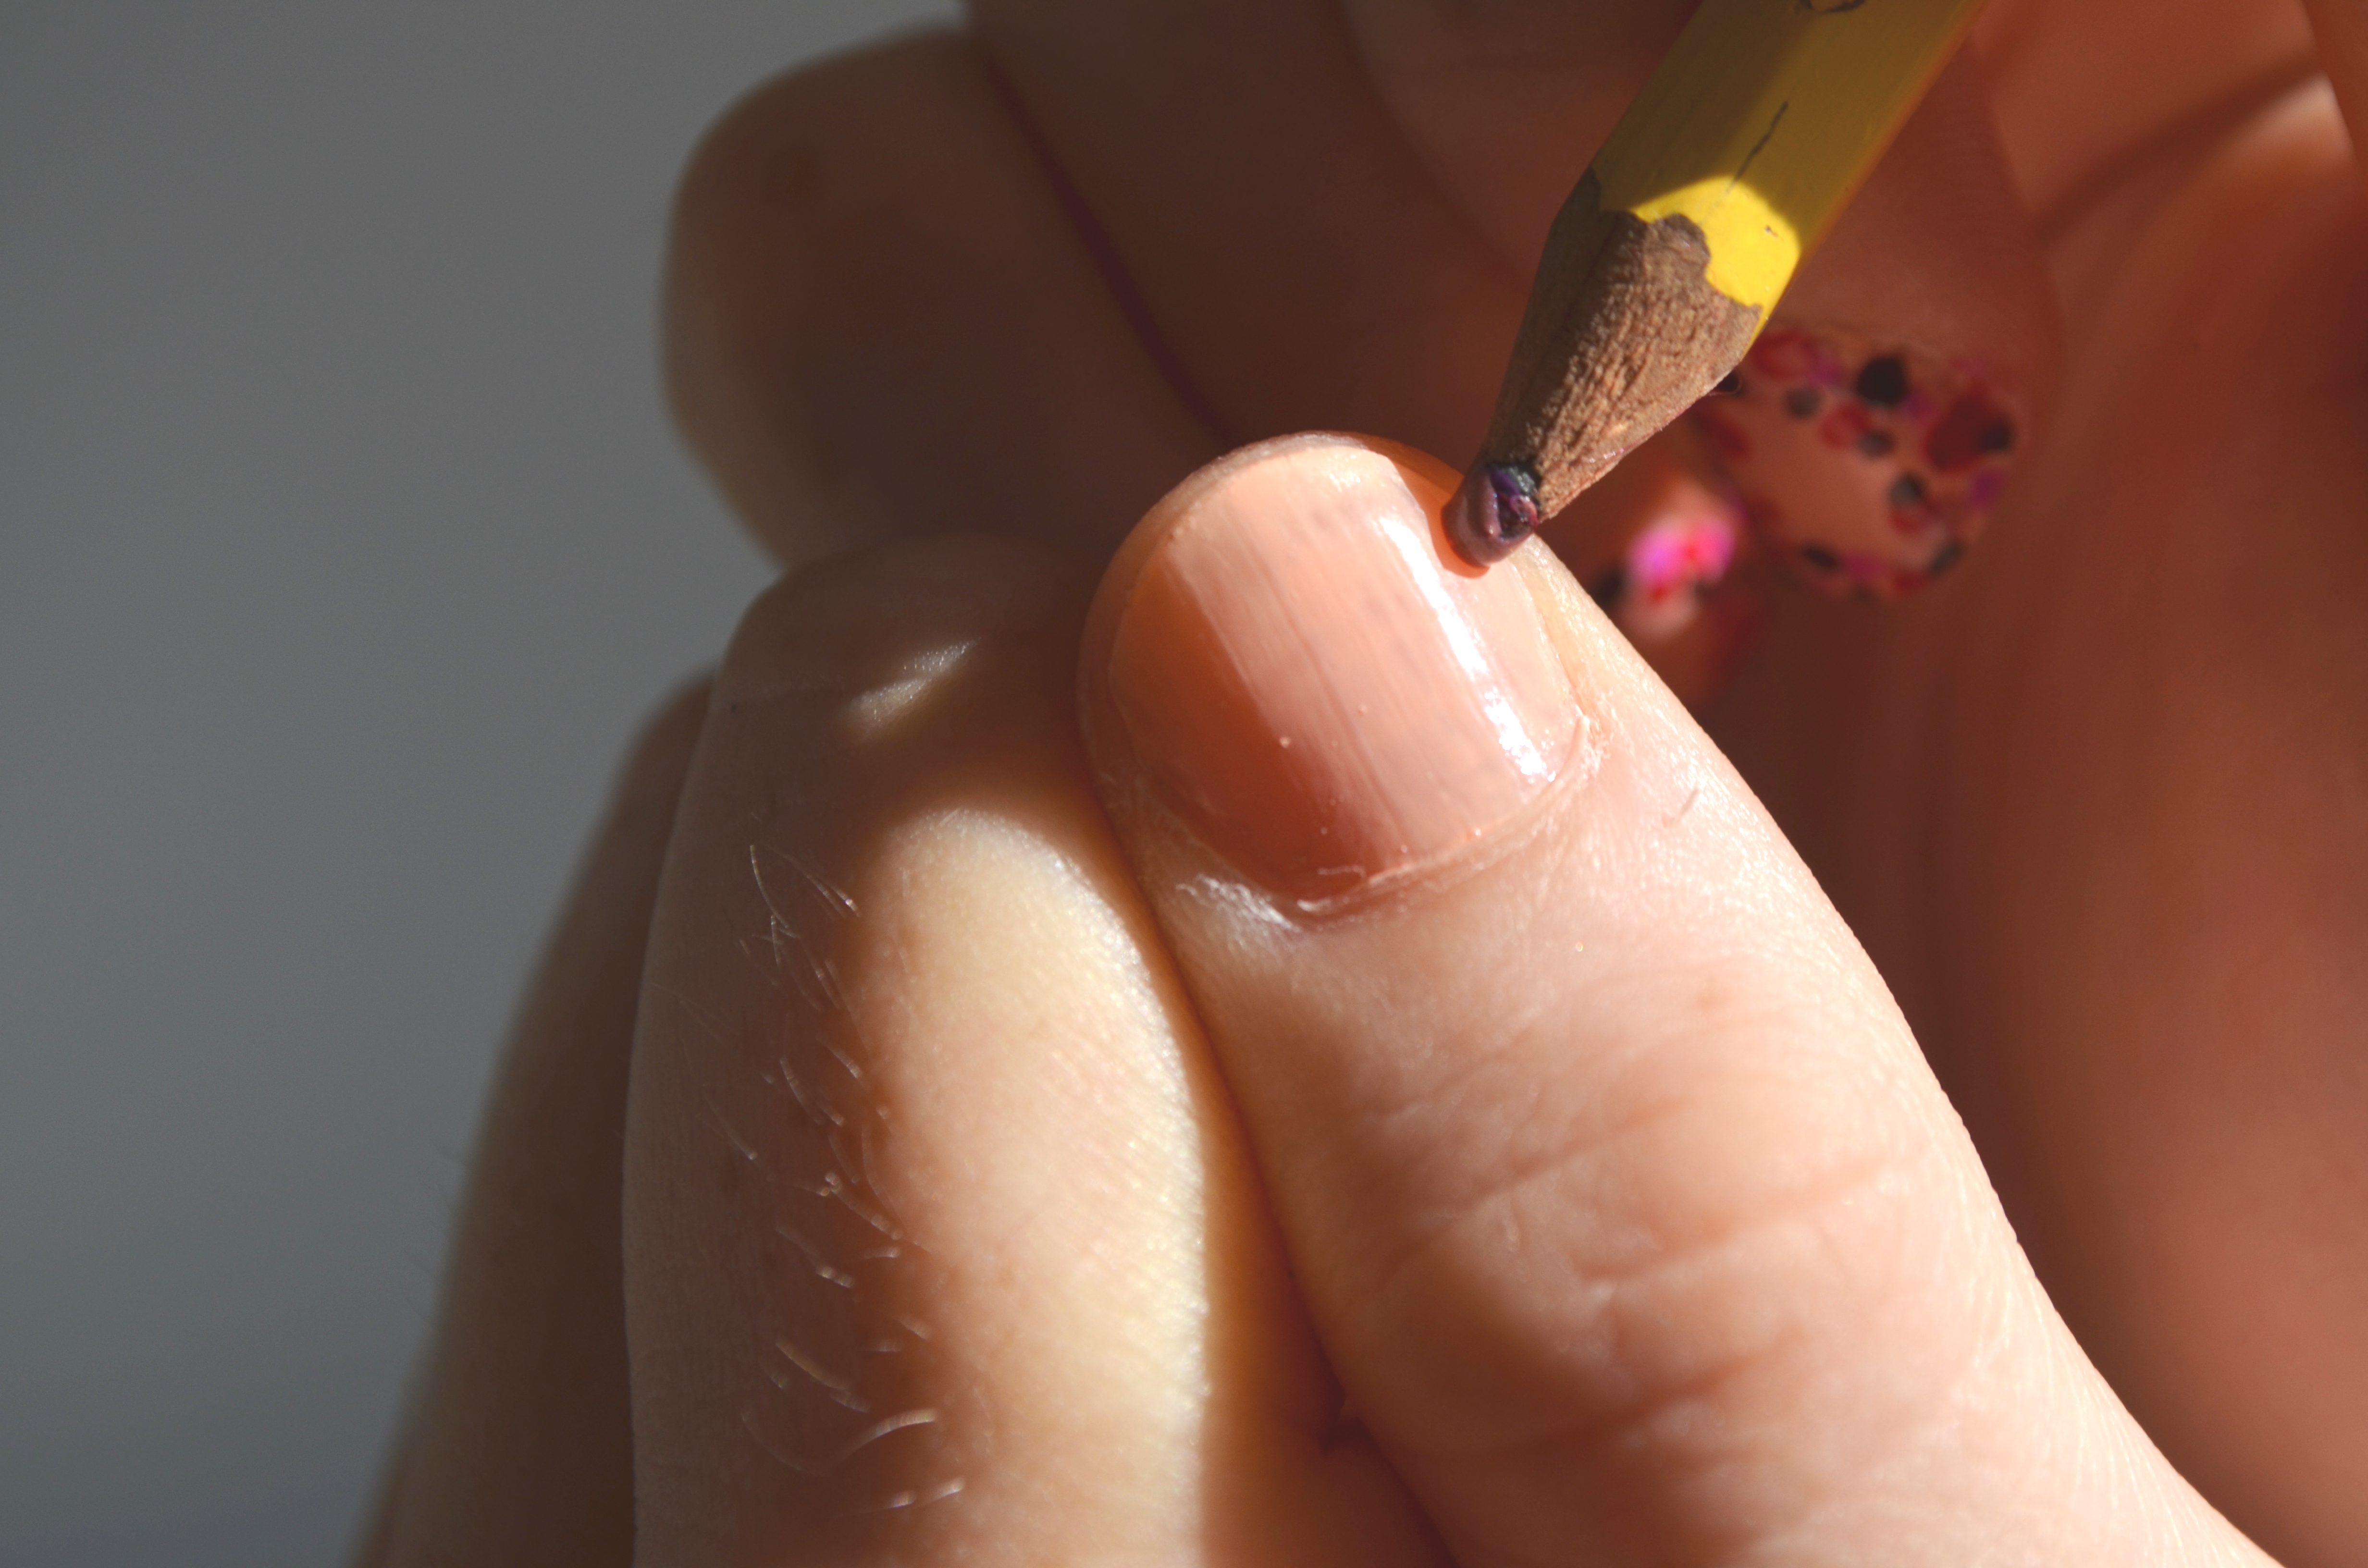
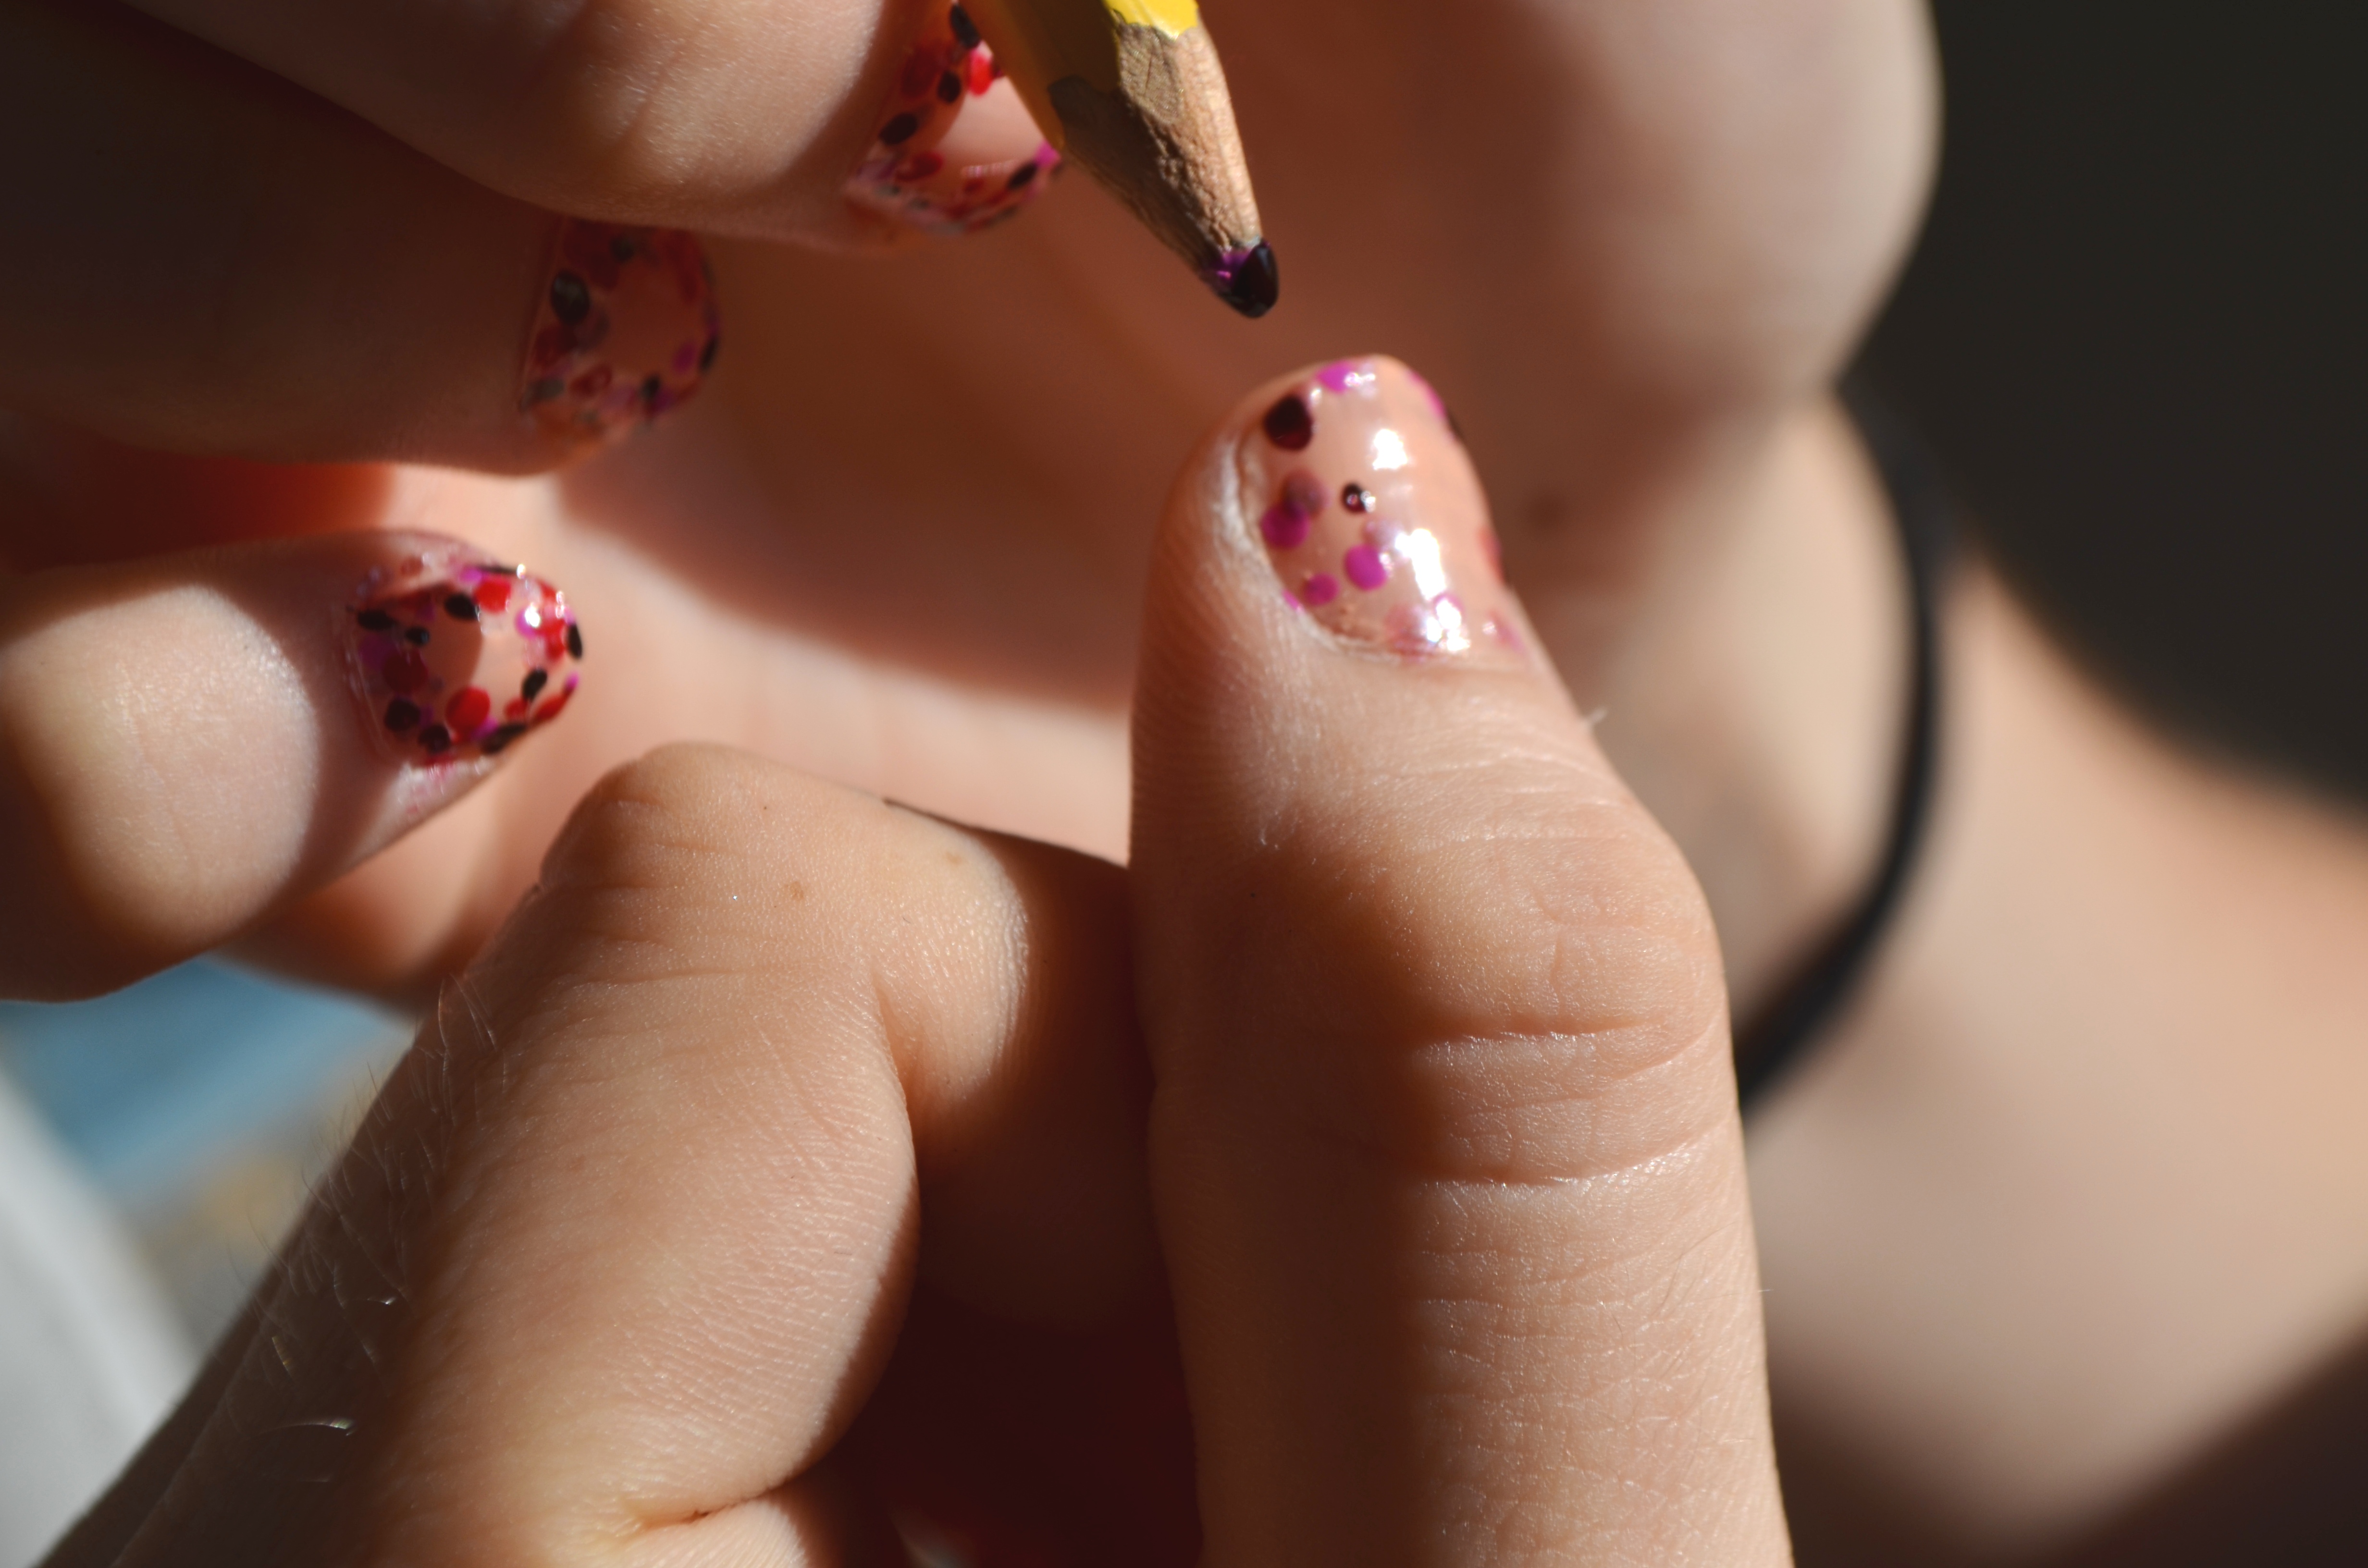
Once you have that drop on your plate, seal your nail polish back up, take your dotting tool/pencil/pen, and dip the tip into the nail polish, making sure you cover it well.

Then start adding dots around the outer edges of your nails. Simply lightly touch the point of your dotter/pencil/pen to your nail and gently lift back up in order to place a dot down. (Doing it both lightly and gently helps you to avoid making your dots too large). If your dot is too small, simply add more nail polish onto your dotting utensil and try again. Don’t be afraid to vary the sizes of your dots, though, in order to make it more visually interesting.
See how I did it here. It’s not as complex as I think I made it sound:
One dot,

Three dots,

All the dots!
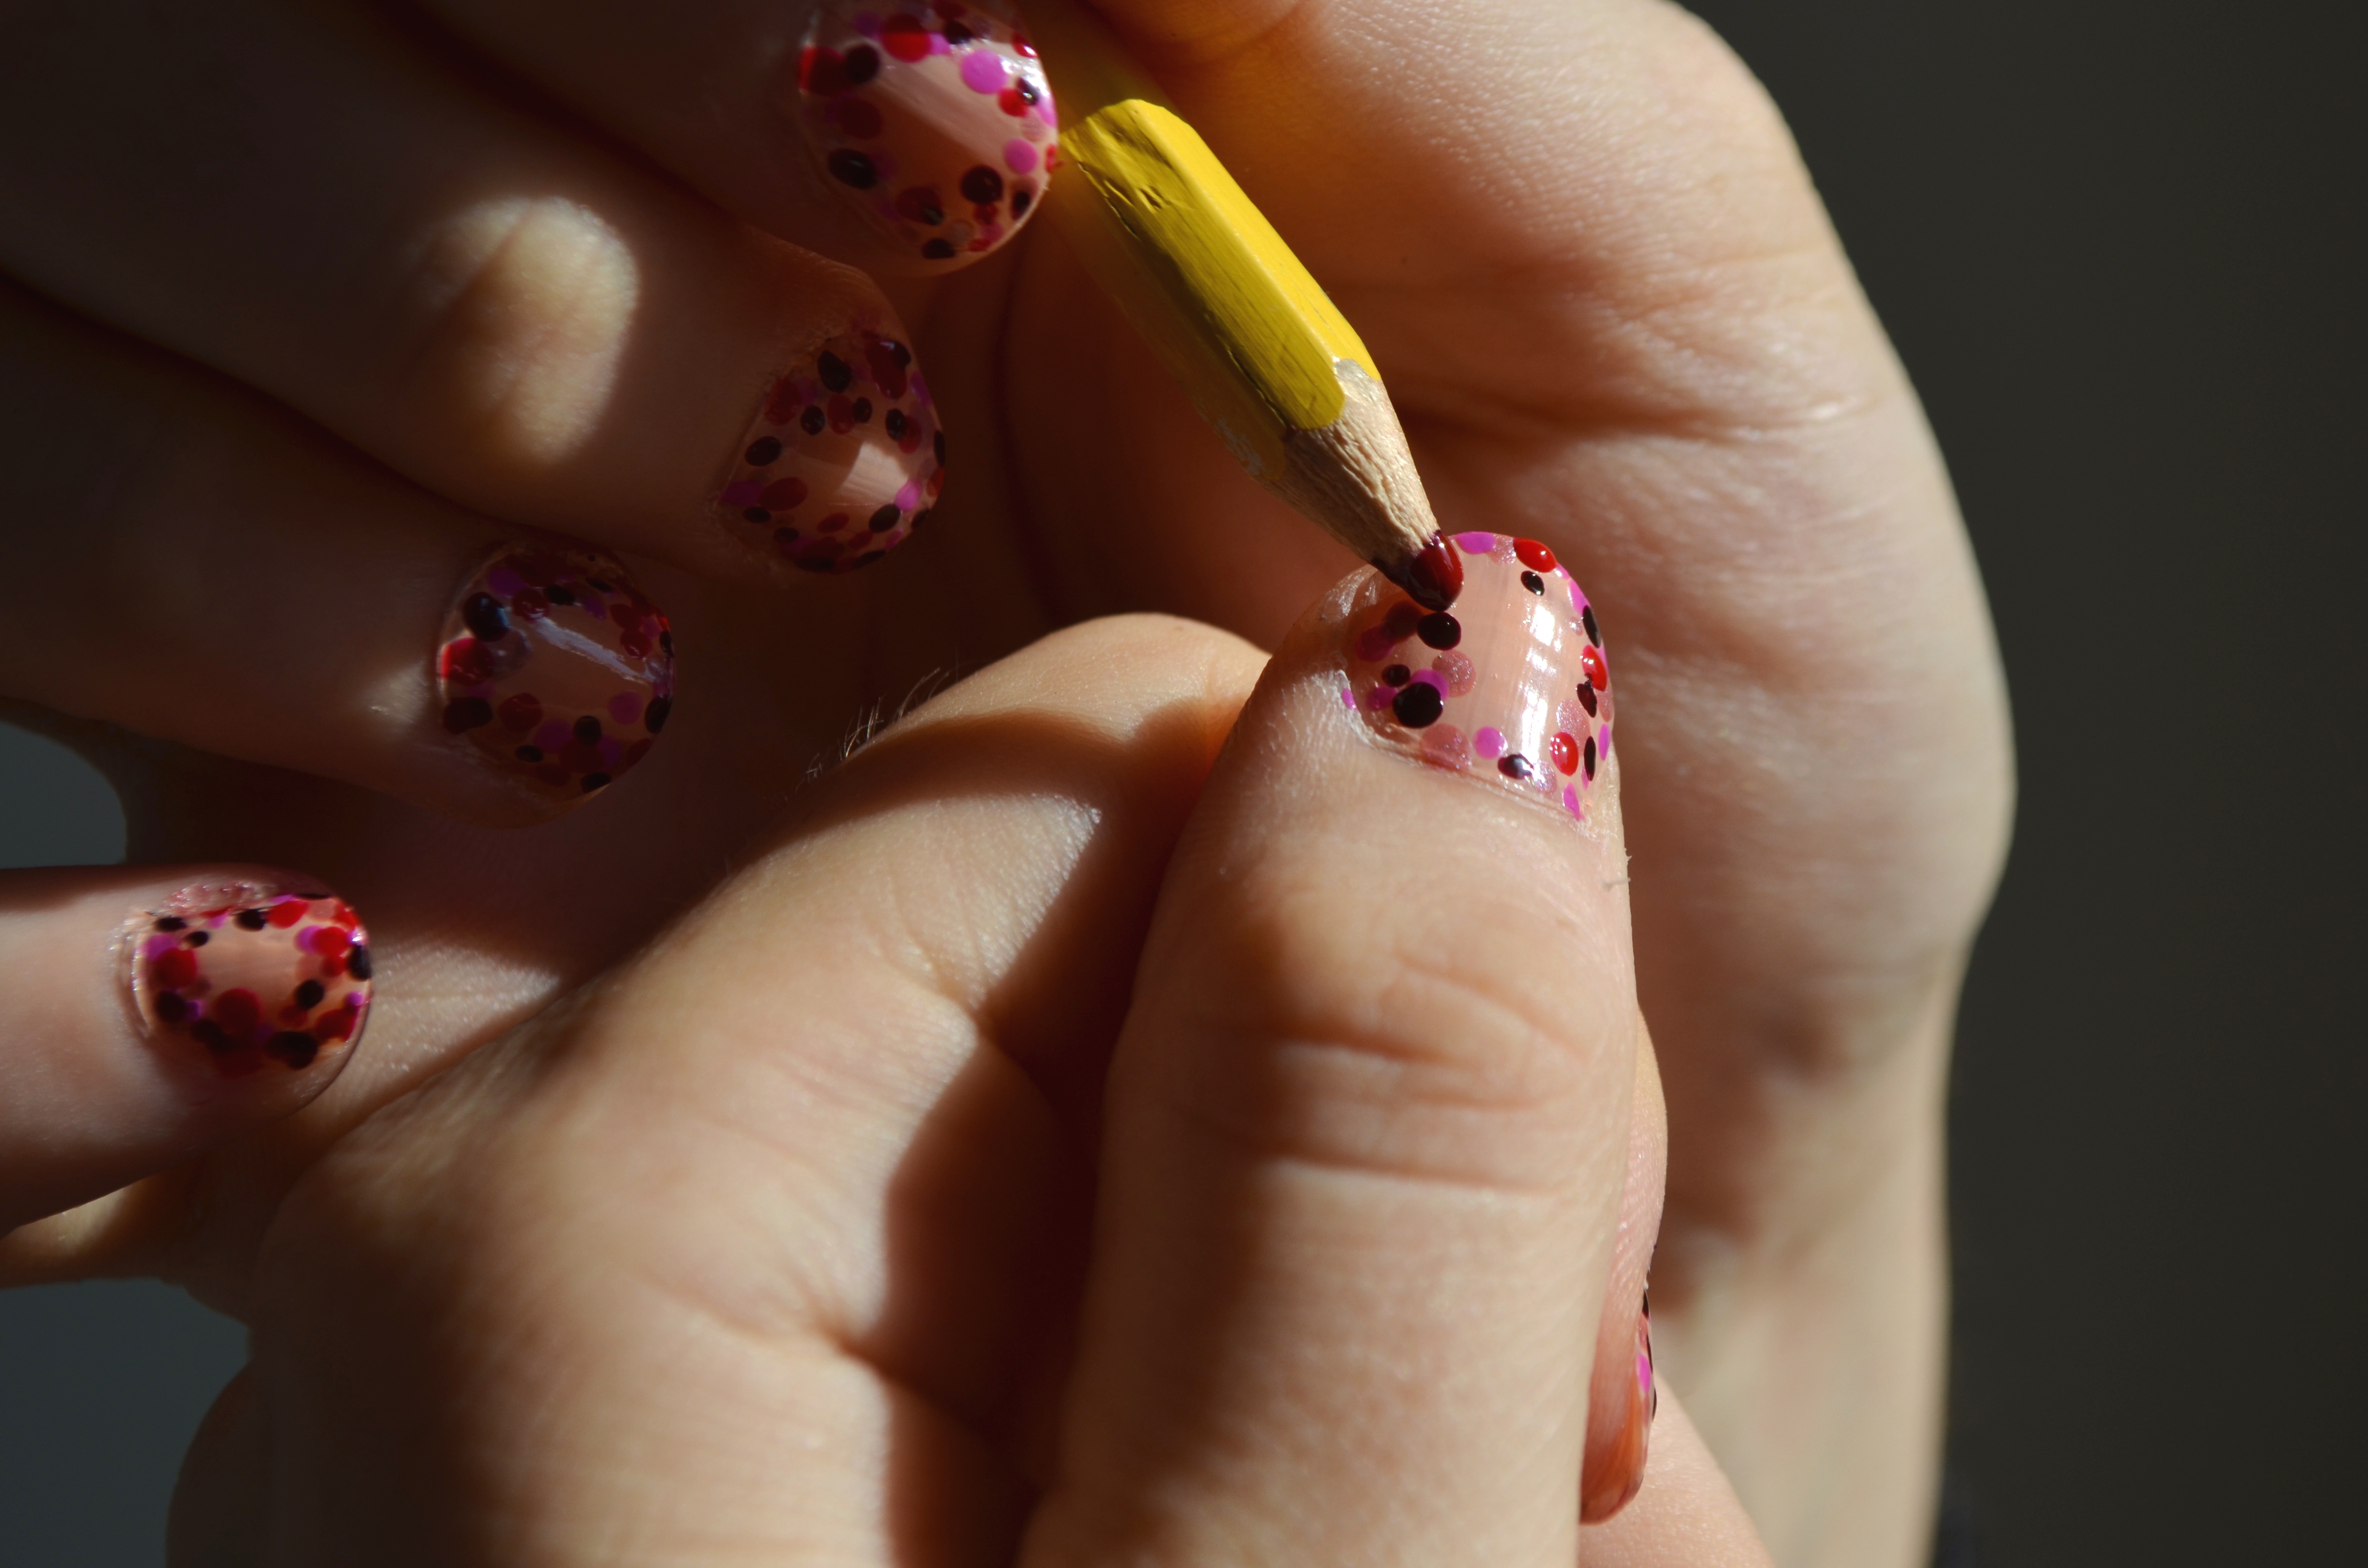
Now the only thing left to do is to repeat what we just did above, except with all of the other colors! How easy is that?
The next shade I chose was my bright purple, for it’s darker than the pink but not as dark as the red or burgundy. Choose whatever shade in your set fits that criteria (as in third-lightest).
Then simply add a drop or two to your plate,

dip your dotter,
and start dotting!


As you can see, there’s really no set place you should put your dots. Just don’t go too far into the center of your nail with them, for you’re creating a sort of border. The border can be however thin or thick you want it to be, though. Also, try to overlap the dots as you add more colors in order to create a sort of collage/mosaic type of design. (Overlapping purposes are solely why I’m working from lightest to darkest, by the way.)
Okay, so that last statement about lightest to darkest was a lie. Oops. Sorry. Next you should take your darkest shade, saving the second-darkest for last. Why? Because the second-darkest shade is going to be the main focus of the look, so you don’t want to accidentally drown it out with the darkest; the darkest color is simply there to provide some depth.
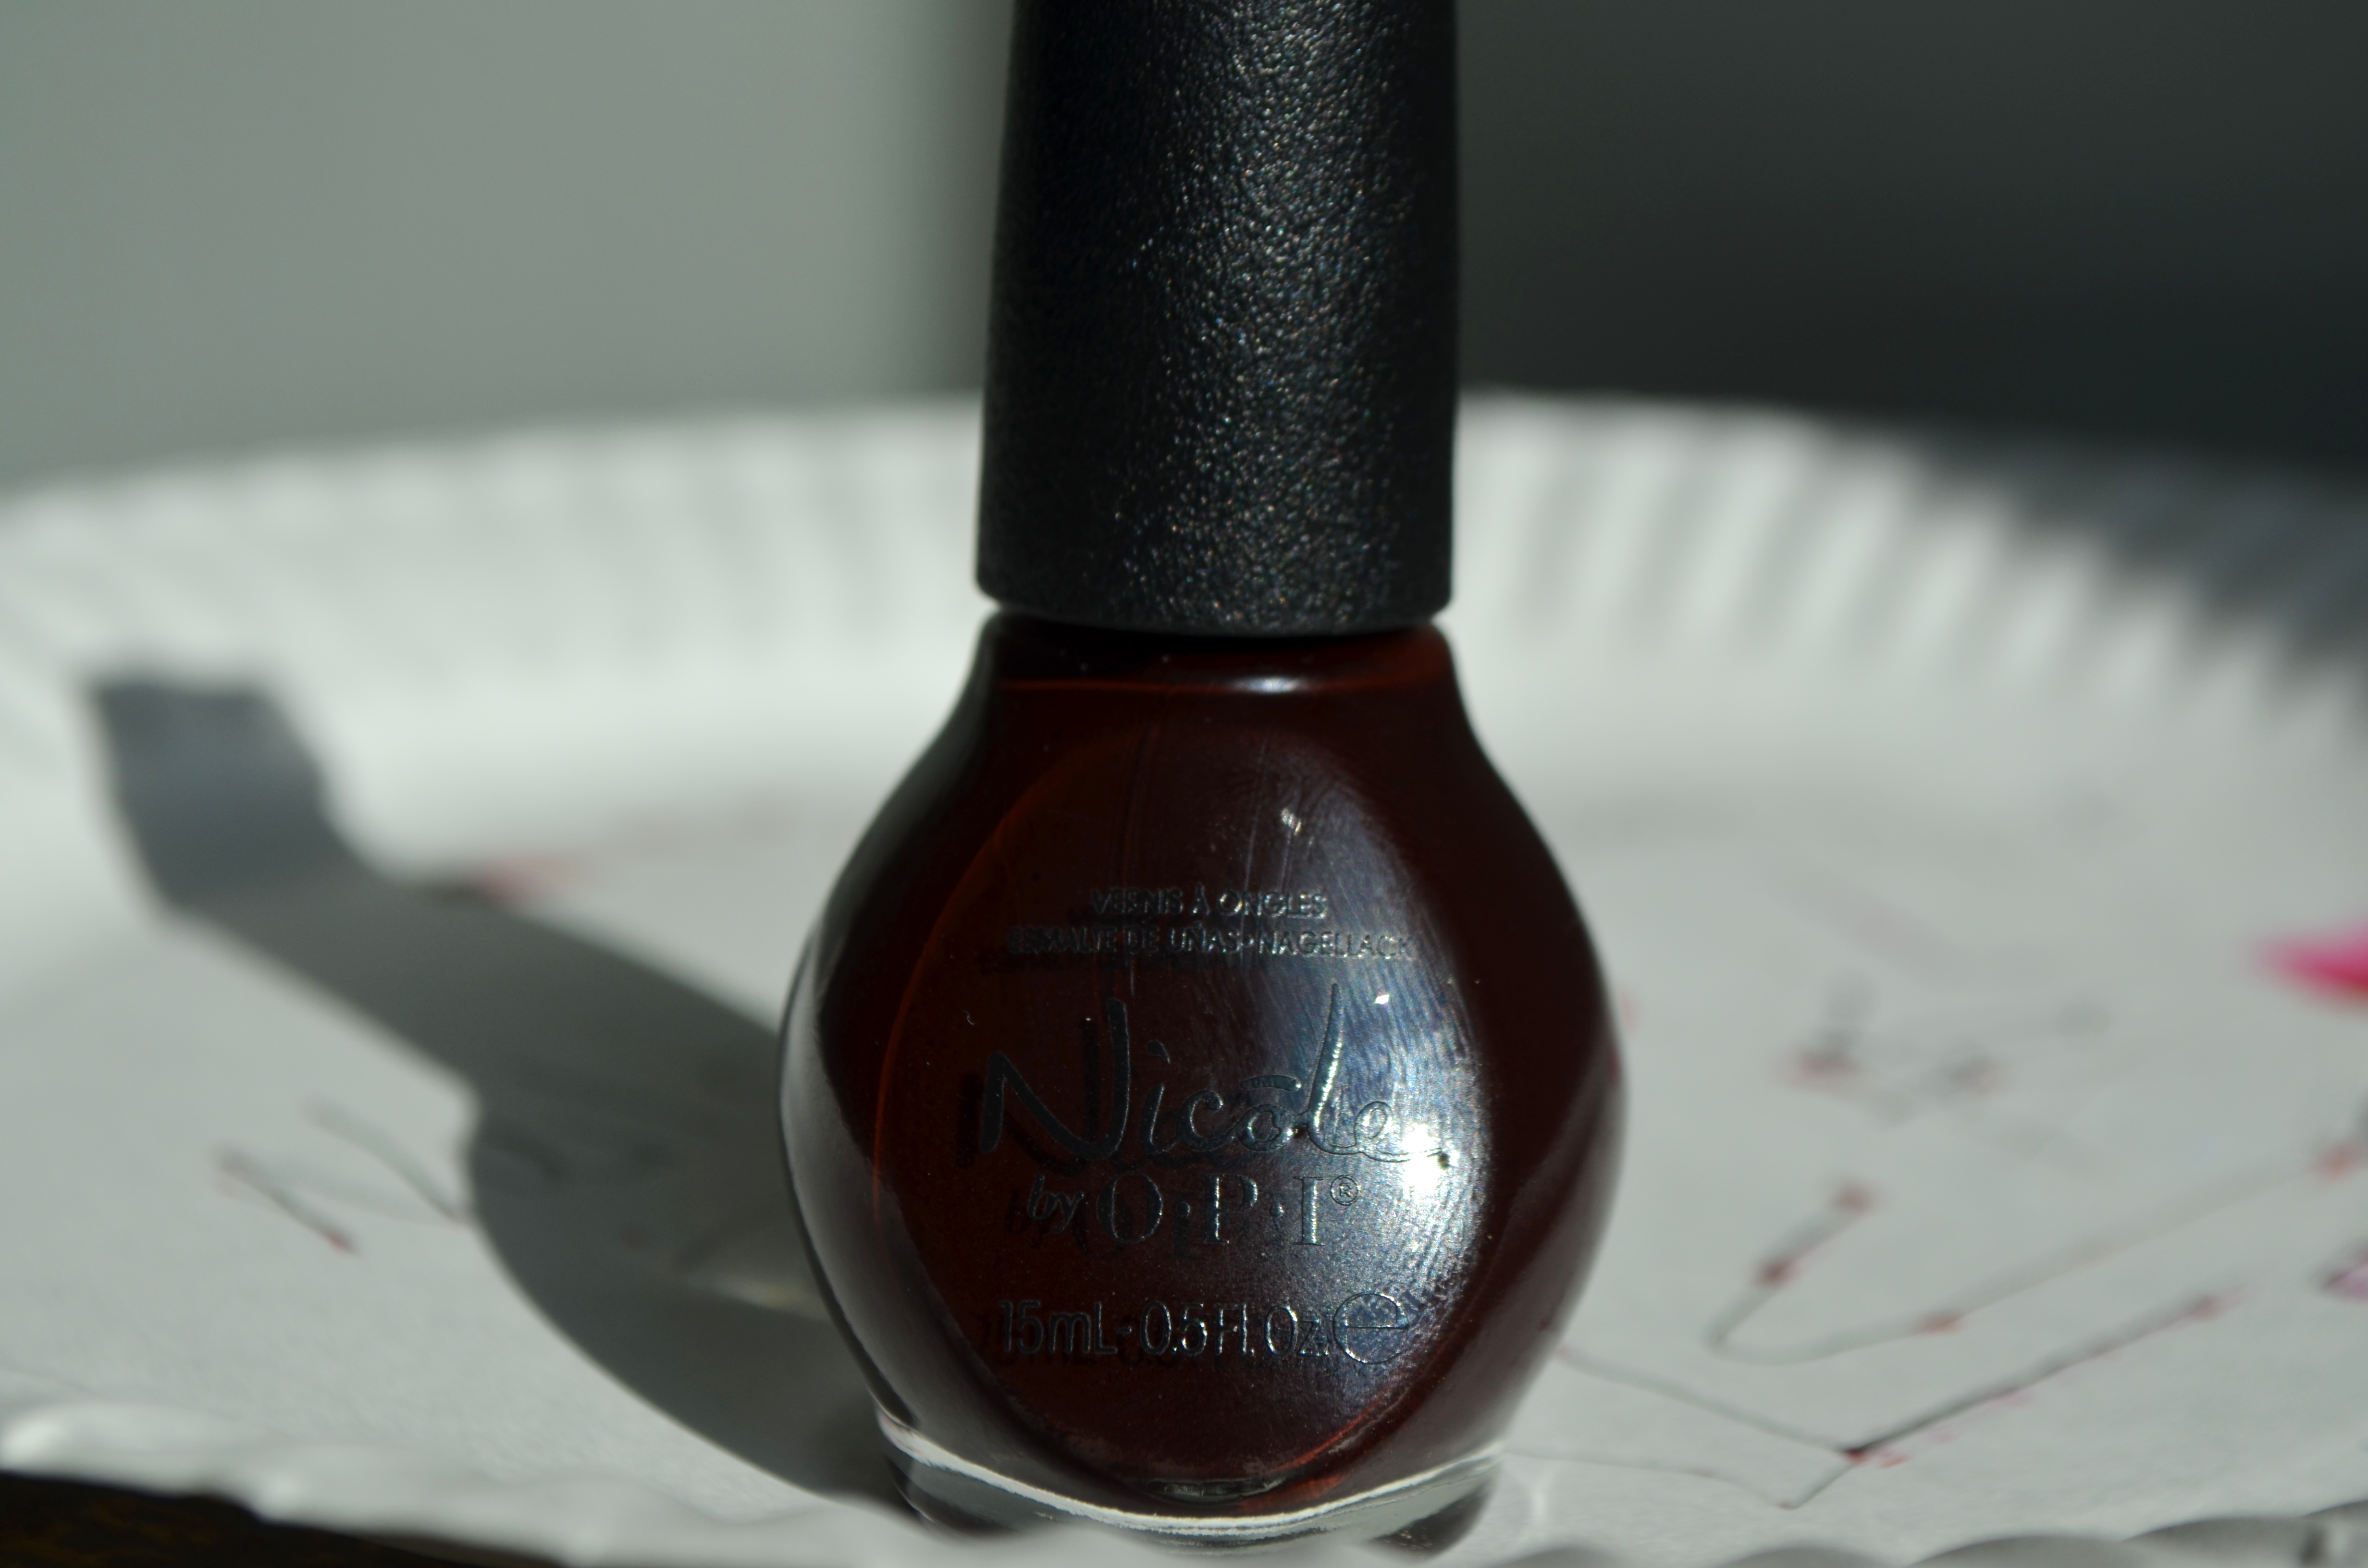
So add it, dip it, dot it! (Twist it, shake it, bop it!)


This time around, however, don’t do as many dots as you did with the other colors. If you do, you’ll end up drowning them out.
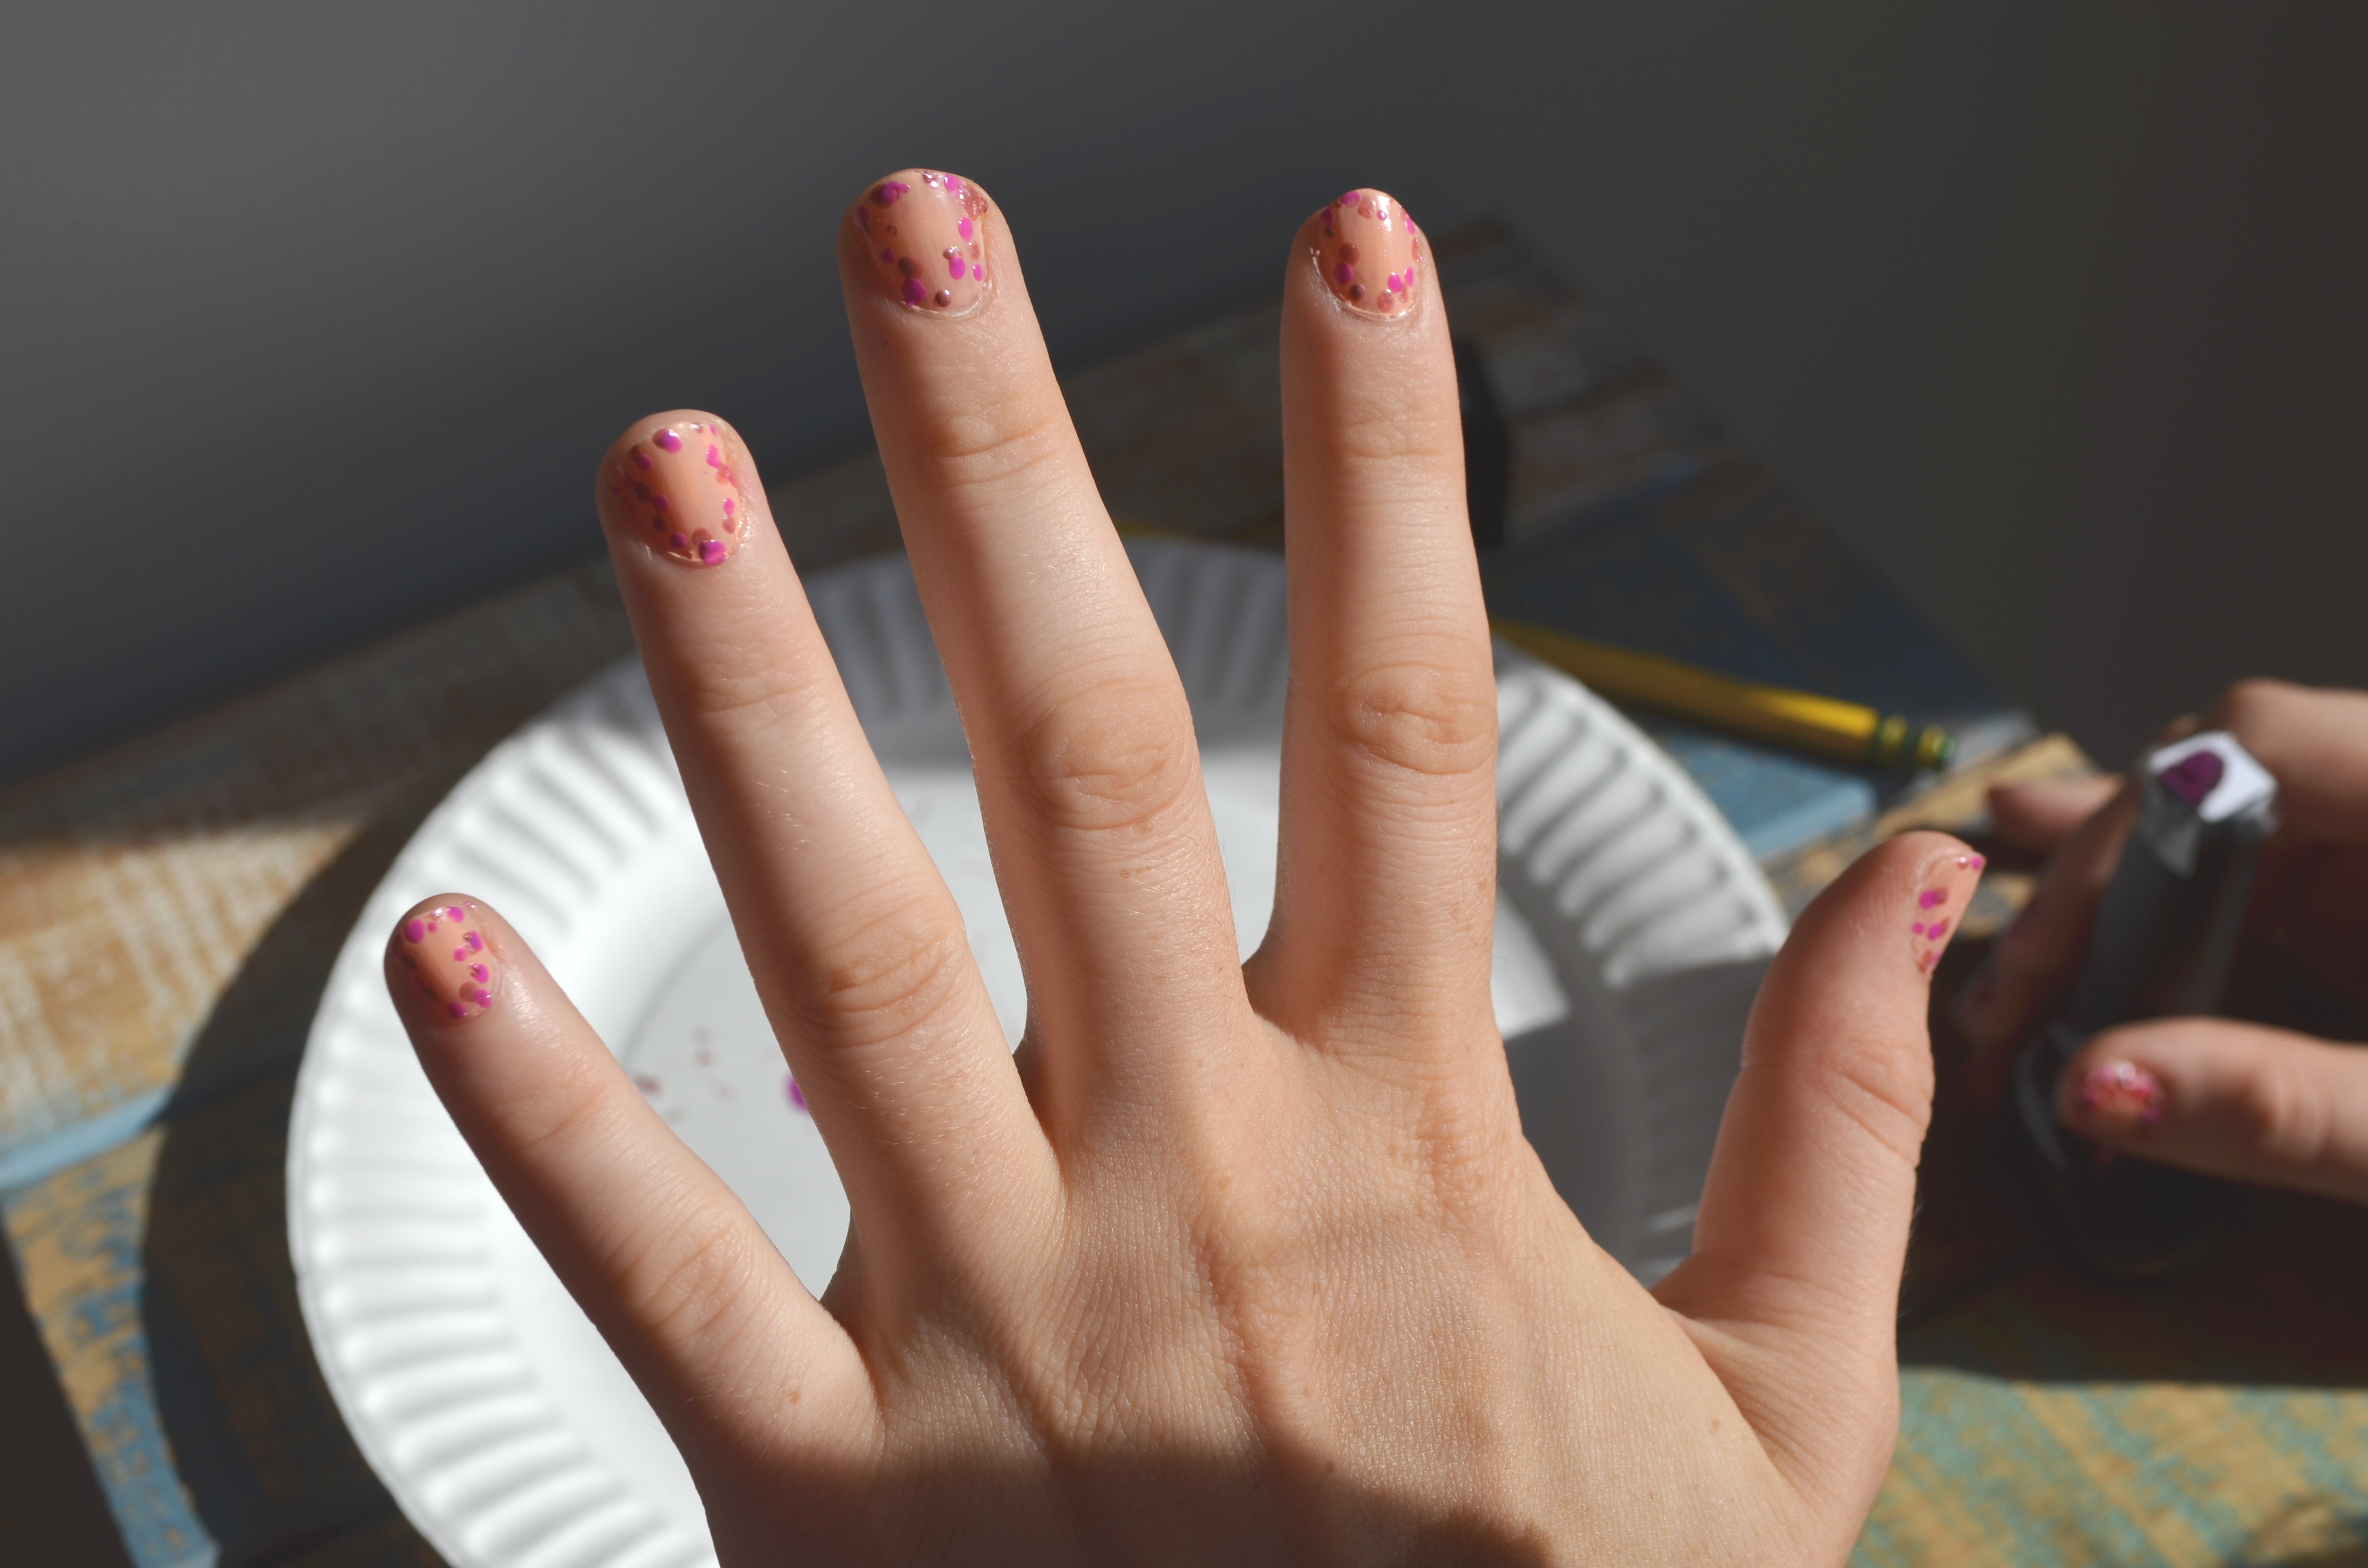
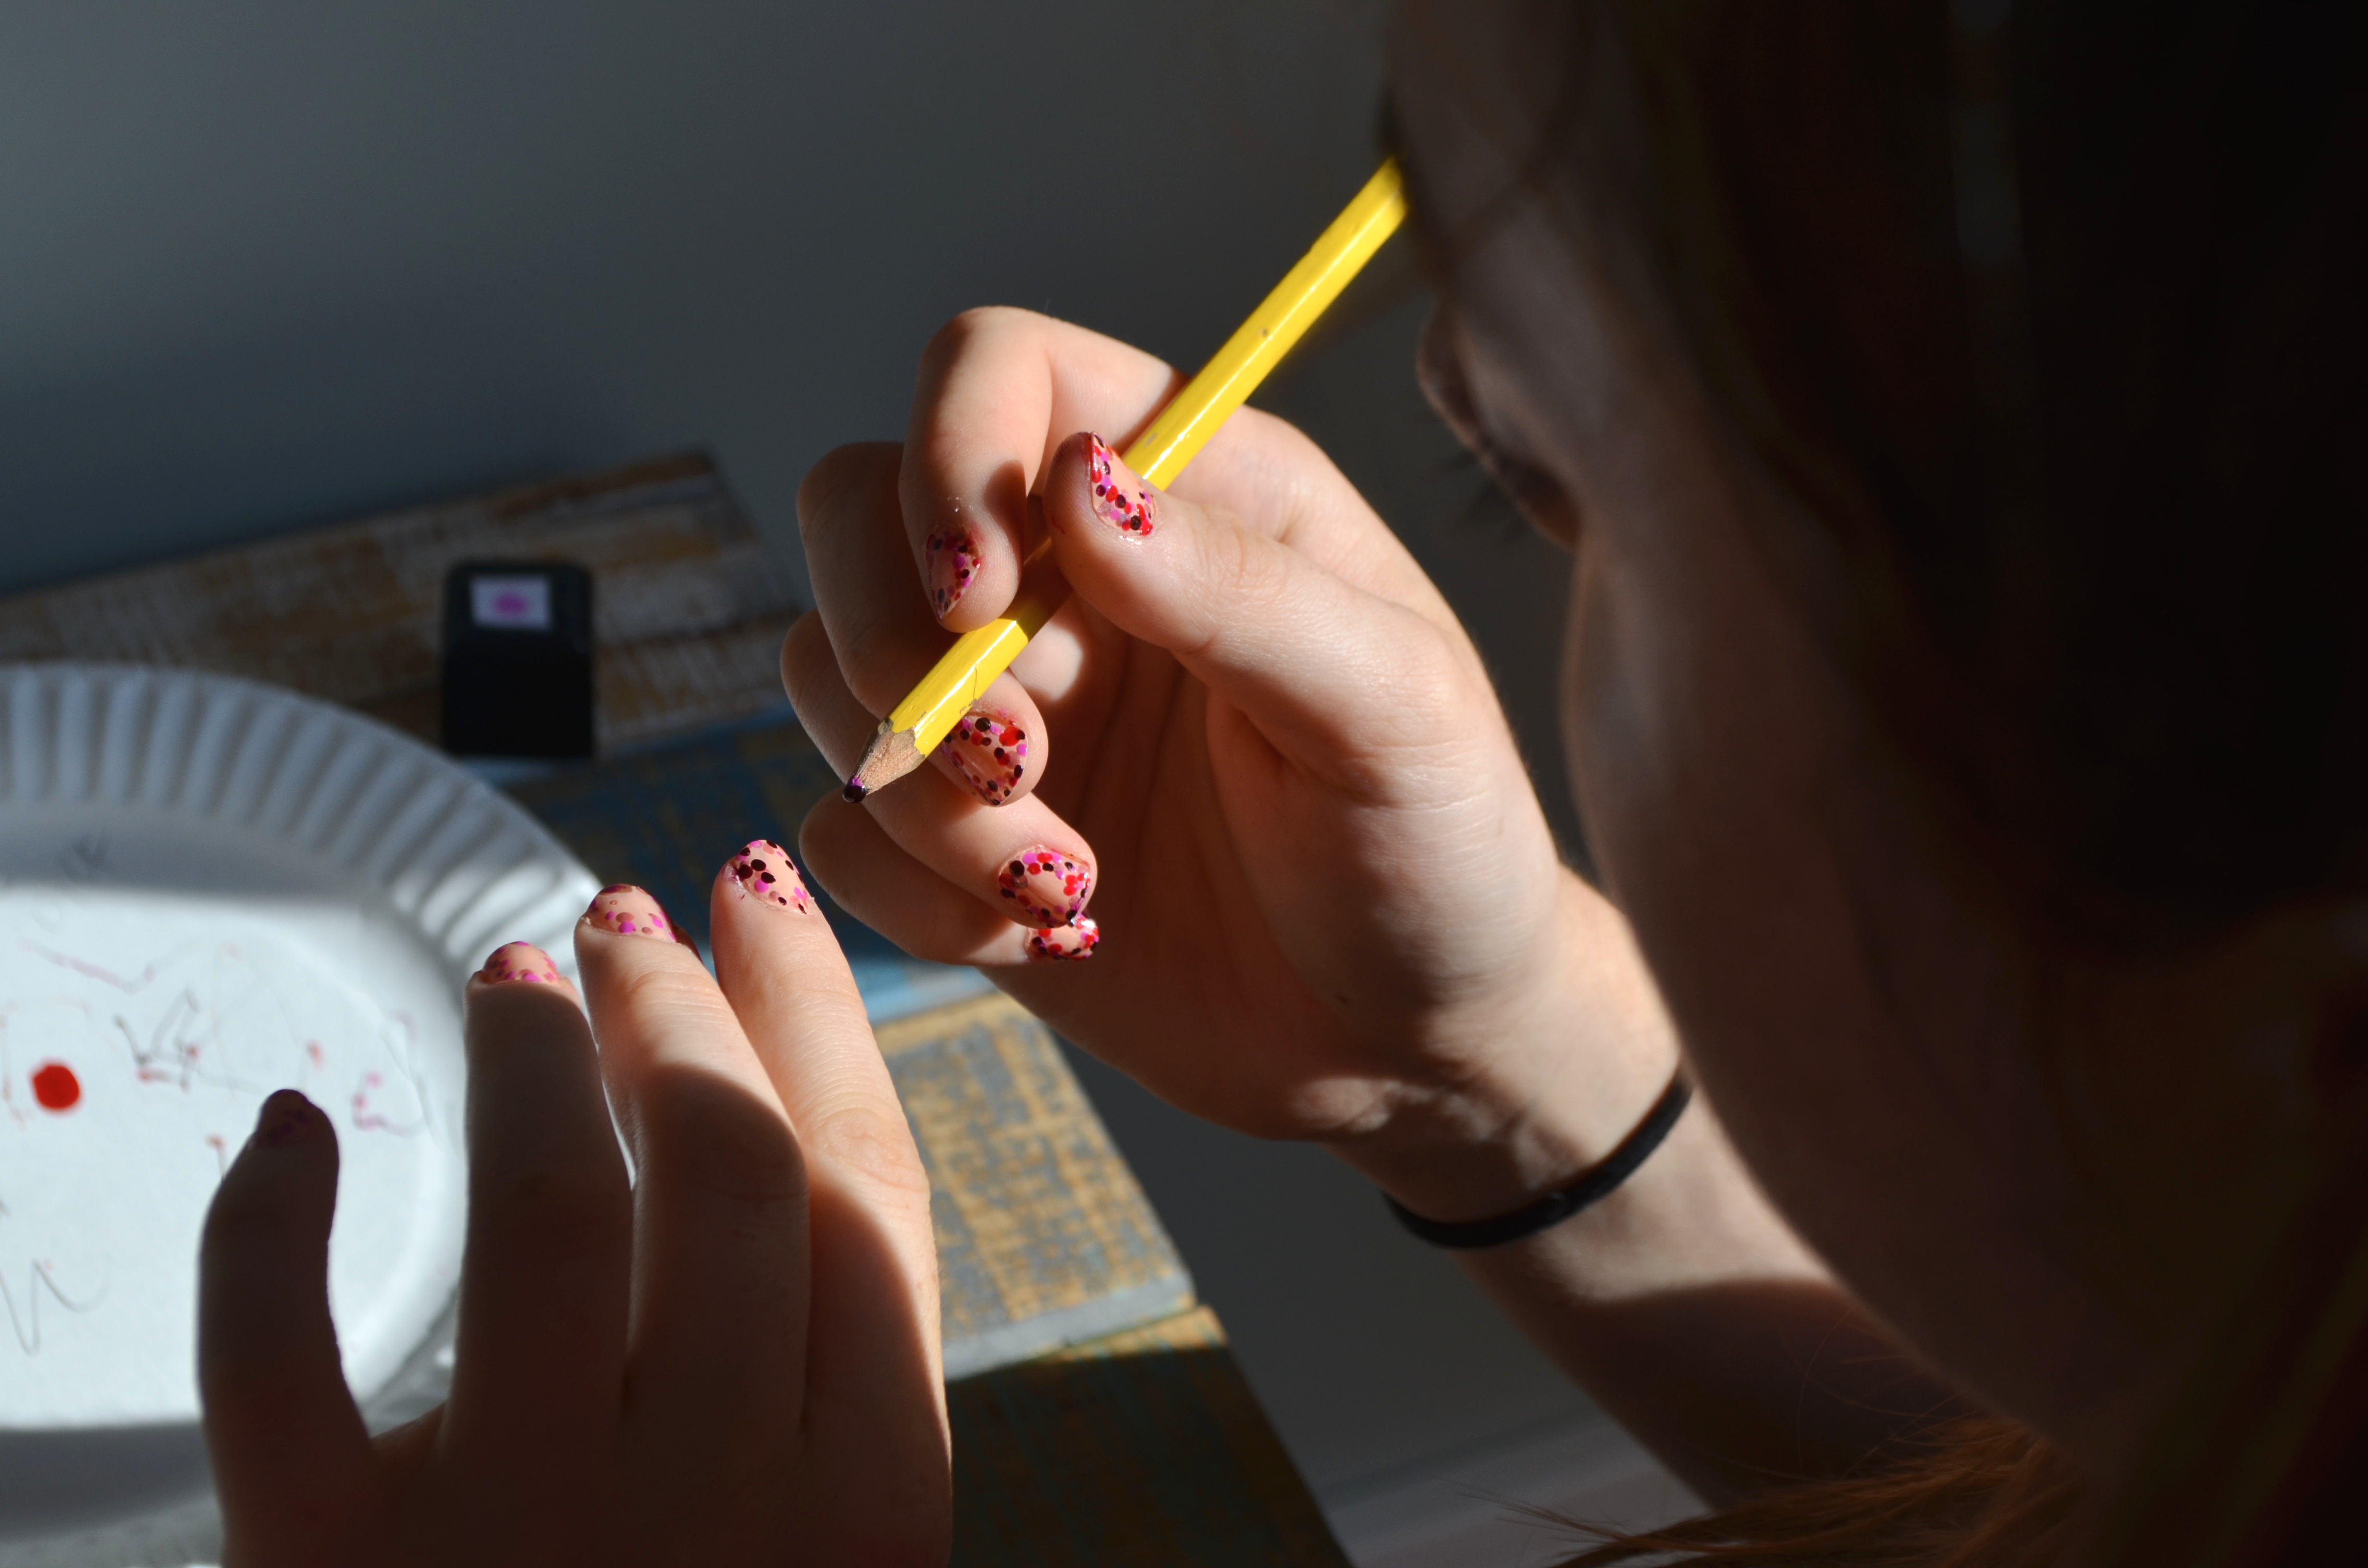
Here’s some bonus shots (that my sister really liked) so you can see in some more detail exactly how I was doing it.

And here’s what it should all look like thus far (roughly speaking, of course):

^(Notice how I went a little too far inside on my middle finger. While not horribly noticeable, if the same thing happens to you [and you just can’t live with it], you can always carefully put your base coat back over whichever dots got out of control, almost using it as an eraser of sorts. I, however, just decided to go with it; don’t let perfect get in the way of good, right?)
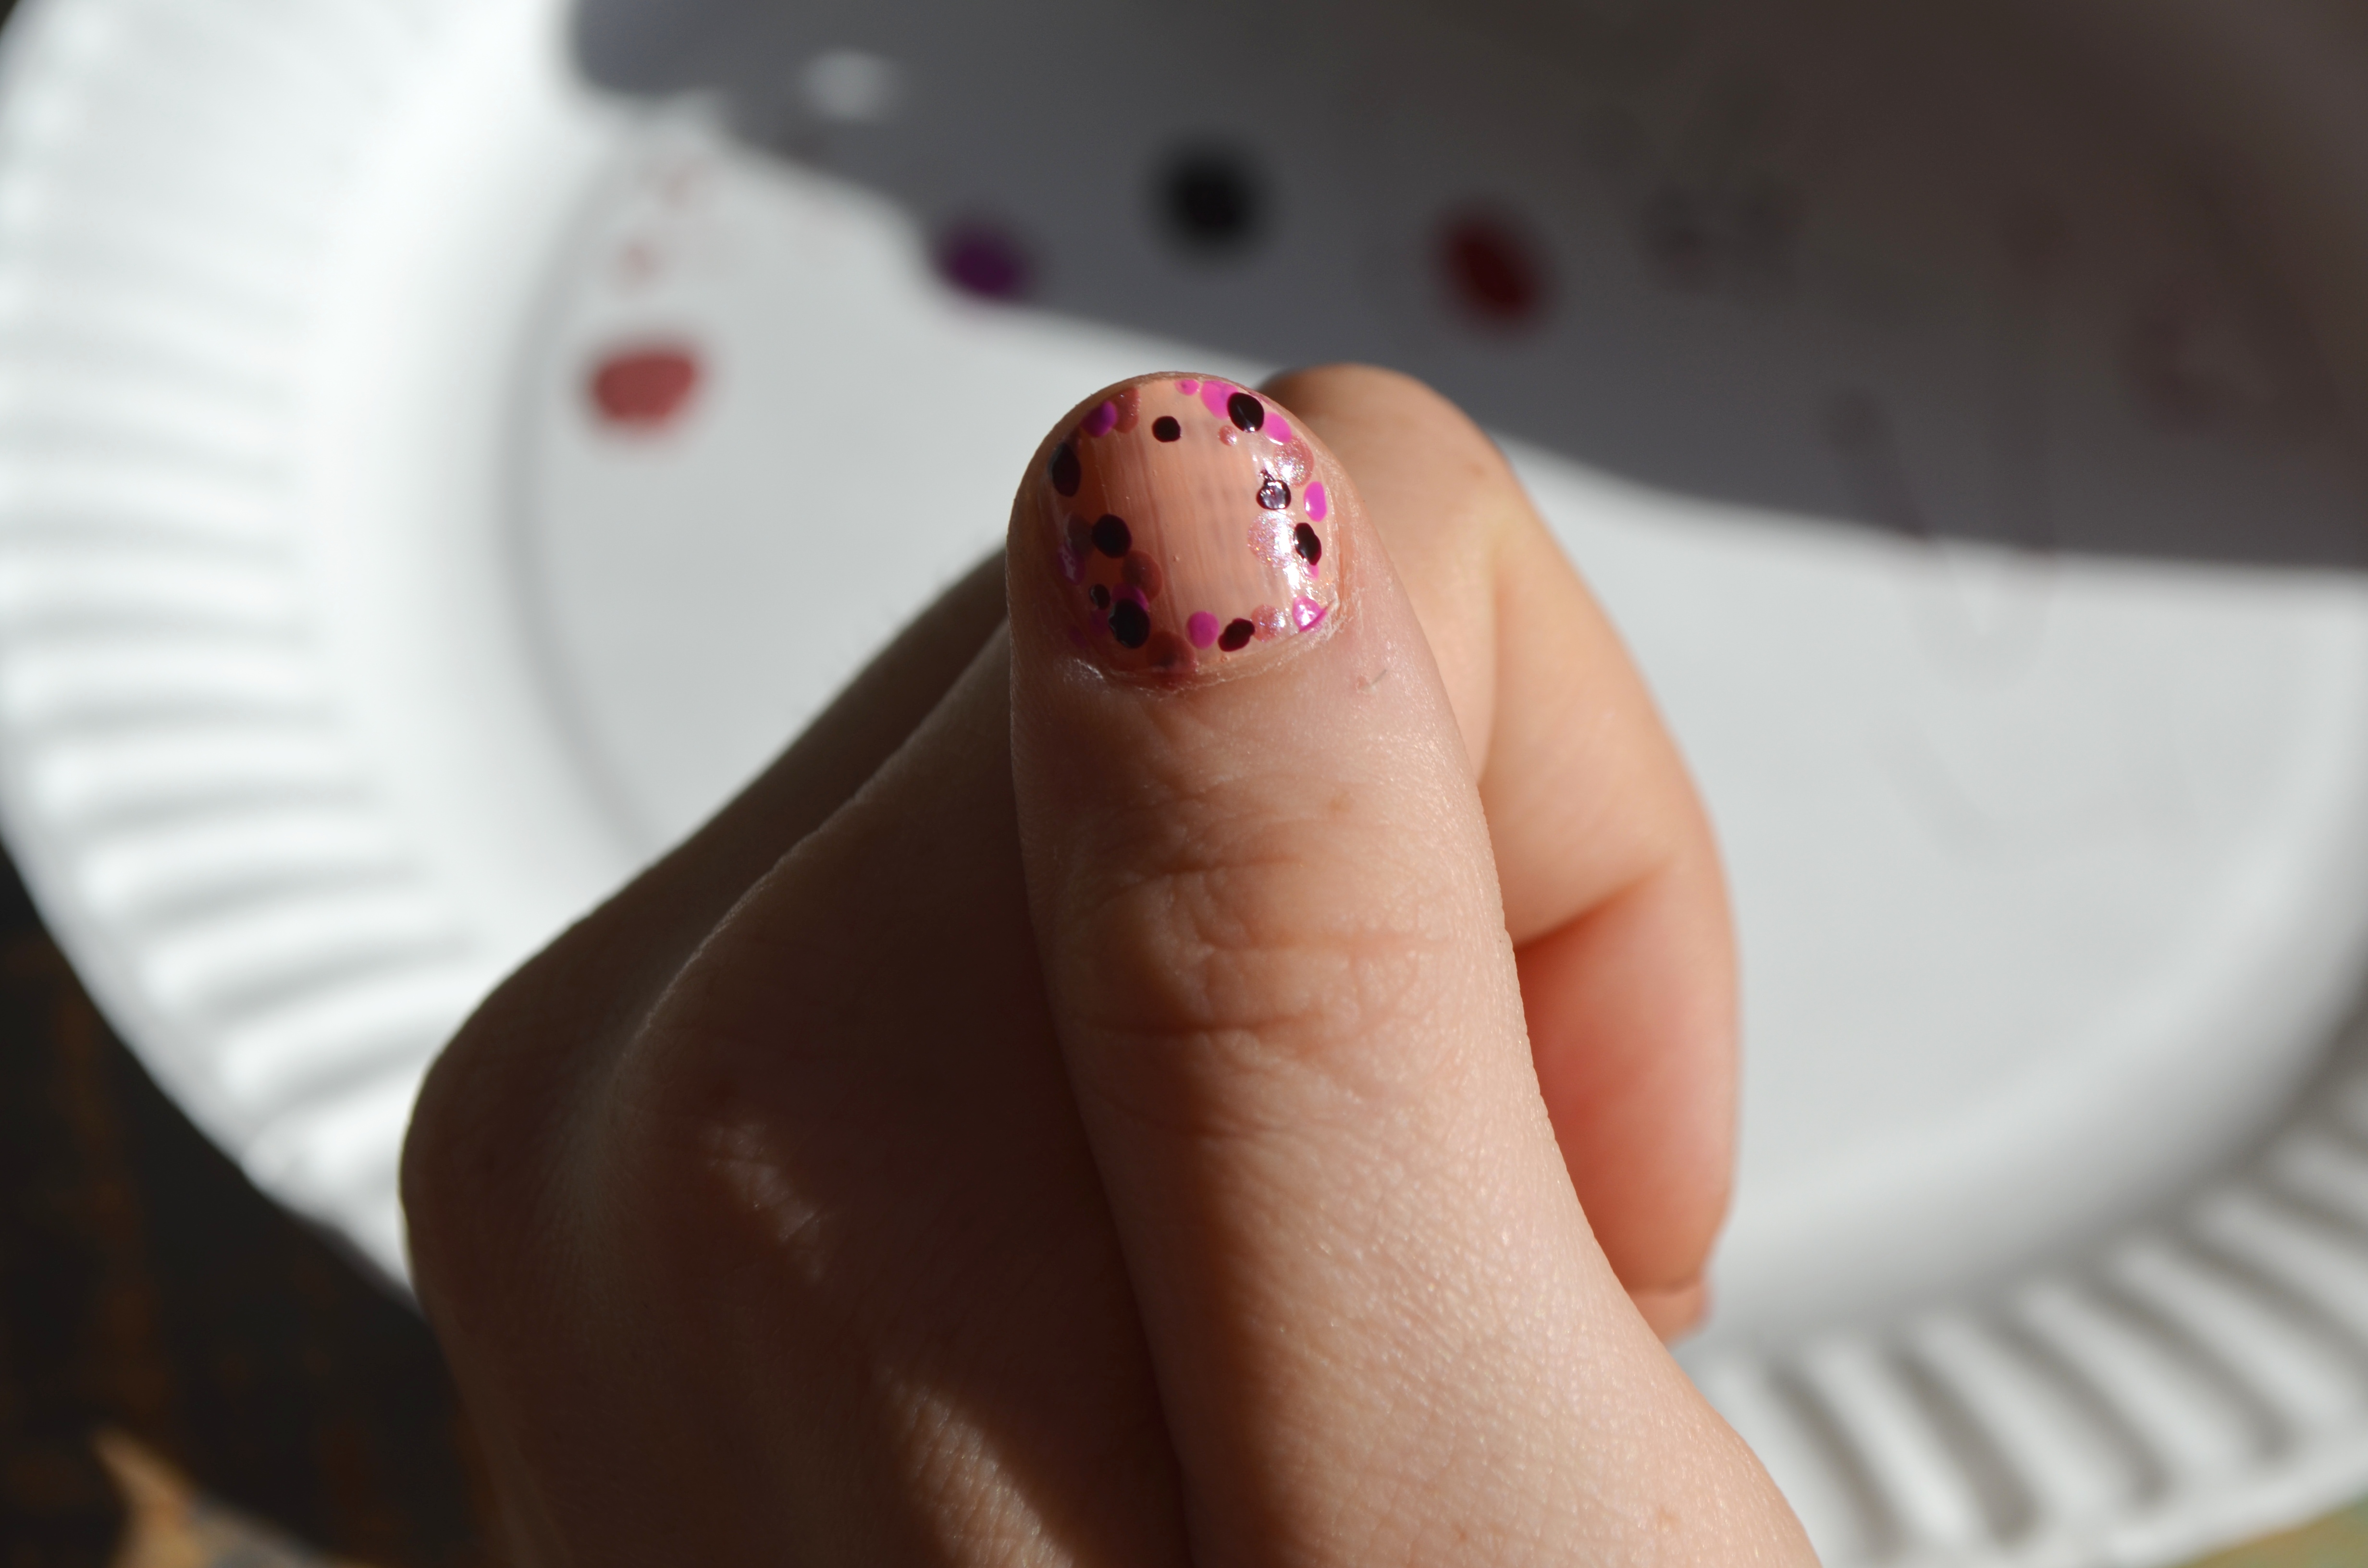
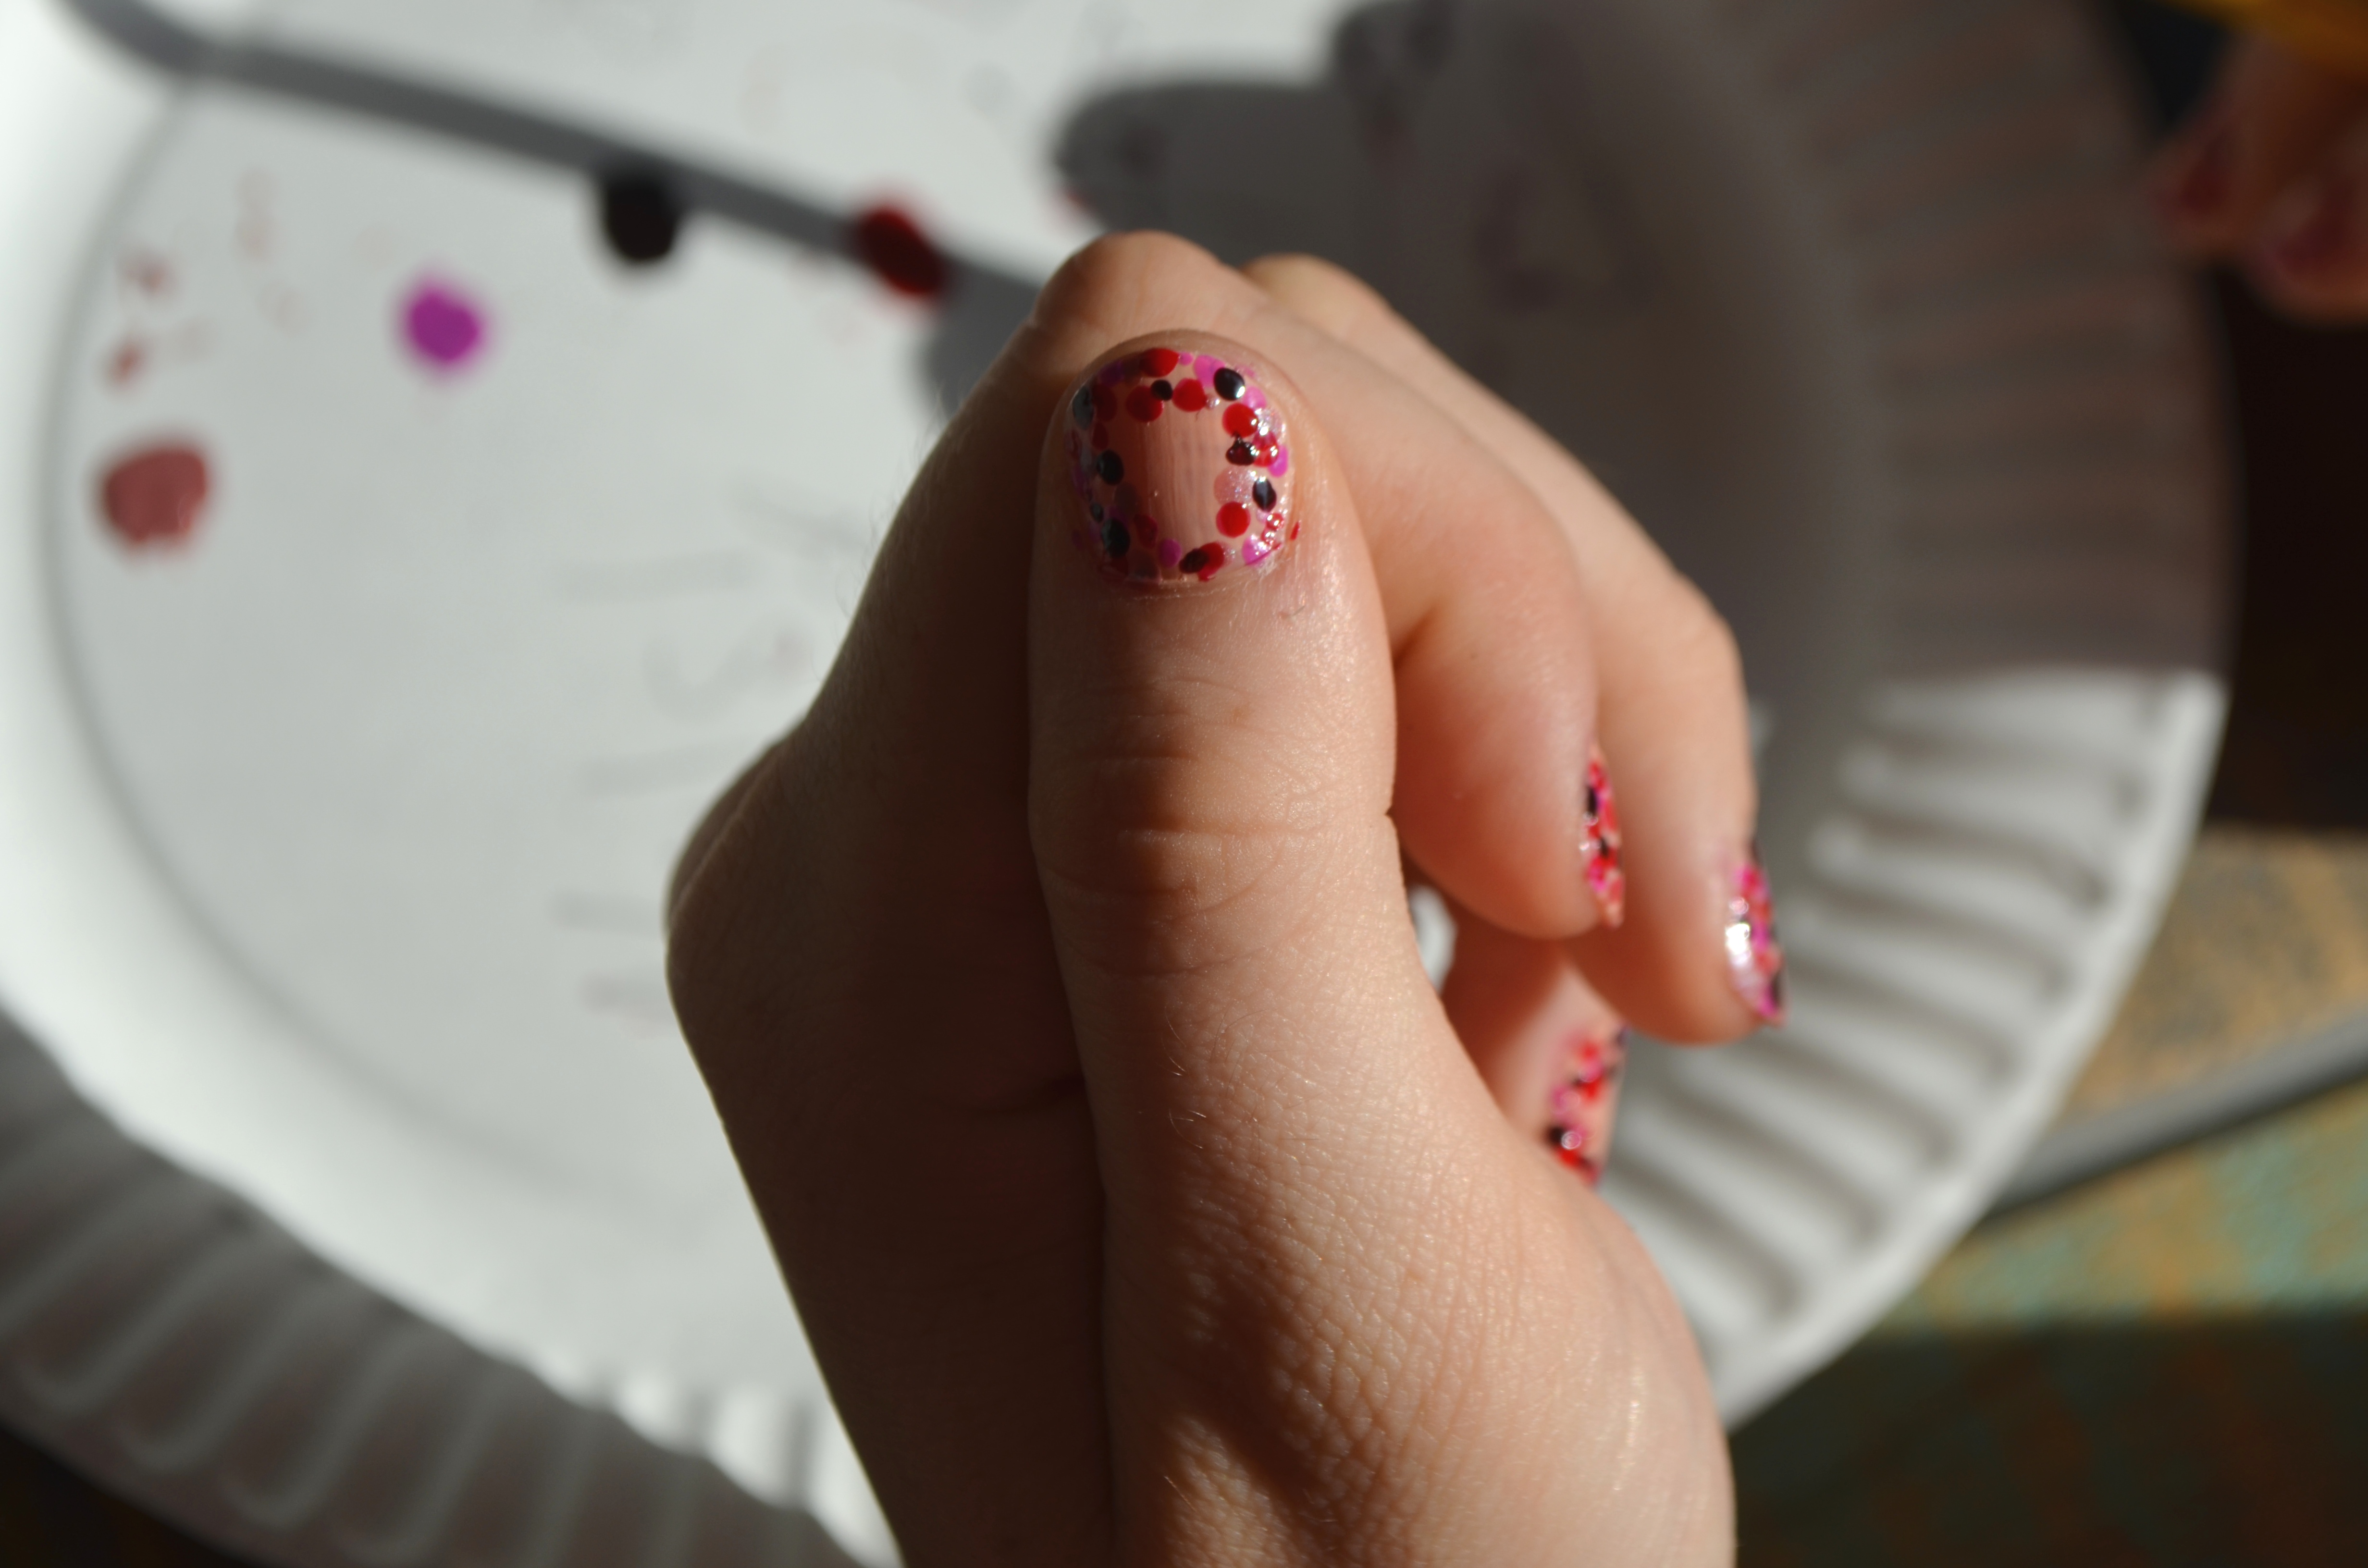
Here’s a close-up of my thumb, the one I’ve been using in all of my close-up example shots thus far, so you can see how far it’s come:
Now for the final shade!
As I said before, it should be your second-darkest color, and also as I said earlier, it is going to be the focus of the look. So, you will be putting a lot more dots of this shade down than any of the others, using it to fill in almost all of the remaining gaps in your dot outline.
By now, you get the drill.

And before you know it, you’re all done!
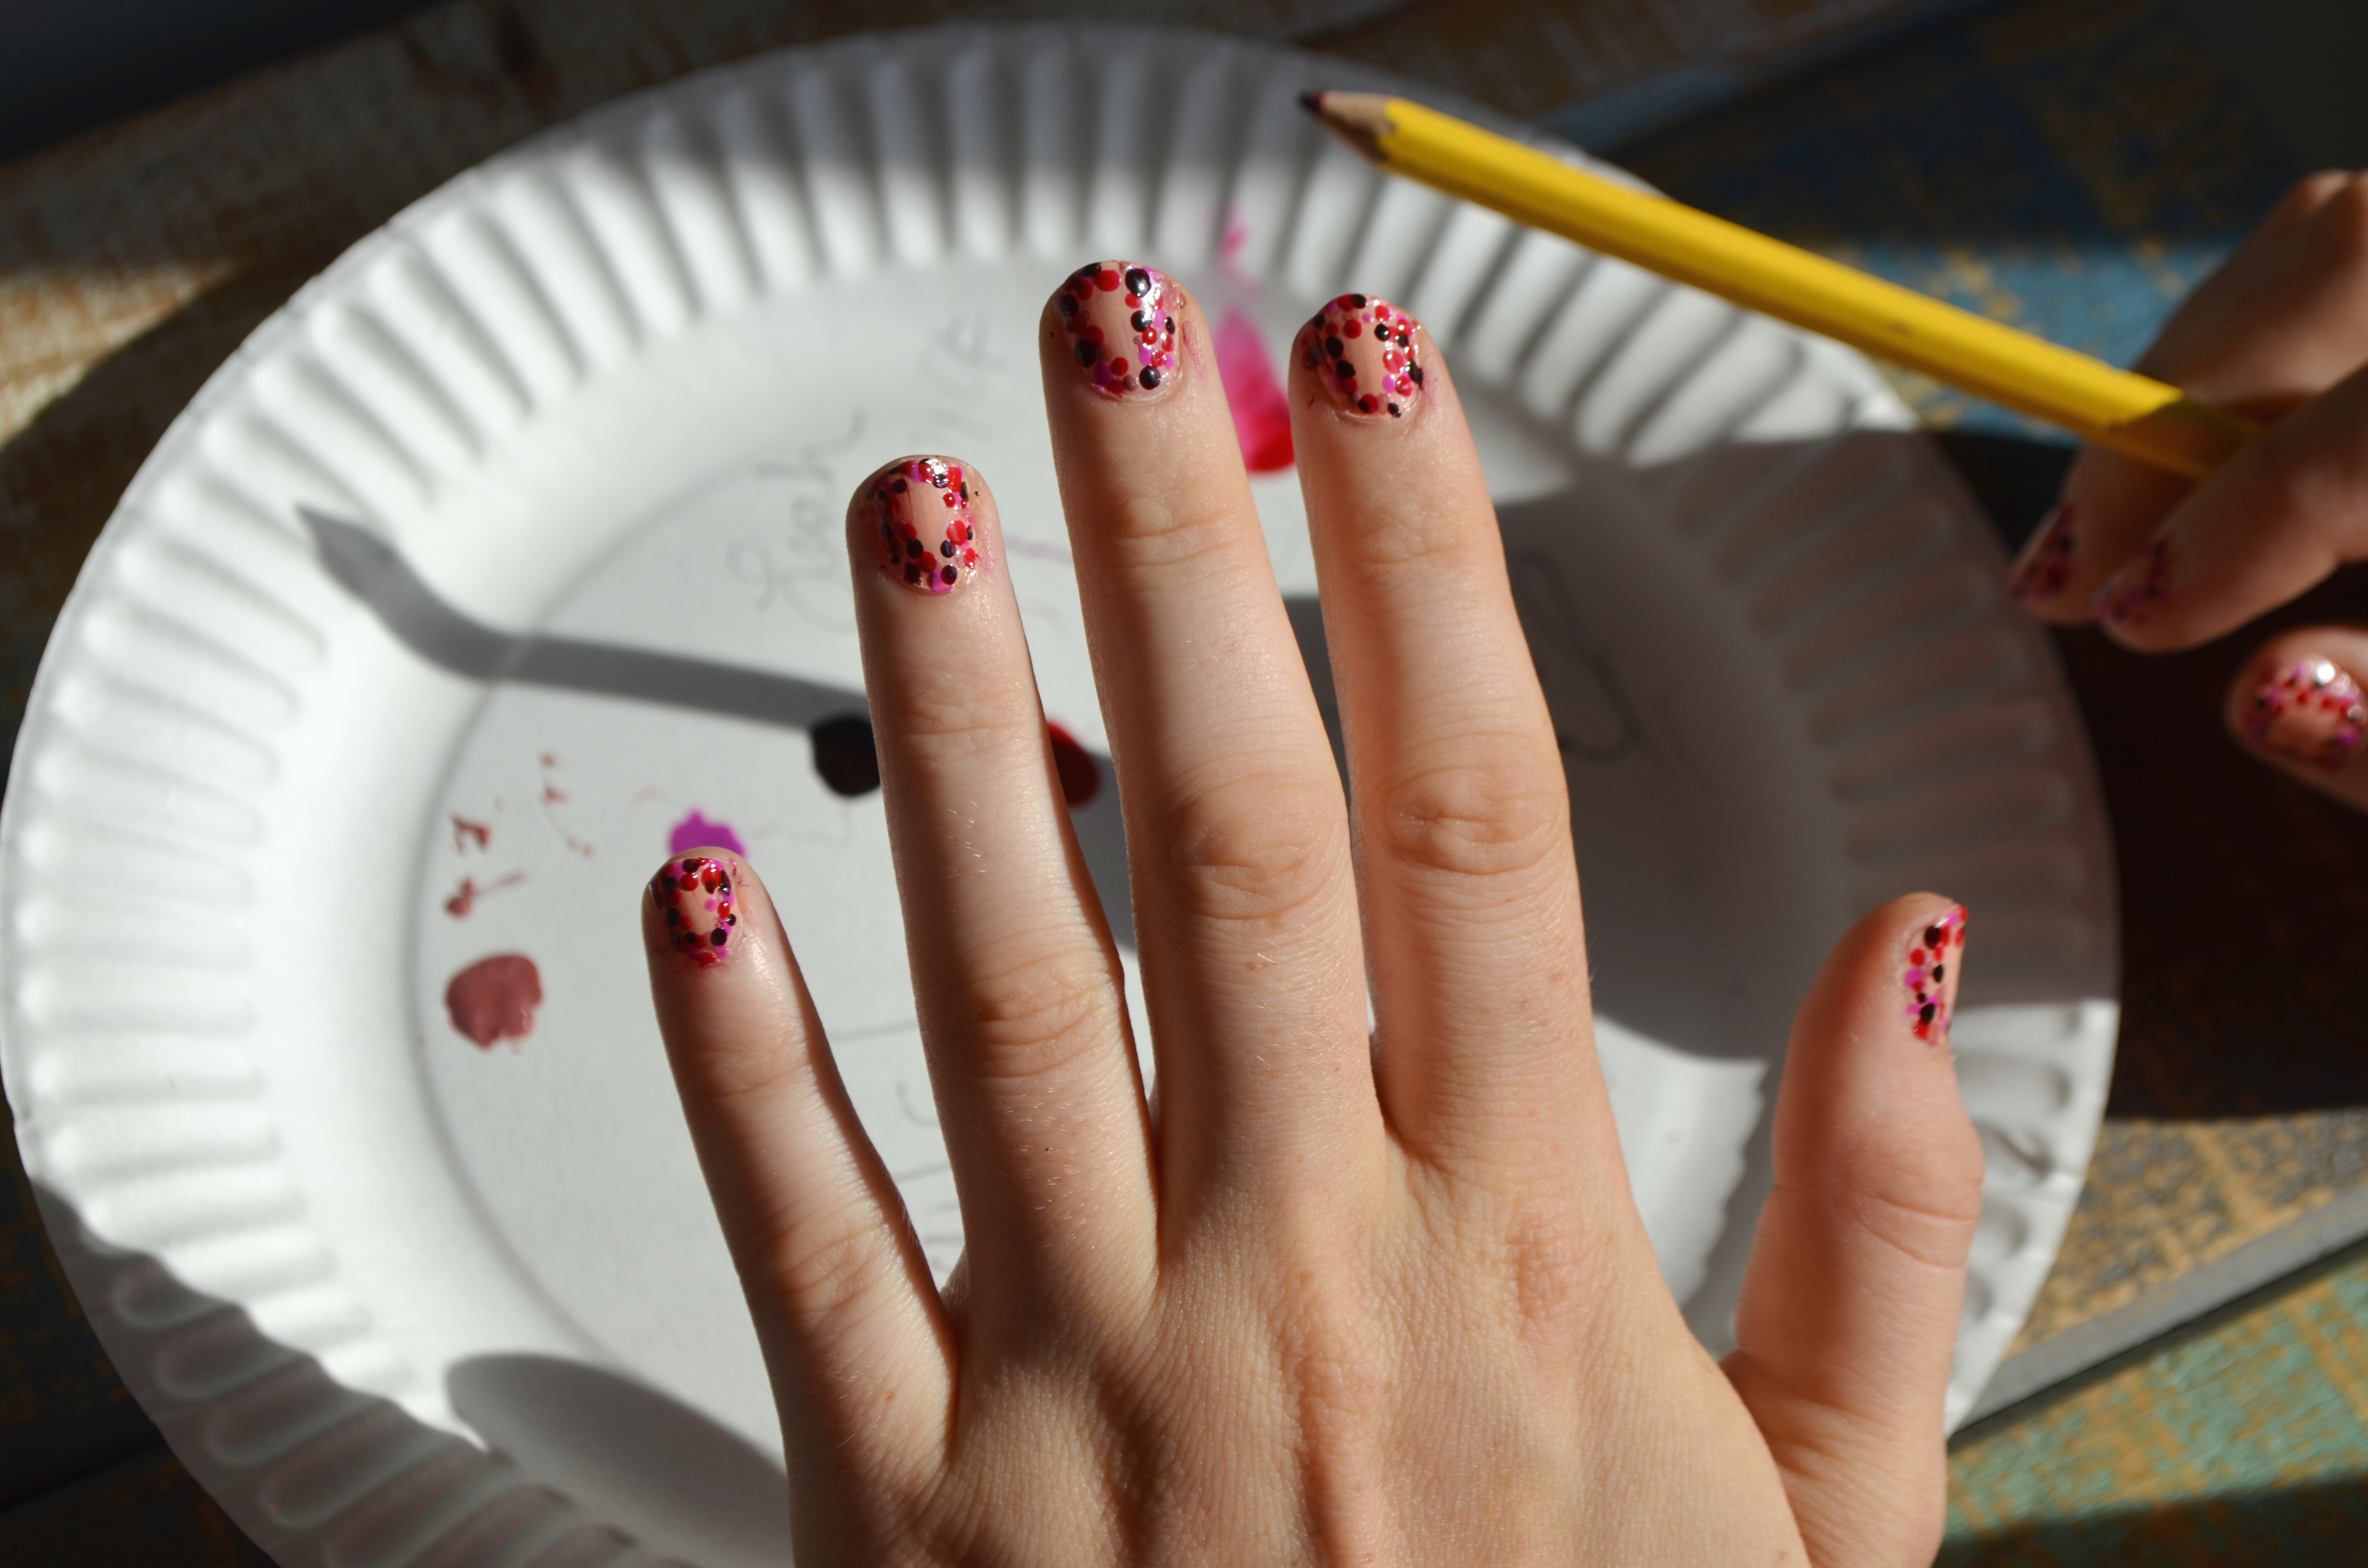
And this is what everything will look like! (Unless you picked different colors, of course.)
Sure, I have some cleaning up around the edges to do with some q-tips and nail polish remover, but it isn’t half-bad.

^And there’s my right hand, which I did before all of this as a test run. I like the way this hand turned out better, which is odd since I’m not a lefty.
Here’s some more close-ups.


And that’s it!
What do you think? Let me know in the comments section below. Also, if you end up trying this out, send me a pic of what it looks like! I’d love to see other recreations.
Until next time! ❤
(PS – Here’s some bonus pictures for you:
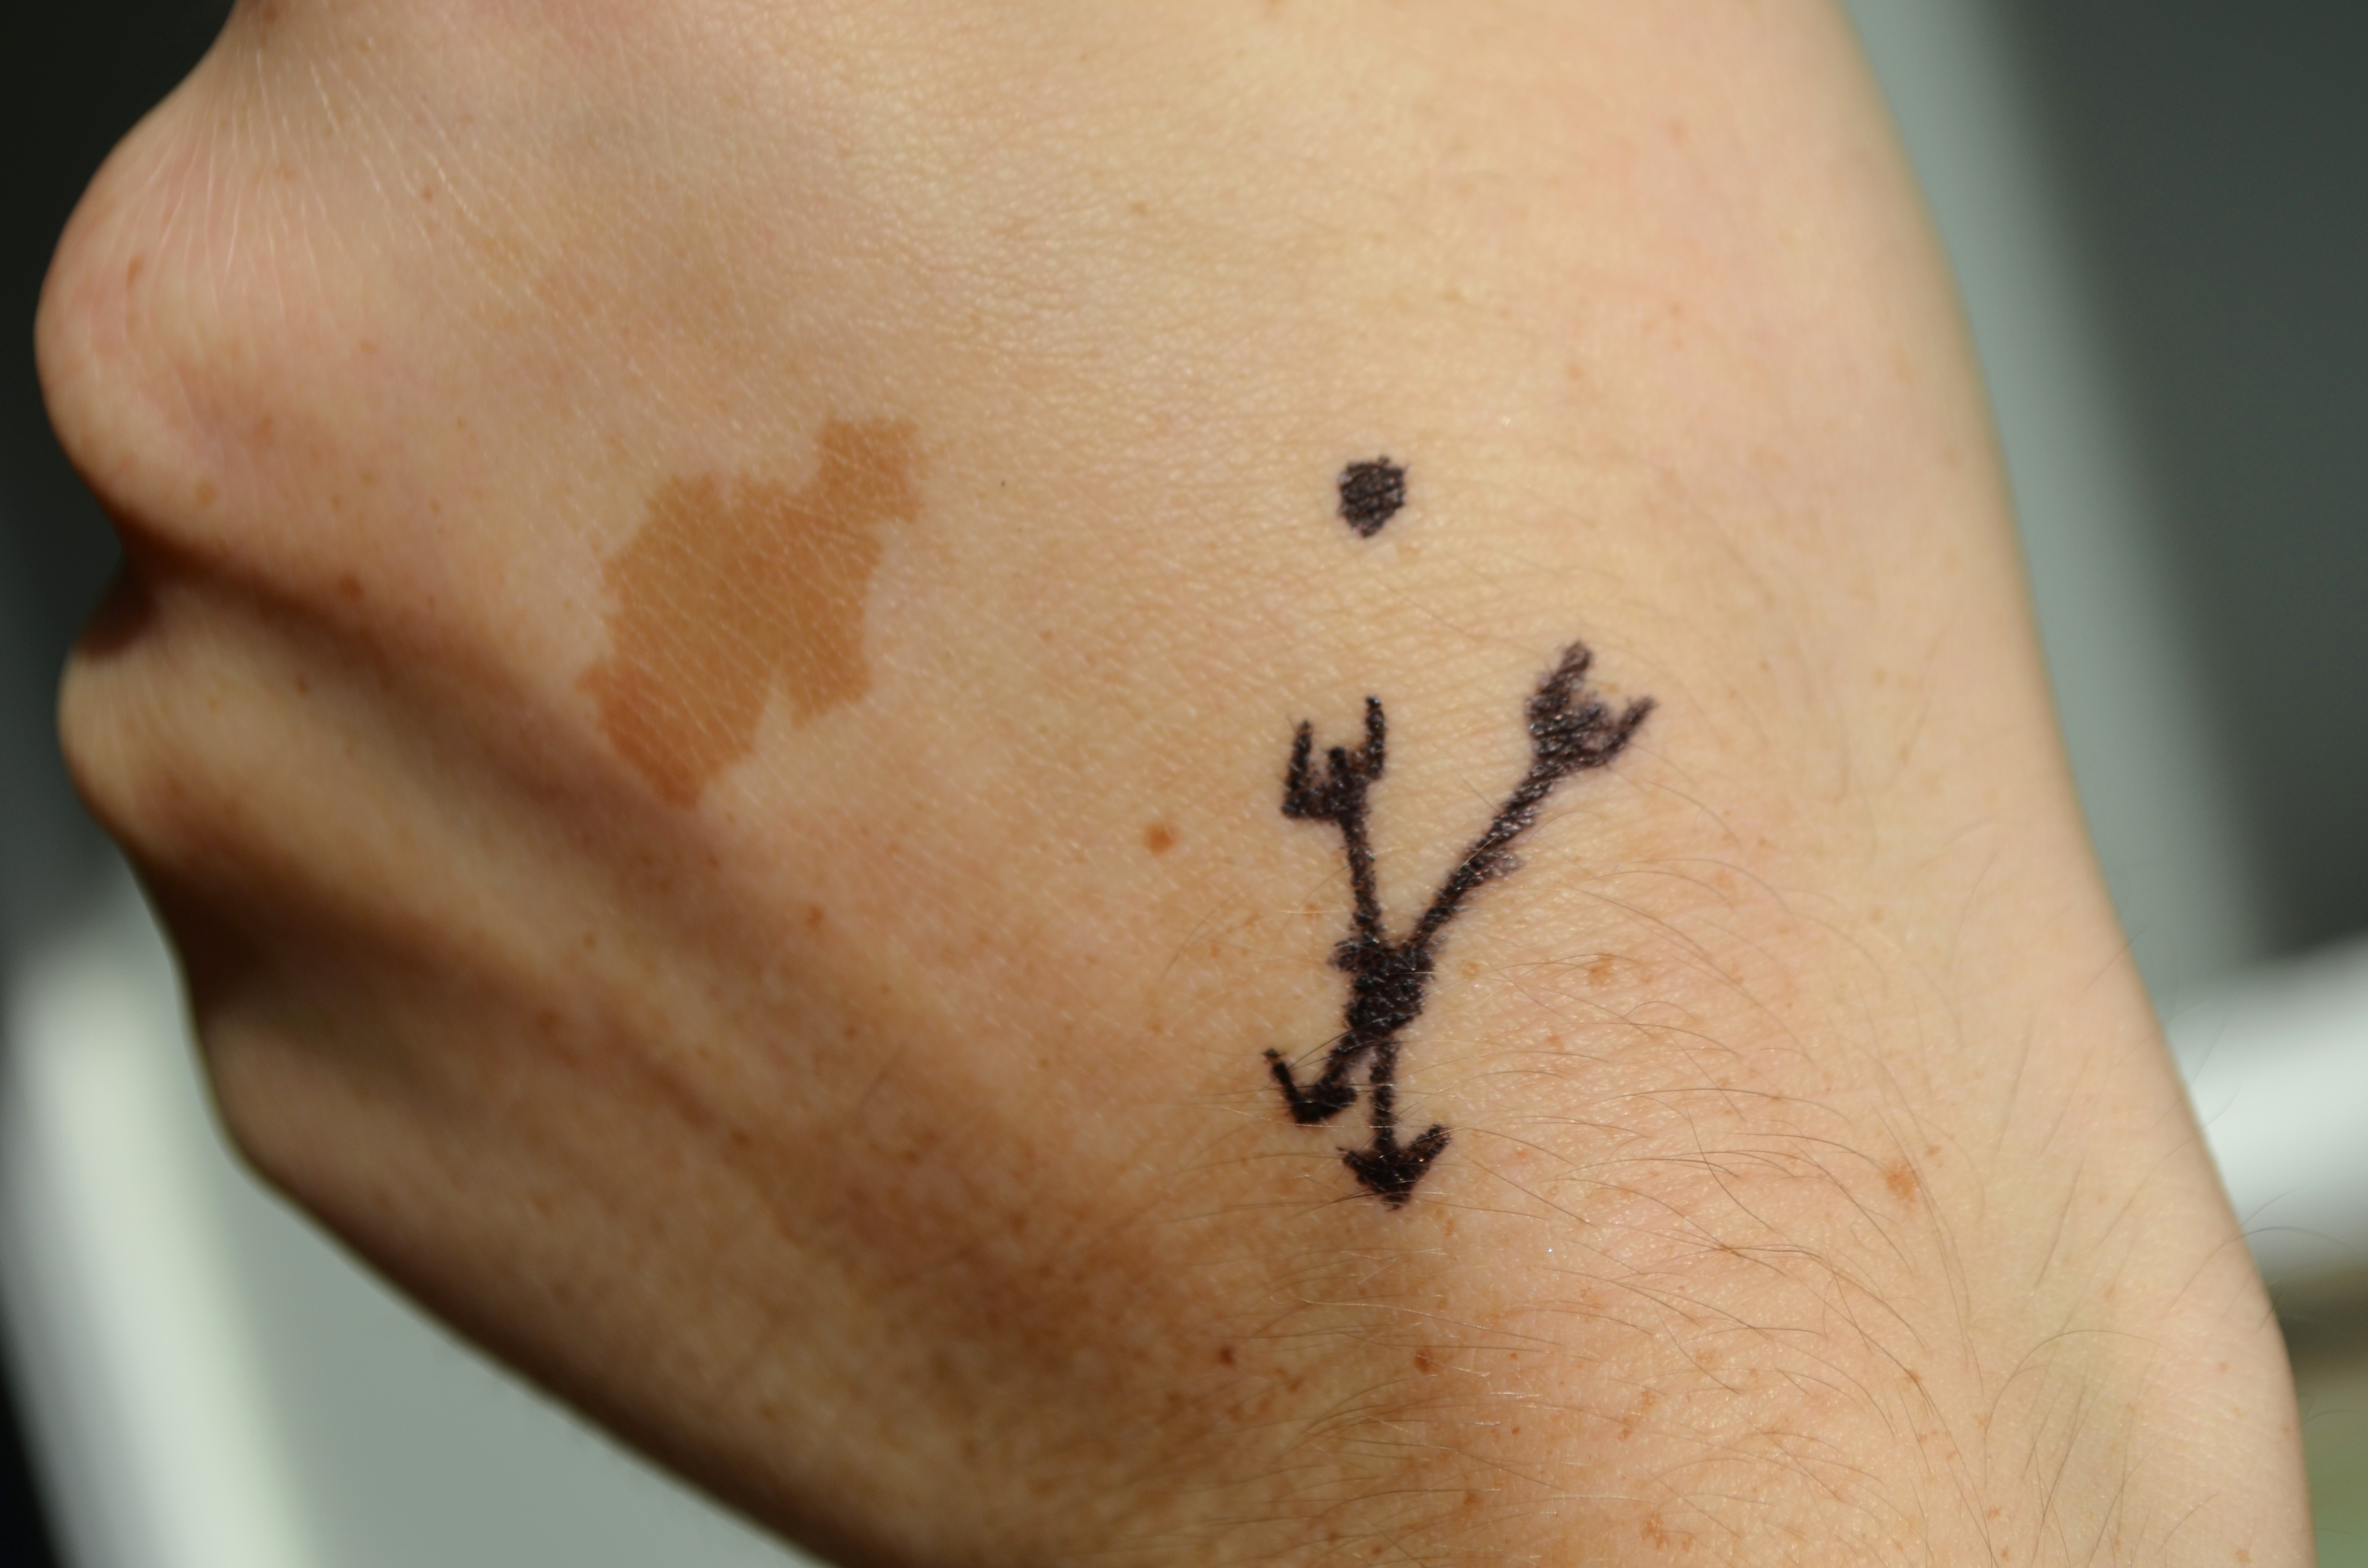
This is my Harry Styles Stencil Set “tattoo” that I gave myself with Sharpie right before shooting this. It foreshadows the next post, btw.
Here’s my doggie-boo, Daisy, who was just being too cute for my sister not to photograph.


^See????
Here’s some lame nature shots that I took while photographing stuff that day for my sister’s blog.


 And here’s me post said nature photography.

Yay! Happy bonus-ing!)

One thought on “Polka Dot Nail Art: So Easy, Even I Can Do It”