Hello, all! Today I’d like to briefly share with you what putting together a full face of makeup looks like for me. I don’t do a full face very often, so when I did one the other day, I thought it might be worth posting about, especially since I’m now using a whole bunch of new products.
So let’s begin!
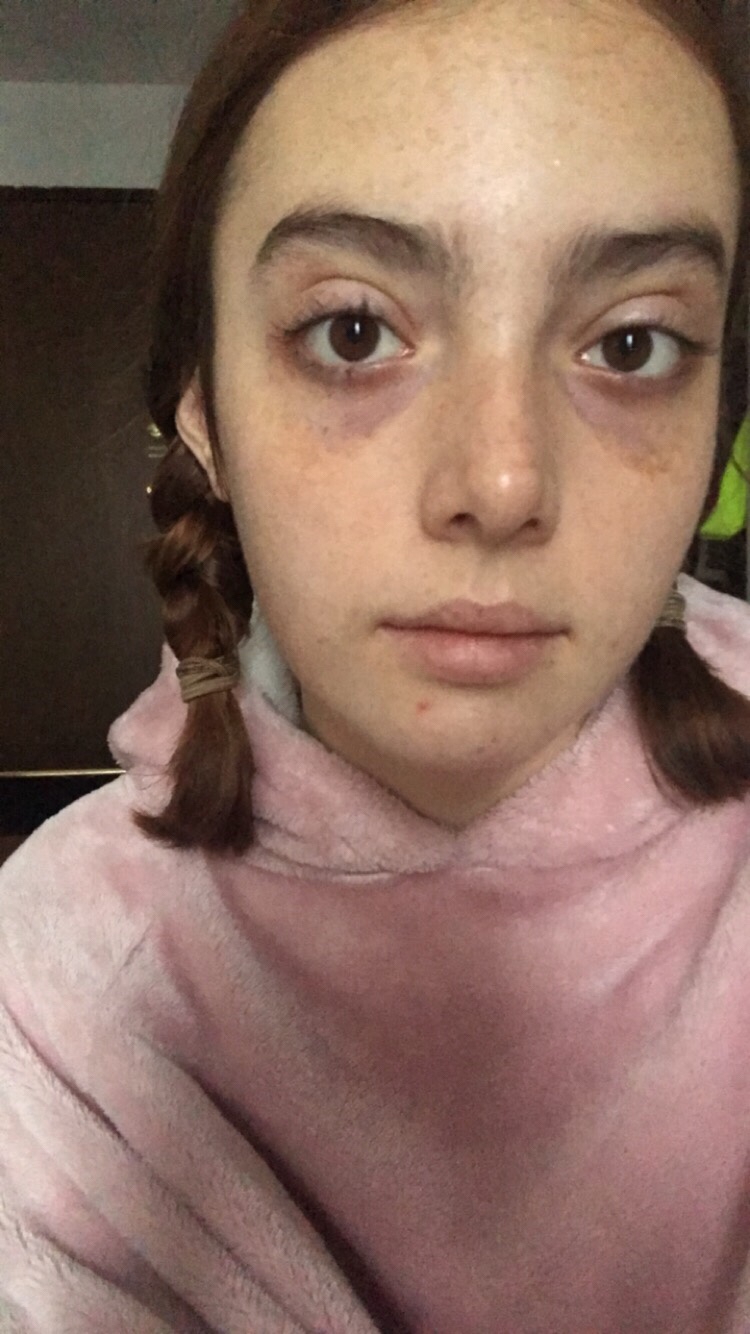
I started off looking like the troll you see below:

My first step in the look was priming, which I did by using the following products (in order as occurs):


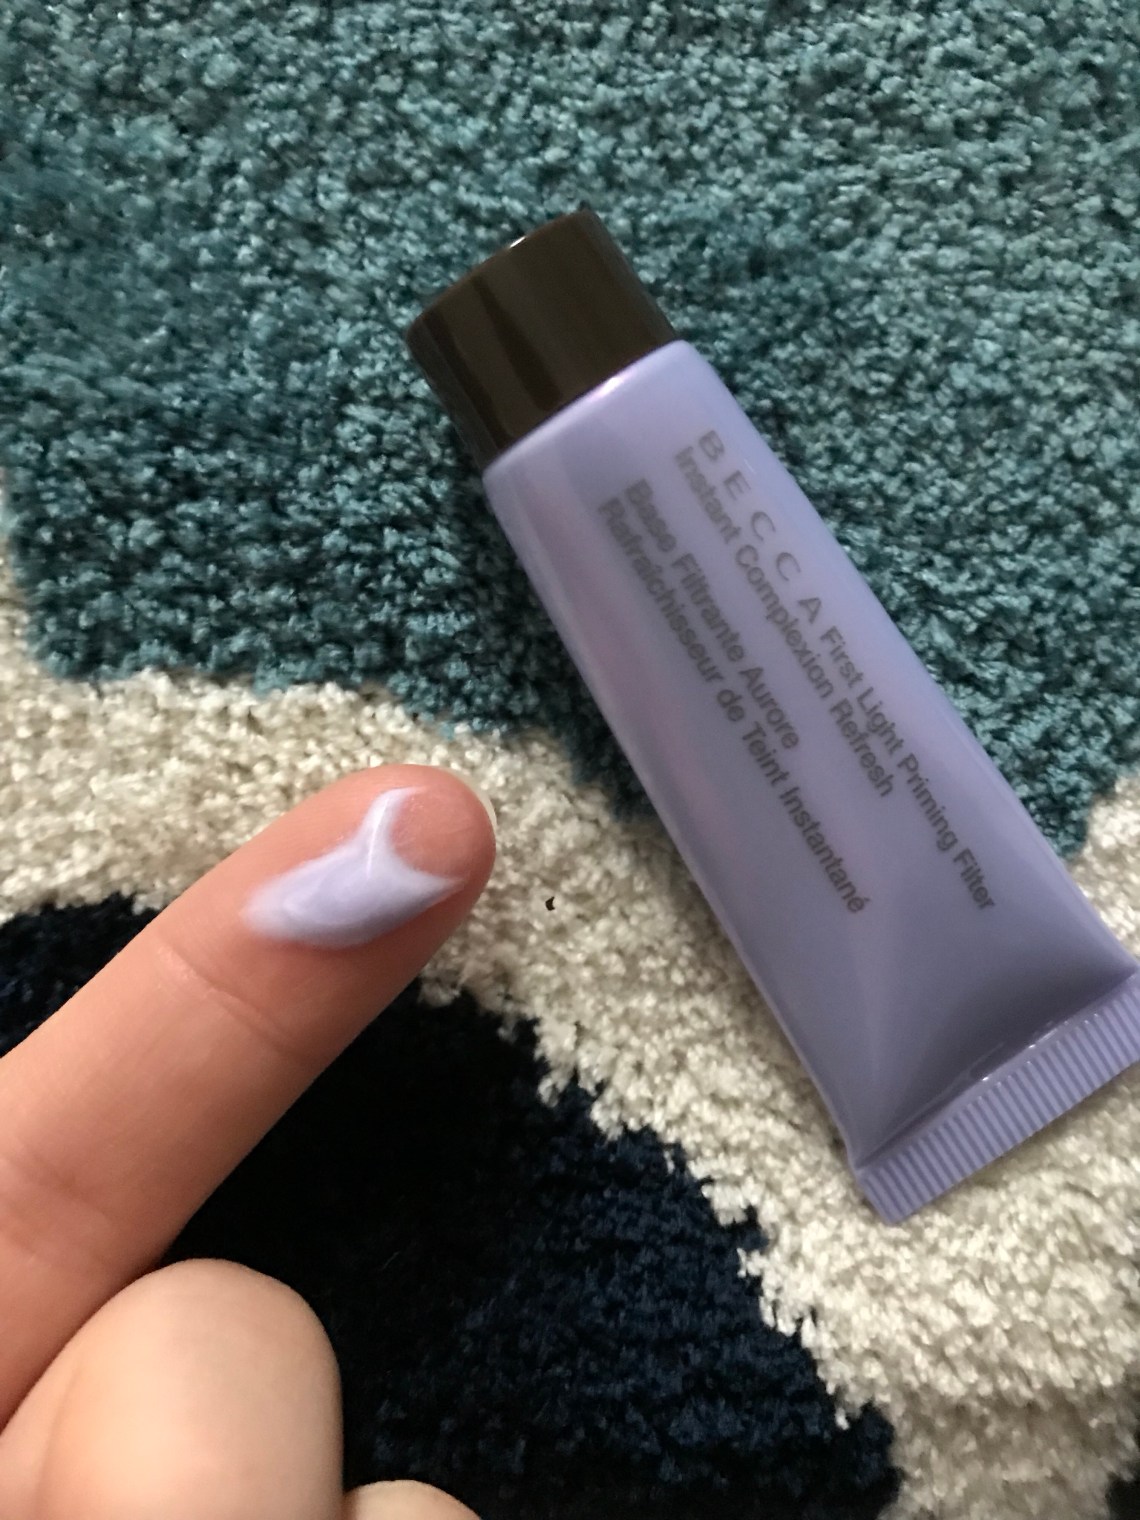

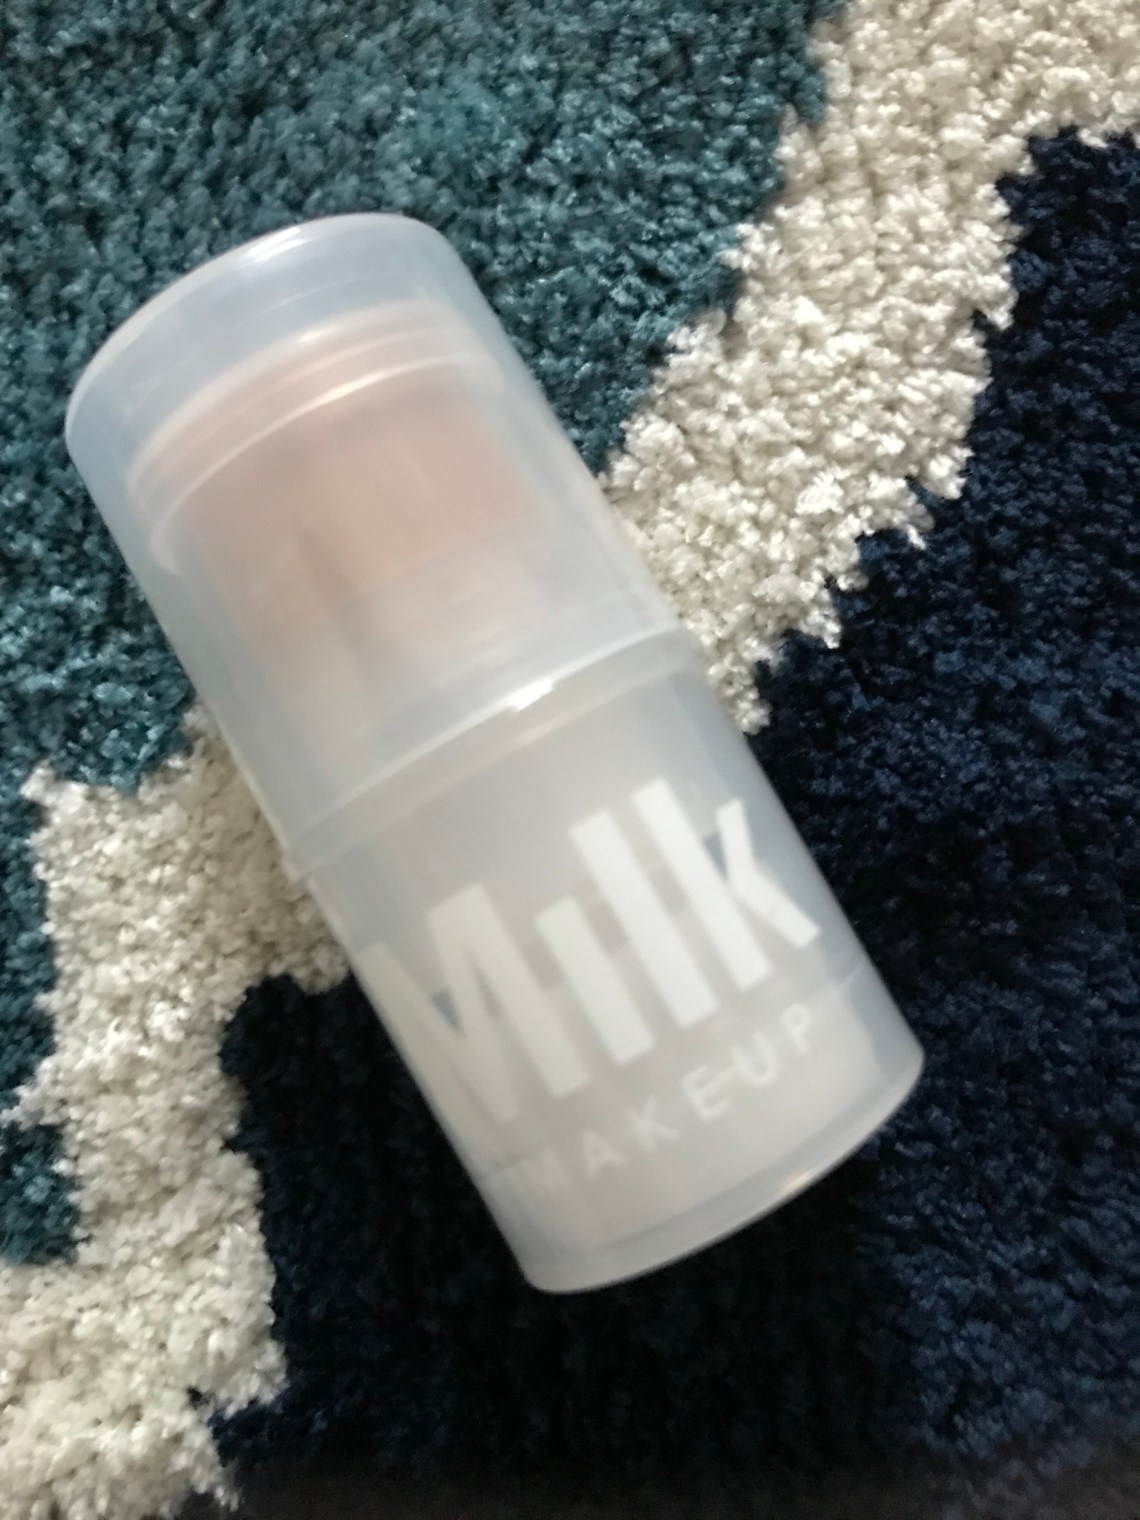
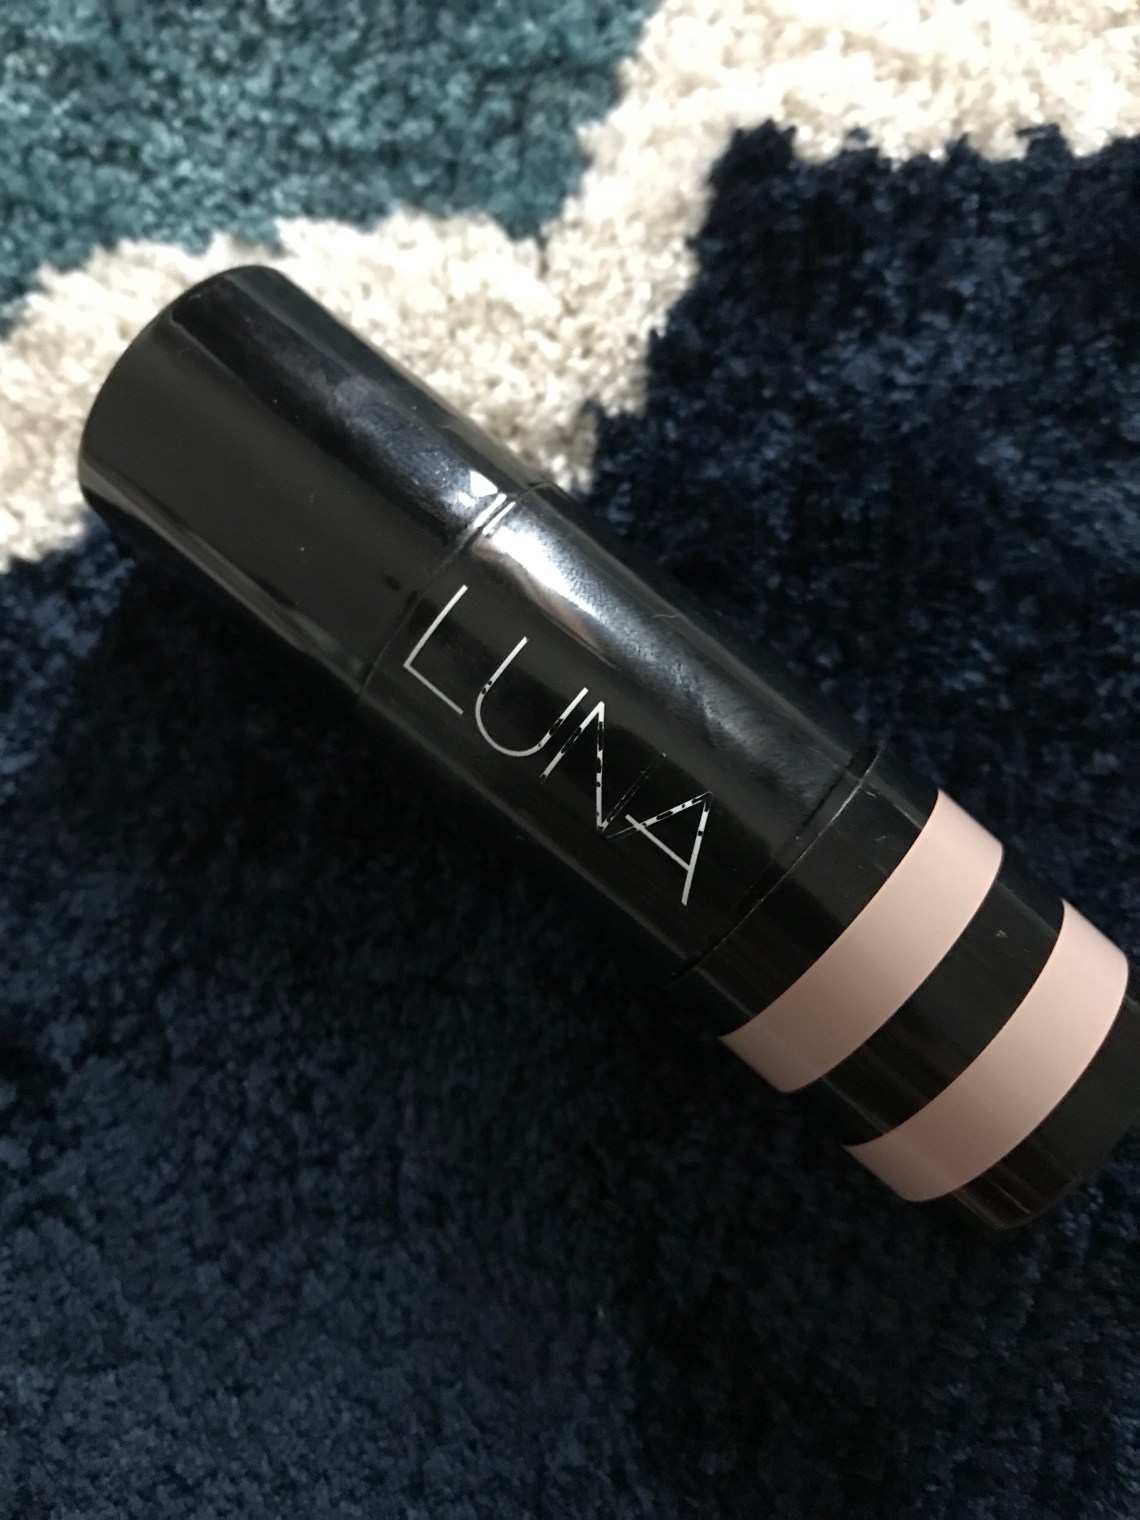
I obviously place the Origins GinZing eye cream on my perpetually puffy and dark under eyes, but as for all of those primers, I use the Makeup Forever one and the Becca one all over as two solid bases for my foundation, then I use the Luna one on my high points to add extra brightness later. The blur stick from Milk Makeup is obviously used on and around my nose in order to help cover up my pores.
And this is what I looked like after:
Then on to the face!


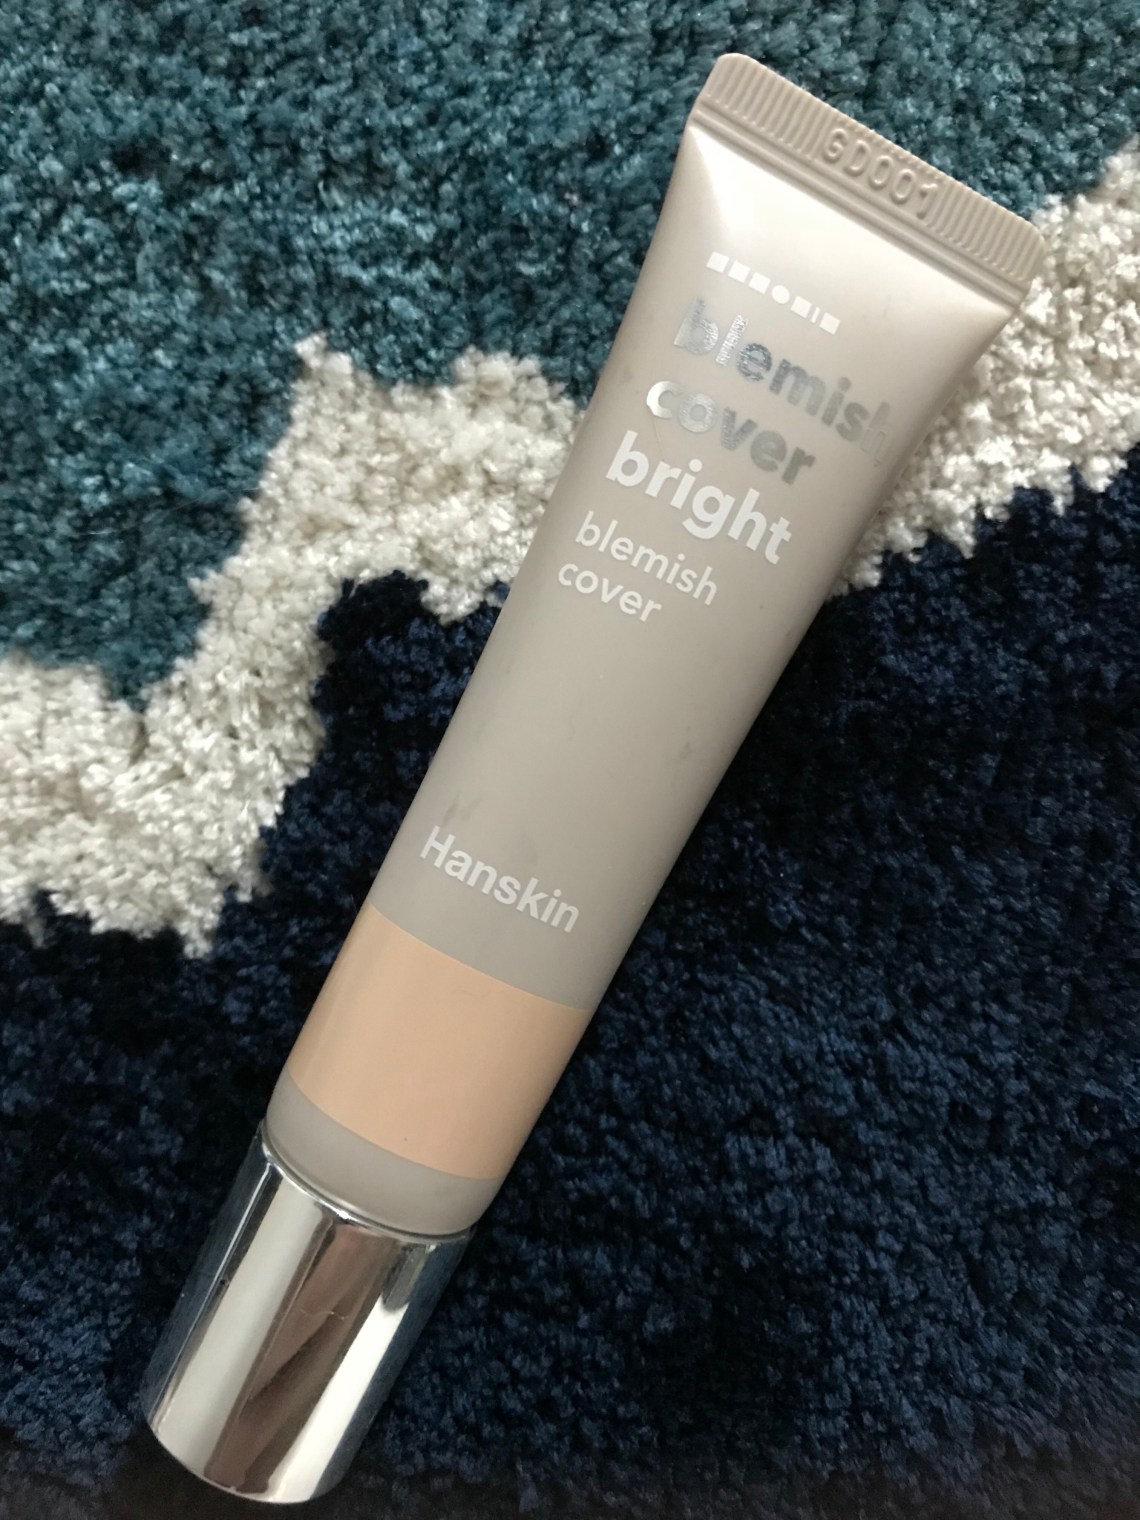


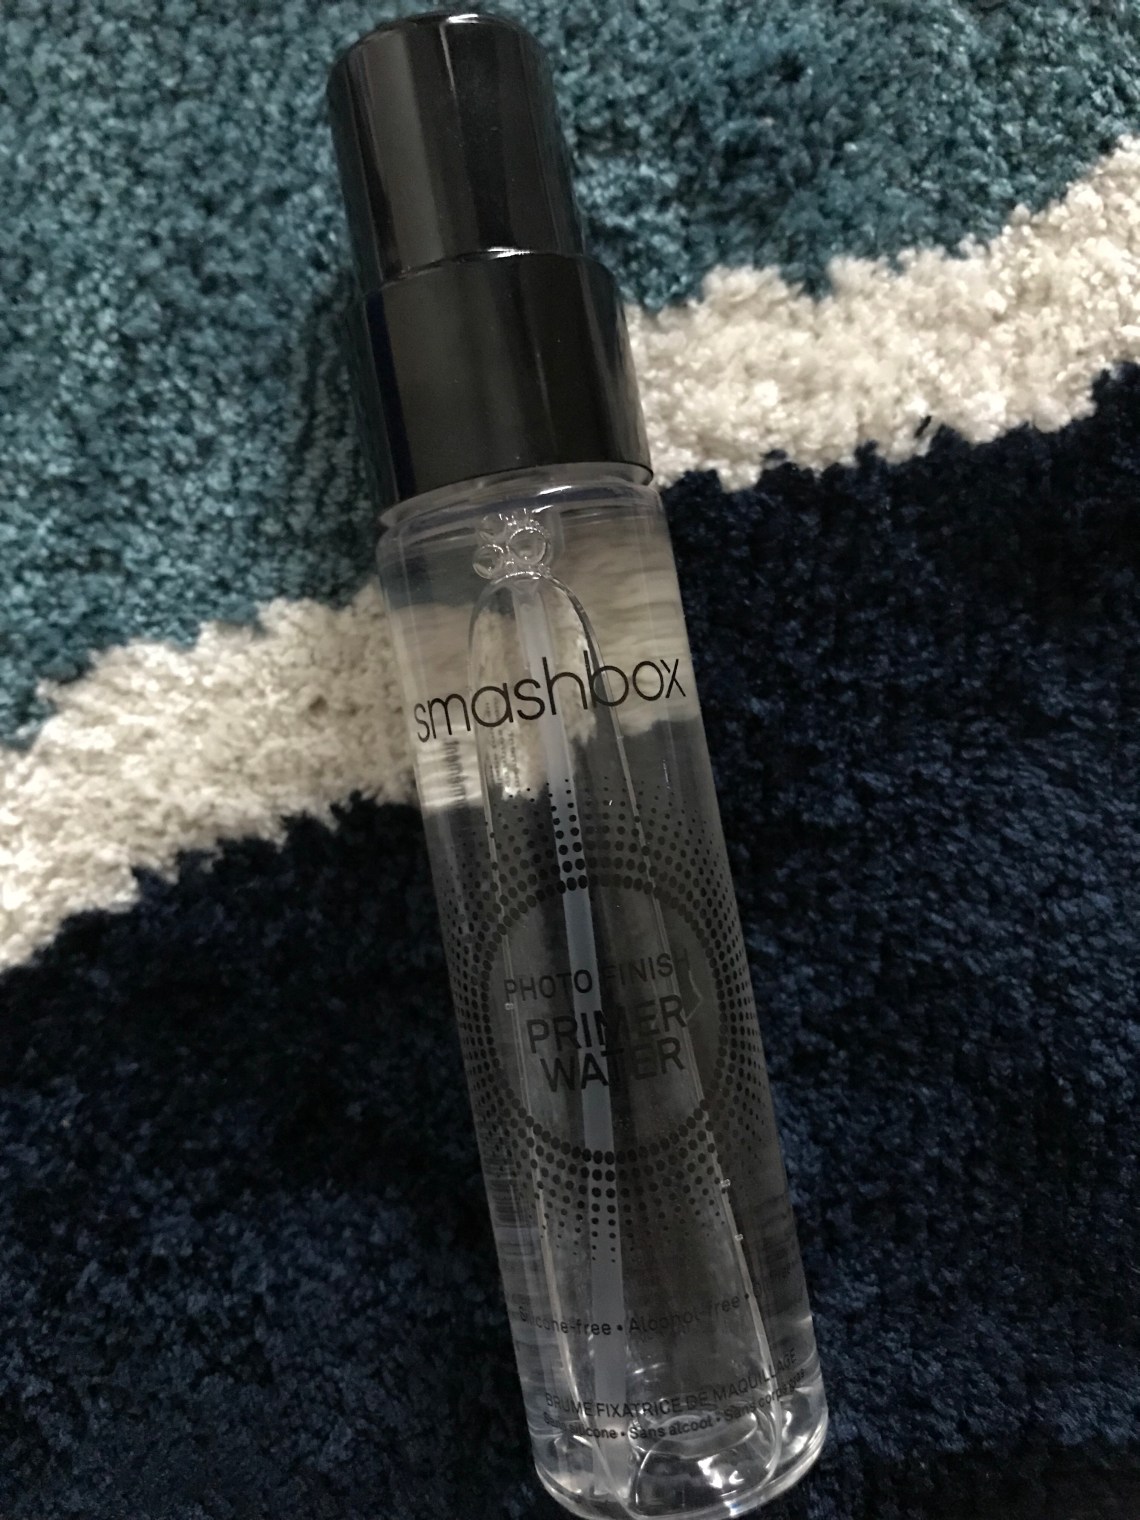
The products I use for my face are pretty self-explanatory but highly recommended by me. Dr. Jart BB cream all over instead of foundation, Pixi base concealer followed by Hanskin brightening concealer, a moisturizing setting spray by Caudalie, an oil-absorbing power from Laura Mercier, a brightening powder from Physicians Formula, and Cover FX’s brightening setting spray. Once again, it’s a lot, but each product serves a specific purpose for my skin/look, whether it be adding brightness, hiding blemishes or dark circles, adding moisture, or absorbing excess oil. And as I said before, they’re all wonderful products, so if you ever want a separate review of one of them, please let me know 😀
And this is what I looked like after that:

Now on to adding some color back into my skin:


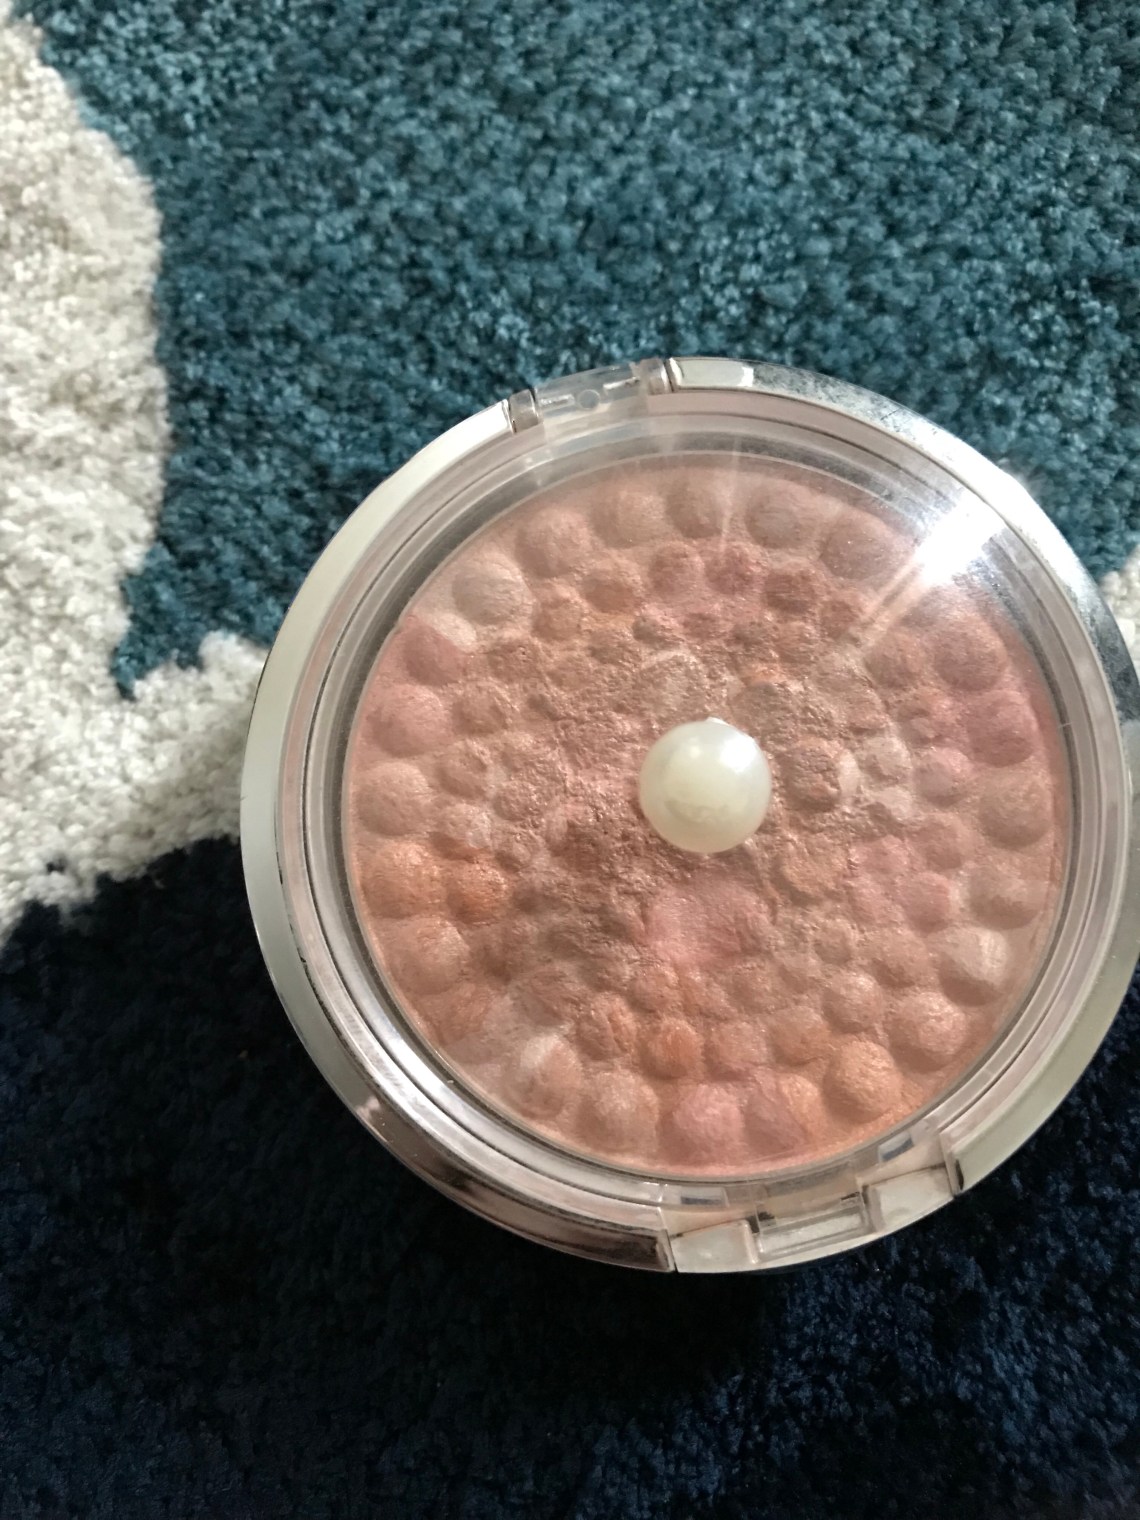
This is even more self-explanatory than the last section. A highlight base for my high points (cheekbones and temples, t-zone, Cupid’s bow, forehead, and chin), an actual highlighter for the same spots, some blush for my cheeks, and contour for beneath my cheeks. I always do the contour first, then the blush then the highlight, but I put the pictures in the wrong order here (oops). Finally, I prepped my eyelids for shadow with the NARS eyeshadow primer you see above.
And I looked like this:

Then onto shadow:

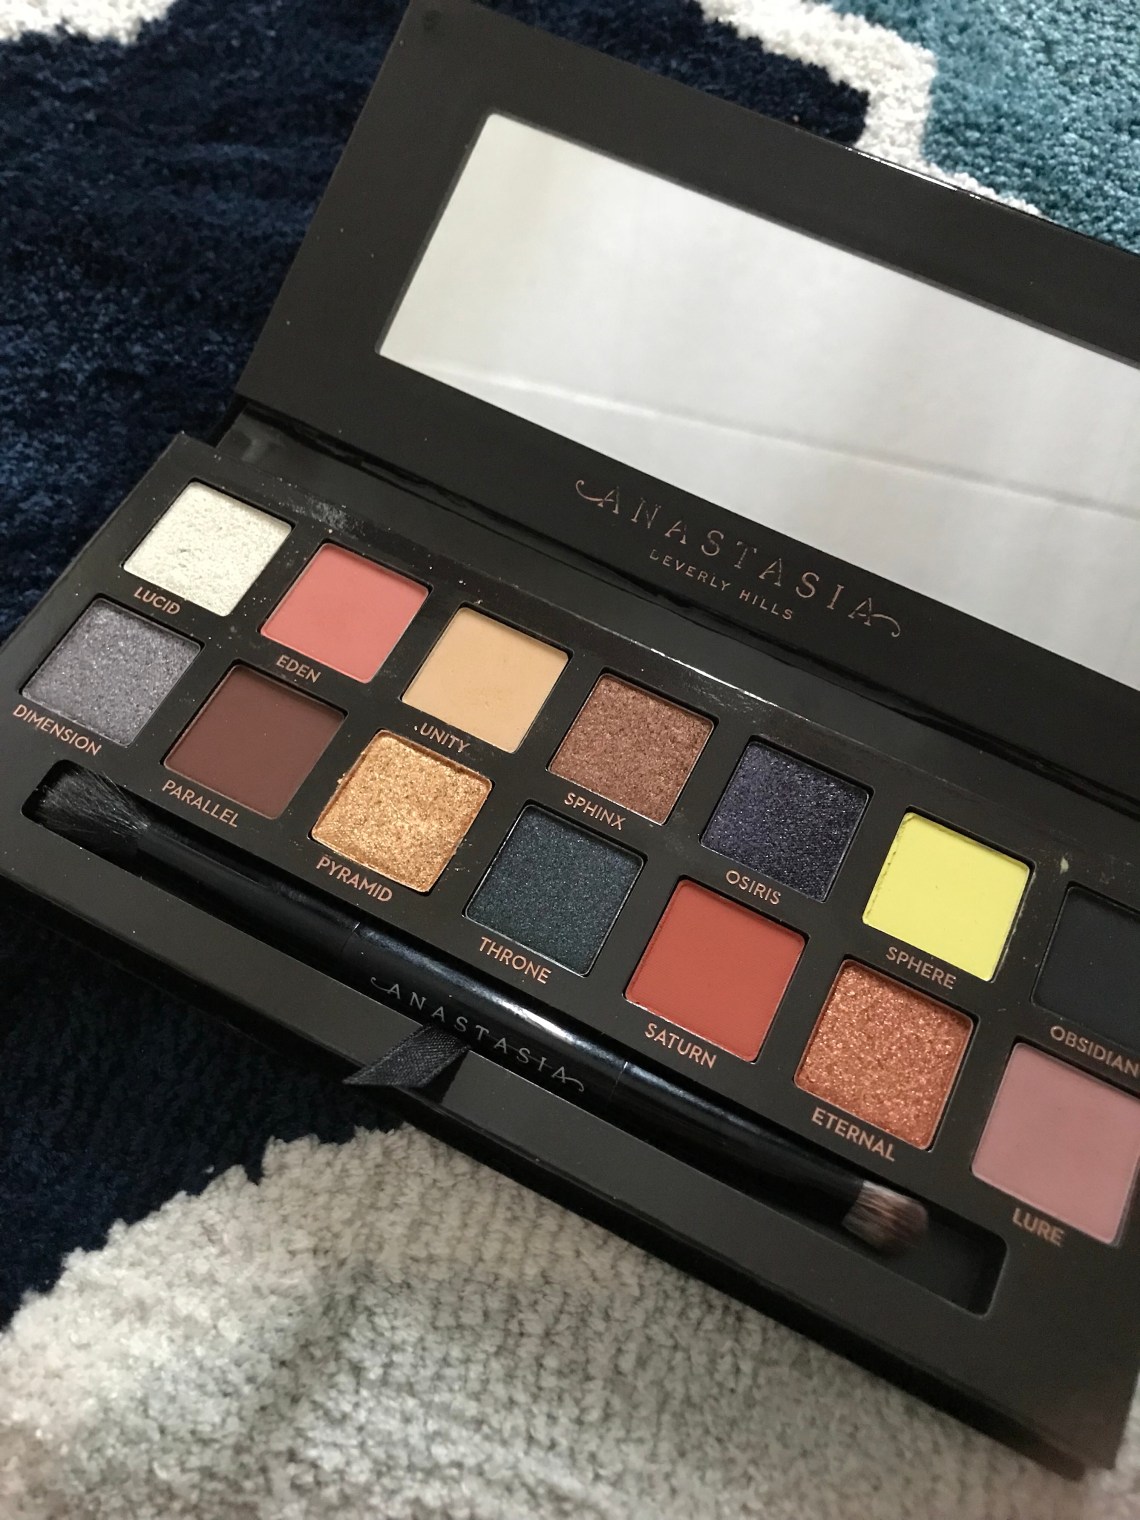

So I got his Anastasia Prism palette for Christmas, AND I ABSOLUTELY LOVE IT. The eyeshadows are kind of too soft and powdery, but if you’re really careful, they won’t turn into dust when you touch them with your brush. I used the color Parallel for this look, and the pigment was fantastic. It was also fairly easy to blend, which I greatly appreciate.
And the look turned out like this:


For this look, I simply placed Parallel in my crease and then blended it out to cover about half of my eyelid. Then, I put the color on the outer half of my lower eyelid, not really blending it that much to give a cool, darker-on-bottom effect.
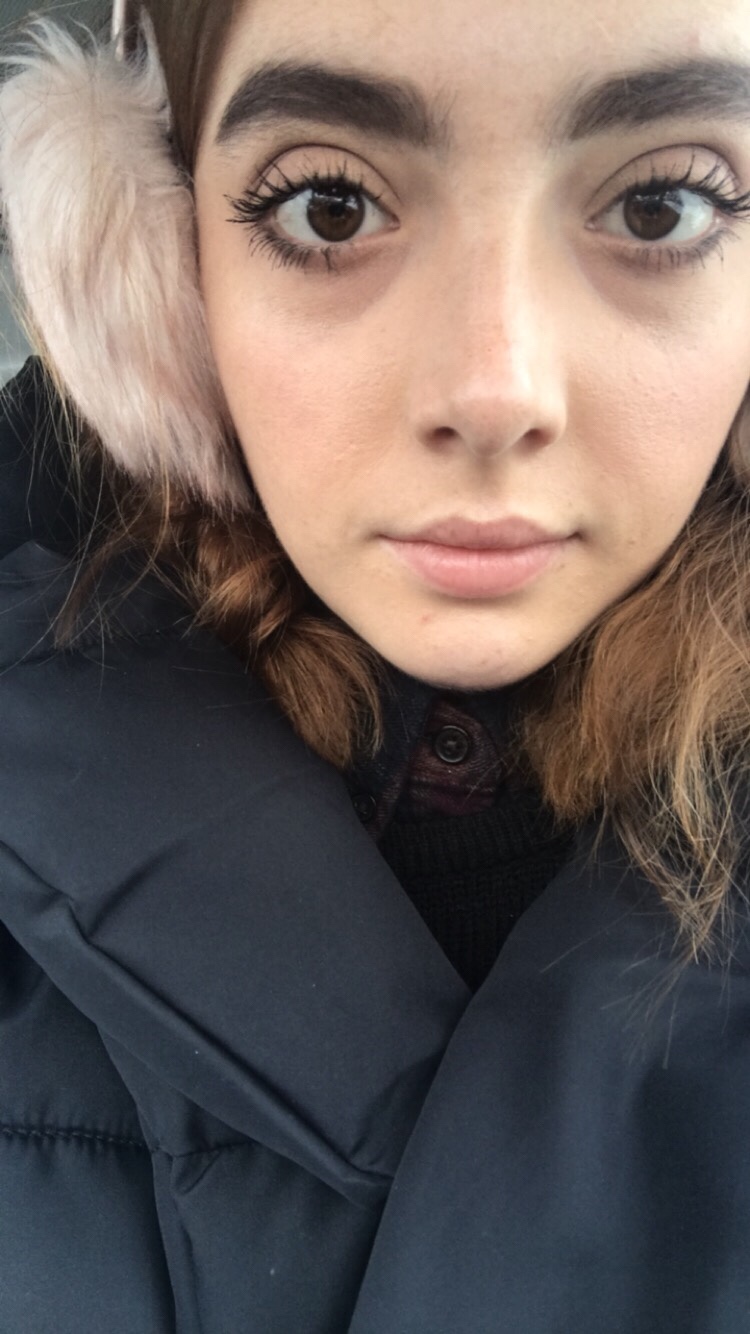
And finally, the brows and mascara:

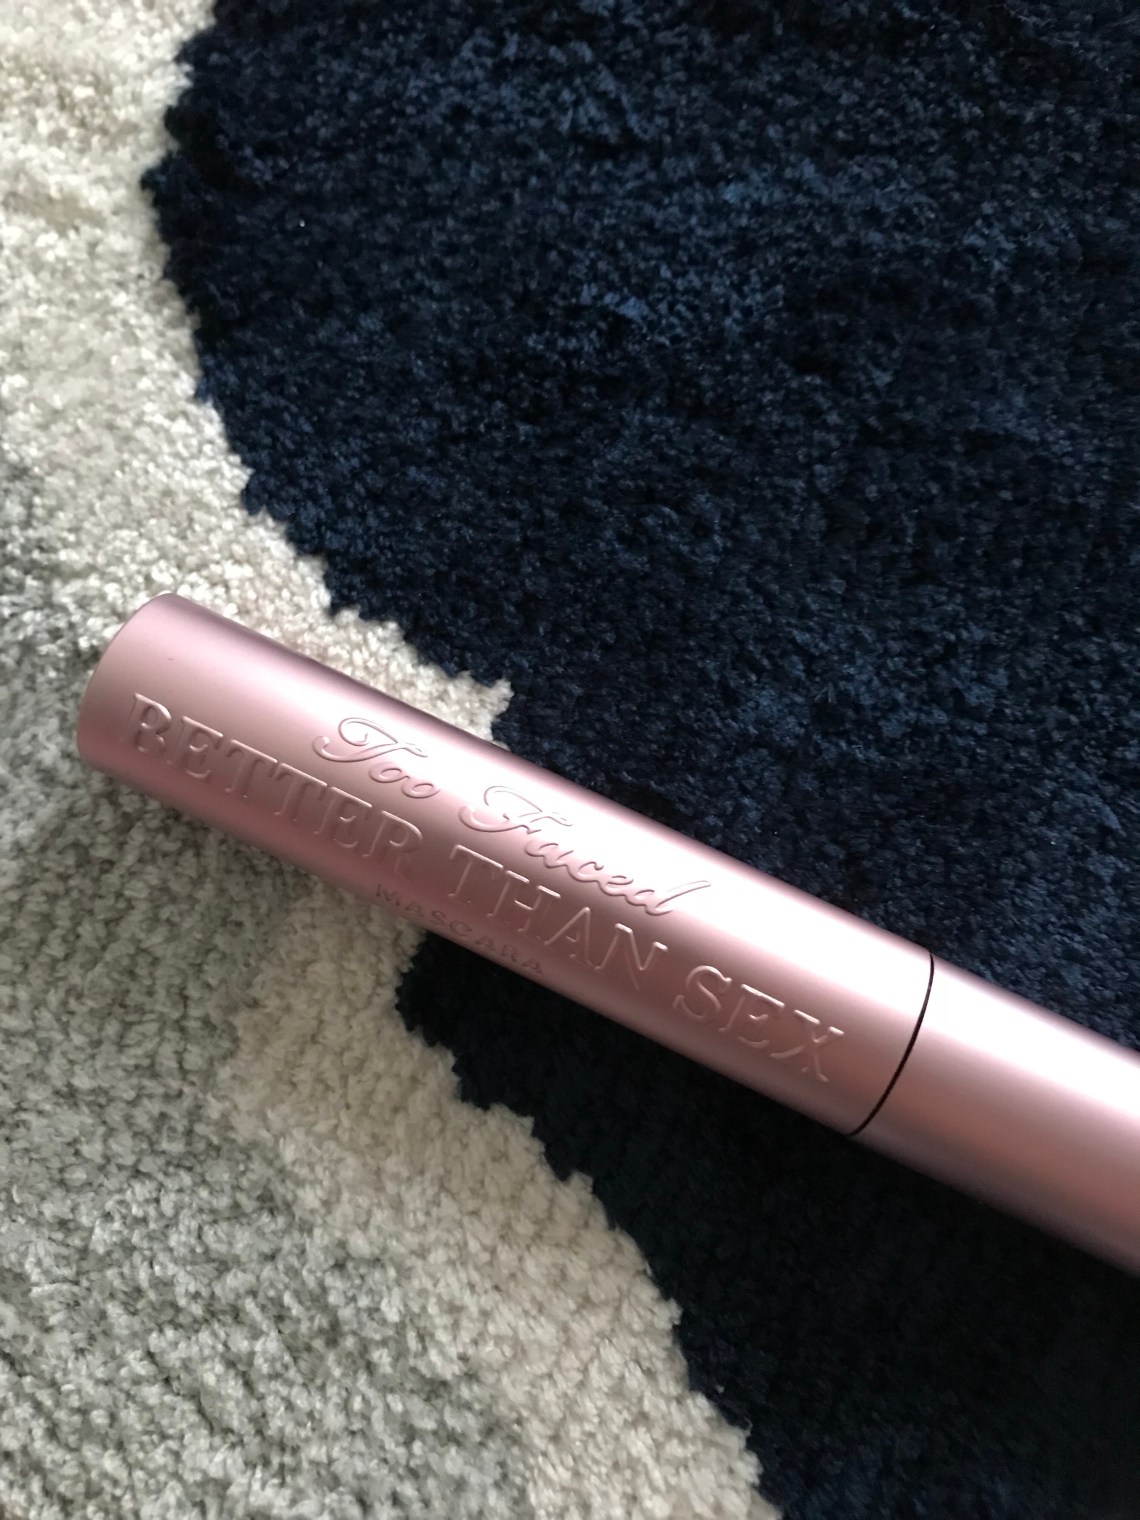
I used a simple stick from Chella for my brows, followed by Too Faced Better Than Sex mascara for my lashes. I’m not sure how I feel about this mascara, as it is a little wet and thus is easy to smear all over my face as I apply it thanks to my ridiculously long eyelashes. But eventually, I managed to get it on, and here is how it turned out:

And that is all! Thank you so much for reading. I hope you enjoyed, and if you have any questions or comments, please feel free to leave them below 🙂
Until next time ❤
